Make this easy bling pumpkin DIY with rhinestone stickers to decorate your home for fall and Halloween!
Such a fun Halloween kid’s activity to celebrate the holidays!
This no carve pumpkin decorating idea is completely mess free.
I’ll show you how to make these gorgeous glitter pumpkins, fun way to customize them and how to decorate with them!
Read below for the tutorial!
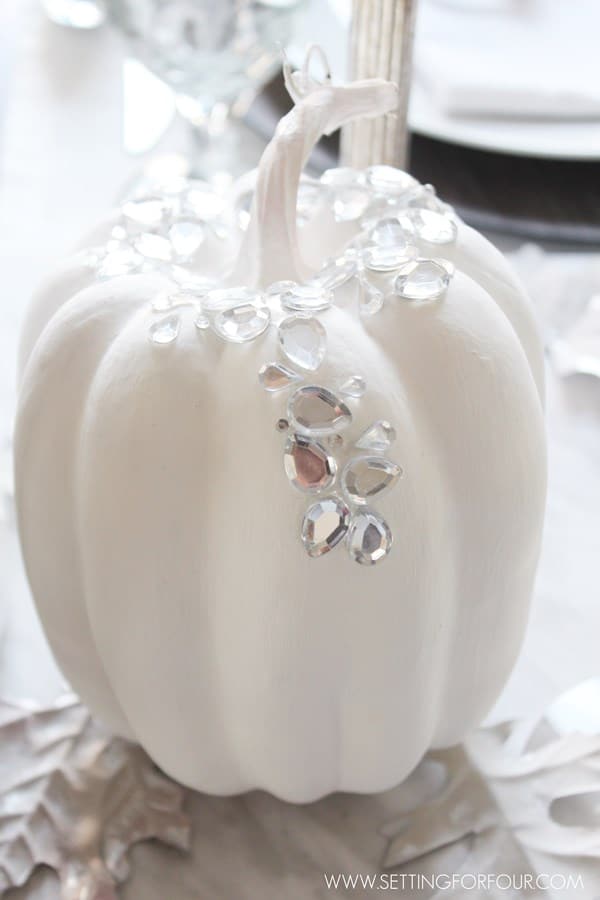
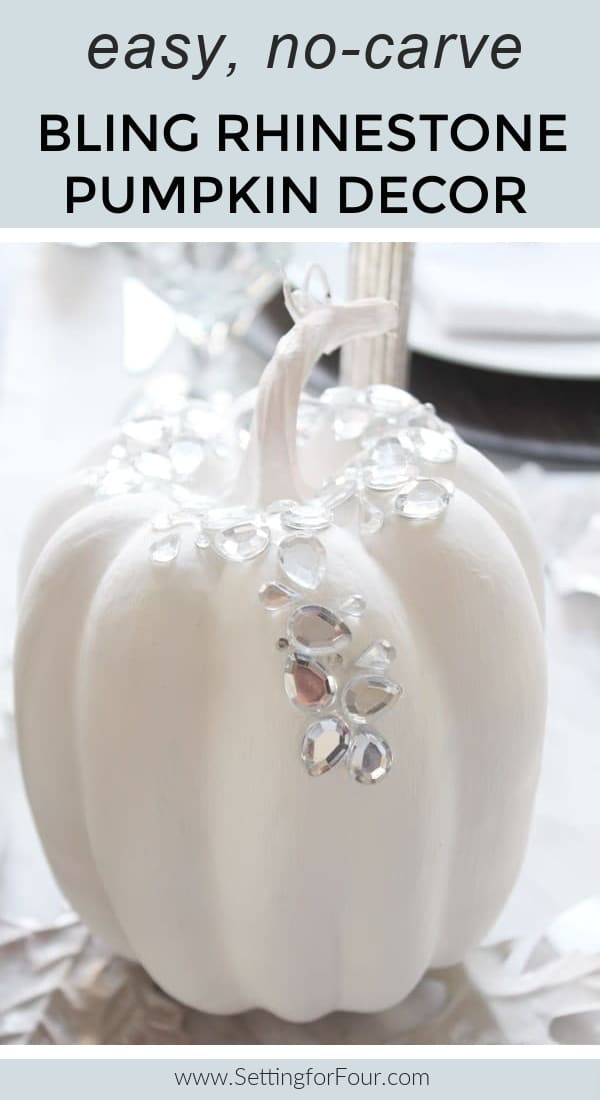
Easy Bling Pumpkin DIY Decor for Fall and Halloween
You’ll love this self adhesive rhinestone pumpkin decor idea, it’s super quick and an easy DIY!
And it doesn’t require a hot glue gun!
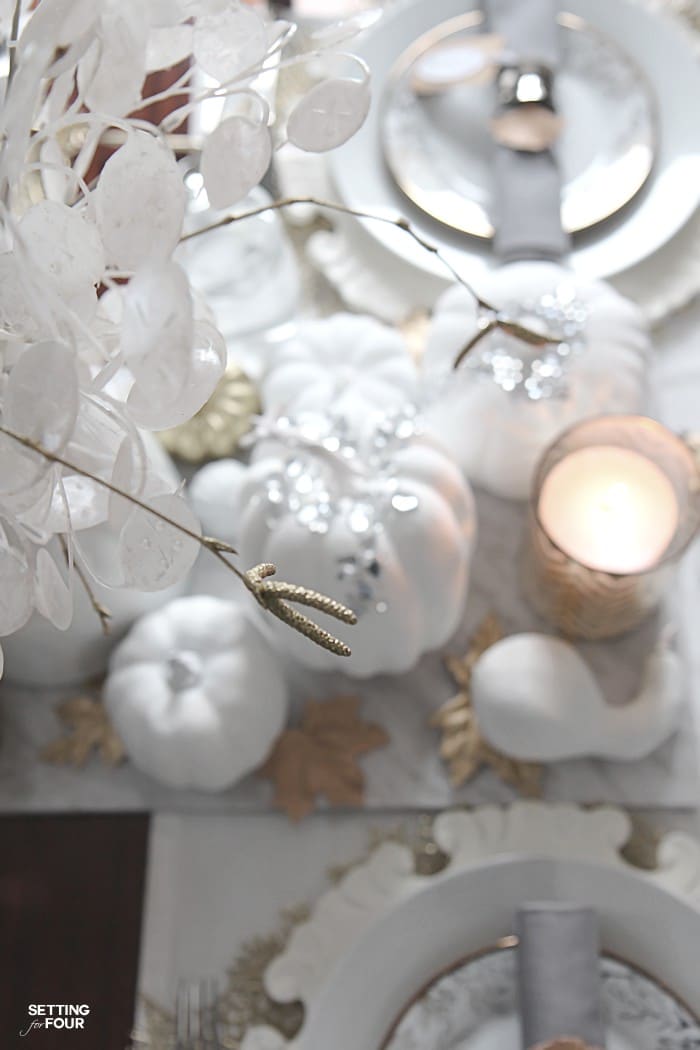
A timeless, neutral Thanksgiving and Halloween decor idea with a bit of sparkle.
Neutral colors are a huge trend right now so this white pumpkin color will update your home for Fall, Halloween and Thanksgiving.
This is an easy pumpkin decor idea that will add a beautiful fall harvest ambiance to your home.
Use any size you want -larger pumpkins will require more rhinestone stickers and extra time.
Different stick on gems and paint colors can be used to create any look you want!
Let your creativity flow!
PLEASE PIN THIS AND SHARE IT WITH YOUR FRIENDS!
These gorgeous bling rhinestone pumpkins are perfect for:
- Weddings. Add them as wedding reception table decor idea, to the gift table and sign-in table!
- Fall tablescapes. Add a few of these in different shapes and sizes down the center of the table for an easy fall table setting
- Thanksgiving centerpiece. Add some of these in a bowl or in a tray with some seeded eucalyptus for an easy Thanksgiving table centerpiece!
- Non scary Halloween ideas for the kids! Use fun colorful gems to make a colorful happy Halloween!
Supplies:
DIY Pumpkin Supply List:
- Artificial White Craft Pumpkins
- I used Artificial Orange Mini Pumpkins
- White Craft Paint
- or white flat spray paint
- or Glow in the dark paint
- This white paint will block the orange color if you’re using orange colored pumpkins
- Self adhesive clear rhinestones, gem stickers or sequins
- Also check out these beautiful these monogram rhinestone stickers
- these Self Adhesive Bling Rhinestone Stickers
- these Black, gold and clear gem stickers
- And these gem stickers are fun for the kids!
- Crafting Paint Brush
- Scissors
Instructions to make this Easy Bling Pumpkin DIY:
- If using Faux Pumpkins that aren’t already white, use a paint brush and paint the pumpkins with two coats of White Craft Paint ( or enough coats to completely cover the orange color). Or use white flat spray paint. Let the painted pumpkins dry completely.
- If using Artificial White Pumpkins you can start here!
- Remove self adhesive clear rhinestone gem stickers from packaging.
- With scissors cut the self adhesive rhinestone strips into smaller pieces and place them onto the top of the pumpkin, around the stem, in a random pattern as shown below.
- Take one piece of Self Adhesive Bling Rhinestone Stickers and drape it down the side of the pumpkin as shown.
Isn’t it gorgeous?!
These DIY rhinestone pumpkins are so easy to whip up.
I love that it’s a pumpkin project you can do with the whole family!
They look beautiful on a coffee table, dining table, kitchen island tray, on bookcase shelves or on a mantel!

I hope you enjoyed this pumpkin decorating ideas and inspiration!
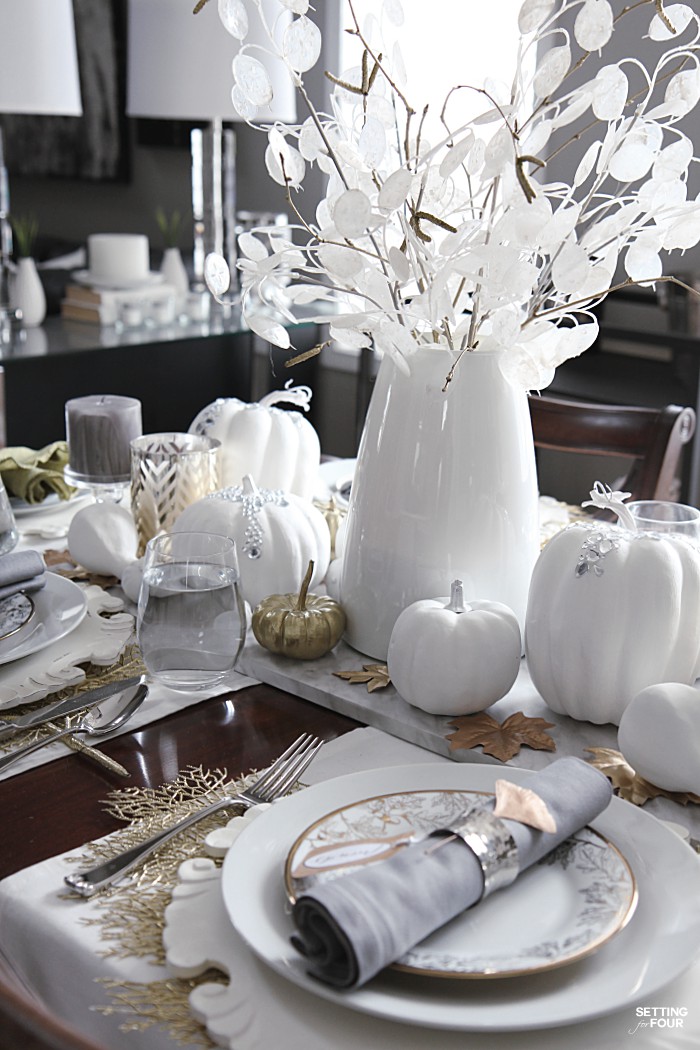
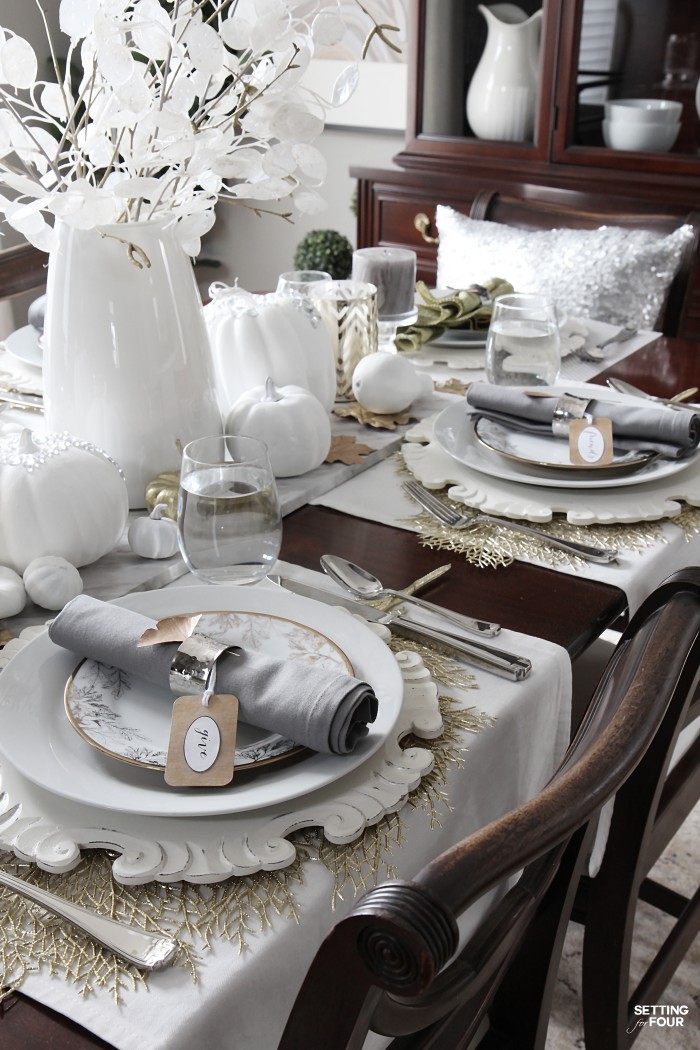
Take a look at how I used them to decorate my Elegant Holiday Table!
How to Set an Elegant Table for The Holidays!
Frequently Asked Questions
What are alternate ways to decorate a pumpkin?
- add metallic rub n buff
- cover with glue then sprinkle on glitter
- hot glue faux flowers all over a pumpkin
How do you display pumpkins outside?
- Place a few in a pot or basket.
- Sprinkle them down the front steps.
- Place mini pumpkins in lanterns
- Add one or two by the front door.
How do you secure fake pumpkins from blowing away?
Cut a small section out of the bottom of a faux pumpkin, fill with some rocks then put the piece back and secure with clear packing tape.
How do you decorate a house for Halloween on a budget?
These bedazzled pumpkins are a great way to save money because they can be reused year after year!
Inexpensive Ways to Make Your Home Look Expensive!
Fall and Halloween Design & Decor Ideas:
- How To Make Your Kitchen Bright and Cozy For Fall
- Fall 2023 Design Trends & Decor Ideas
- Fall Decor Ideas: Your Guide to the Coziest Season
- 10 Stylish Halloween TikTok & Instagram Reel Decor DIYs
- 6 Fall Front Porch Decorating Ideas To Celebrate Autumn!
- Fall Kitchen Decor Ideas – Kitchen Island, Countertops and More!
- 5 Cozy Small Spaces And Nook Ideas
- Elegant Fall Living Room Decor Ideas To Celebrate Autumn!
- Easy Elegant Halloween Table Decorations & Centerpiece Idea
- Neutral Fall Home Trends
- Easy Pumpkin Decor with Printable ‘Give Thanks’ Tags
- Delicious Hazelnut and Nutella Pumpkin Bread
- DIY Wood Halloween Pumpkins
- Decorating with Lanterns & Outdoor and Indoor Ideas

 Heather is a Designer, True Color Expert® and proud military wife at
Now that’s a Jerseylicious pumpkin if I’ve ever seen one!!
Kelly
Ha!! You know I have a little Jersey in me somewhere girlfriend!!
So classy and elegant! And on a nice budget to boot! You’re after my heart I think.
Thanks So much for the invite and the sweet compliments – off to check out your party!!
I love this simple, yet elegant way to dress up an ordinary pumpkin. Great idea and thank you for sharing the tutorial. Found you at Coastal Charm:-)
Thanks Betsy! This was super inexpensive too! Glad you like it 🙂
Stunning! It’s a nice and unique change from the ordinary orange pumpkins. Beautiful job 🙂 Have a great day!
Blessings,
Stephanie
Thanks Stephanie – wow such sweet comments!!
Everything’s better with bling and your pumpkins are stunning!
Ha! Carol – I like the way you think!!! I agree! Bling is best!
So pretty and it looks really easy!
It is really easy – you can do it!
They really do look so elegant! Fun way to do pumpkins. And NO! I’m totally NOT ready for Halloween. My son hasn’t even decided what he want to be so it will be last minute rushing here. 🙂
Sherry, I am rushing too to get my son’s costume ready!!! He wants to go as an explorer and wants brown leather pants!! Really!!! I’m going to have to wing those!! Thanks for your lovely comments!
I love your blingy pumpkin 🙂 Now I want to go dress up mine in some sparkly rhinestones!
They are so pretty aren’t they? I think I will leave them out until Christmas!
that is gorgeous! I love your version of a bling pumpkin — dynamite (www.dianeschuller.com/blog)
So glad you like it Diane!! I am blinging up a whole lot of pumpkins right now! Perfect to plunk into a basket on the coffee table!
So elegant and lovely!
Just like you Mary Beth!! Hugs for the sweet comments girlie 🙂
Thanks so much for stopping by my blog and saying “hi”! It’s so fun to meet another Ottawa-based blogger. I’m going to add myself via GFC right now. This pumpkin, by the way, is SO pretty! I love how chic and sparkly it is. Can’t wait to see your other DIY projects!
Thanks for such sweet comments Tanya!
Ooohhh I love the bling! So elegant!
Beautiful !
Anna
Lovin’ the BLING! I was surprised to see the rhinestones come in strips like that – thought it was going to be much more tedious putting them on! Hoping our Dollar Store has them and I can make some glitzy pumpkins!
DD