Setting for Four

  • Online Interior Design & Paint Color Services
  • Interior Design Tips
  • The Holiday Shop – Festive Christmas Decor
  • Furniture & Decor Sales
  • Shop My IG
  • Christmas Decor Ideas
  • Gift Guides
  • About ↓
    • Welcome to Setting for Four!
    • Contact
    • Privacy, Disclosure & Photo Usage Policy
  • Collaborate
  • Home DIY Projects ↓
    • Seasonal ↓
      • Spring
      • Fall
      • Summer
      • Winter
    • Holidays ↓
      • New Year’s Eve
      • Valentine’s Day
      • St. Patrick’s Day
      • Easter
      • Mother’s Day
      • Father’s Day
      • Halloween
      • Thanksgiving
    • DIY Tutorials
    • Gardening
    • Organizing & Storage
    • Paint Projects
    • Crafts
    • Kids Crafts

How To Make A Marble Table Runner

by heather 6 Comments

640 shares
  • 90

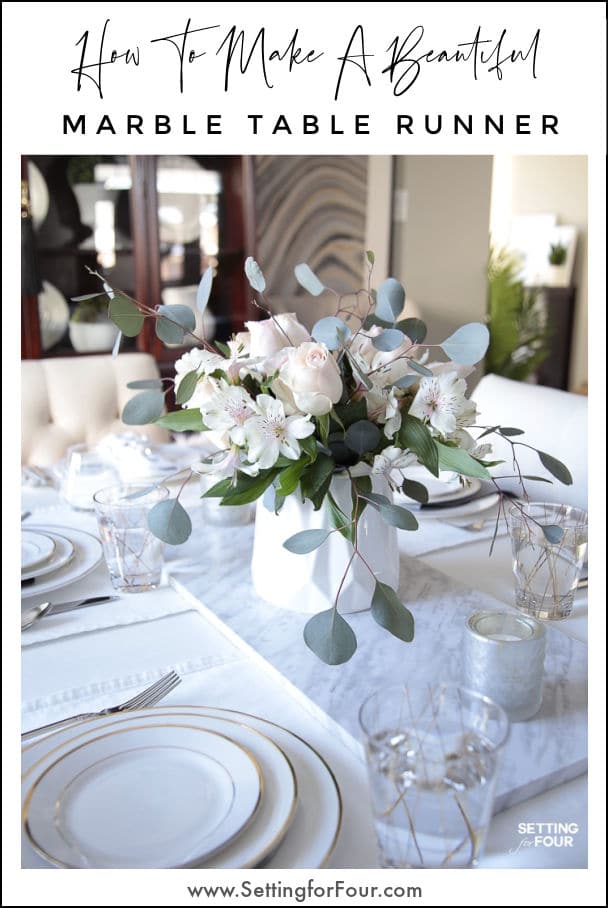
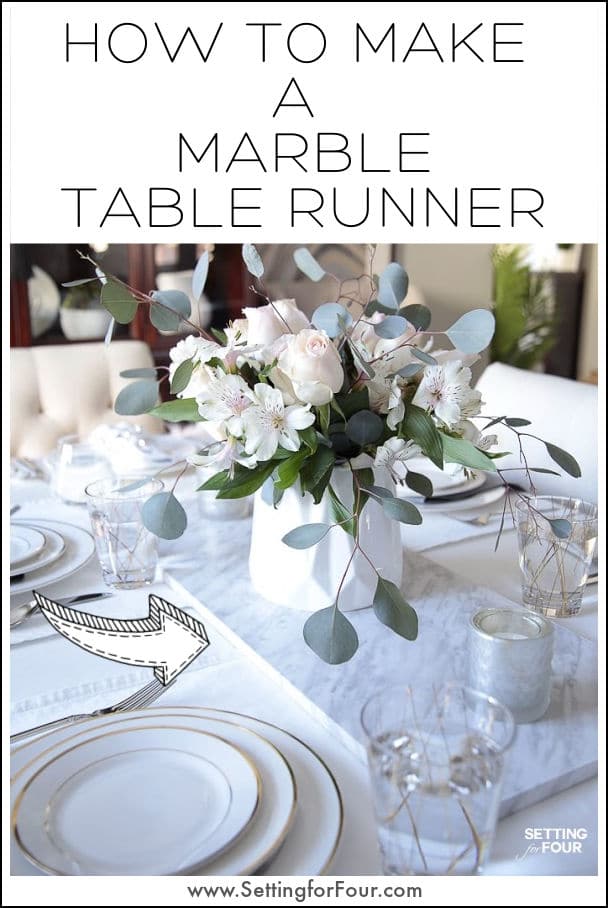
How To Make A Marble Table Runner for your dining table! I’m sharing the supplies and directions on how to make a beautiful, neutral faux marble table runner!

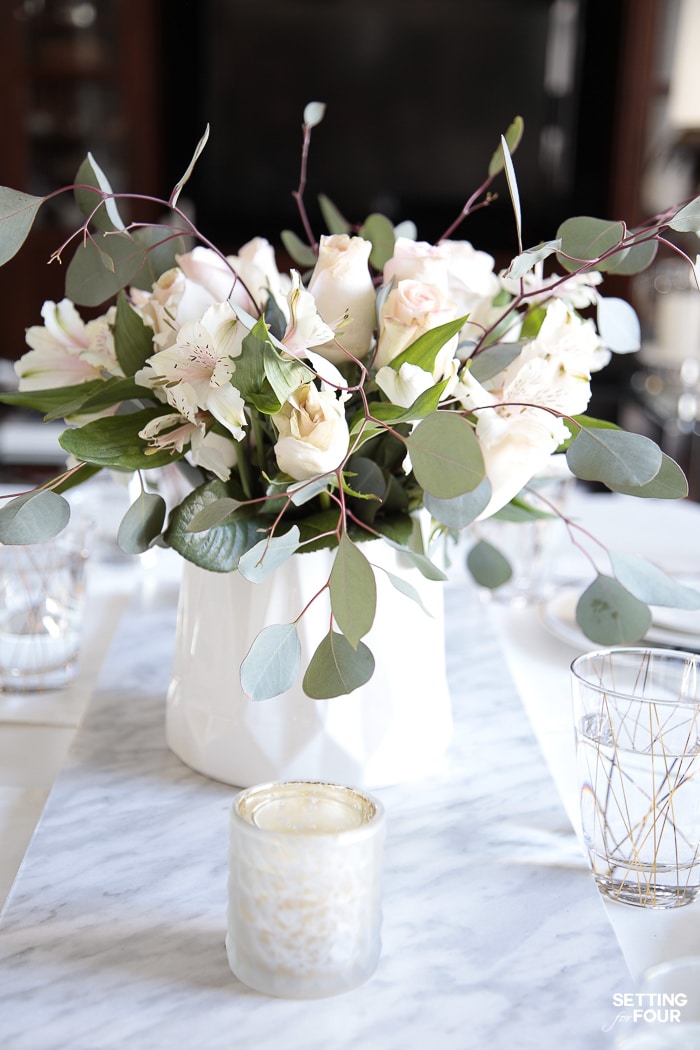
How To Make A Marble Table Runner Centerpiece for your dining table!

PLEASE PIN THIS TO SAVE IT FOR LATER!

How To Make A Marble Table Runner for your dining table!

How to make a gray and white marble table runner. Easy decor idea to update your dining furniture.

Affiliate links  included. Click HERE for my disclosure statement.

How To Make A Marble Table Runner

This is such an easy, inexpensive DIY Decor project that’s timeless and classic!

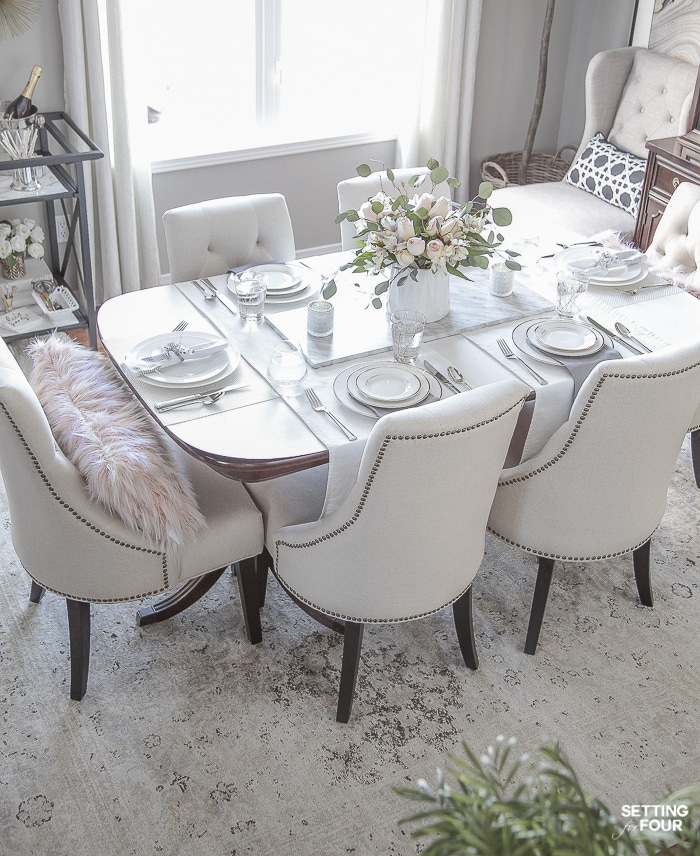
This marble runner is so beautiful – marble is such an elegant look!

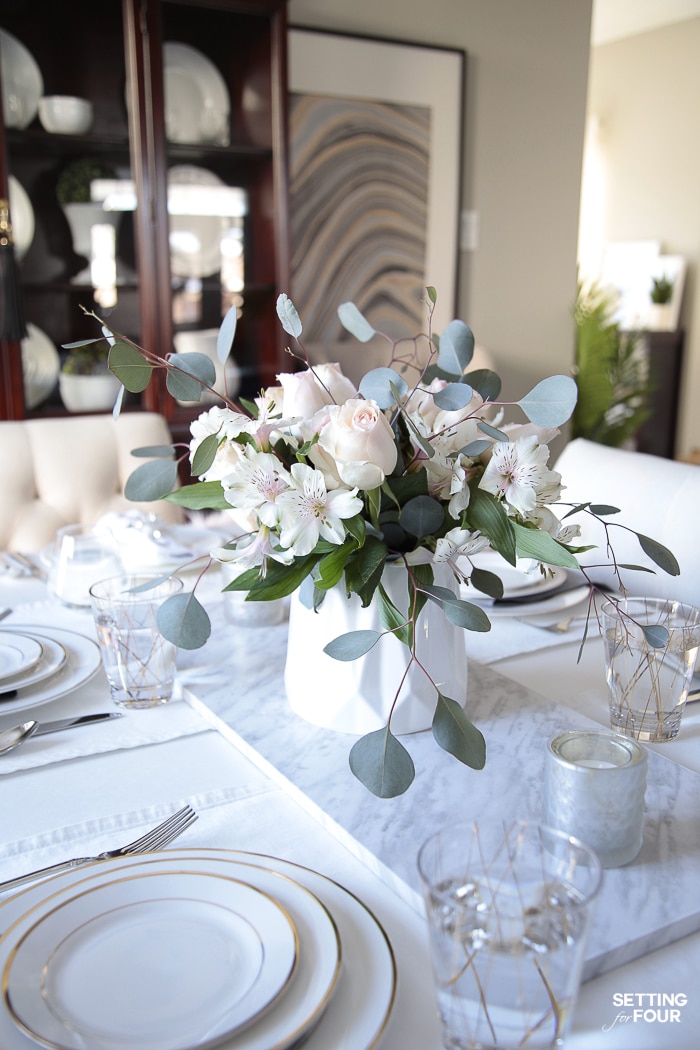
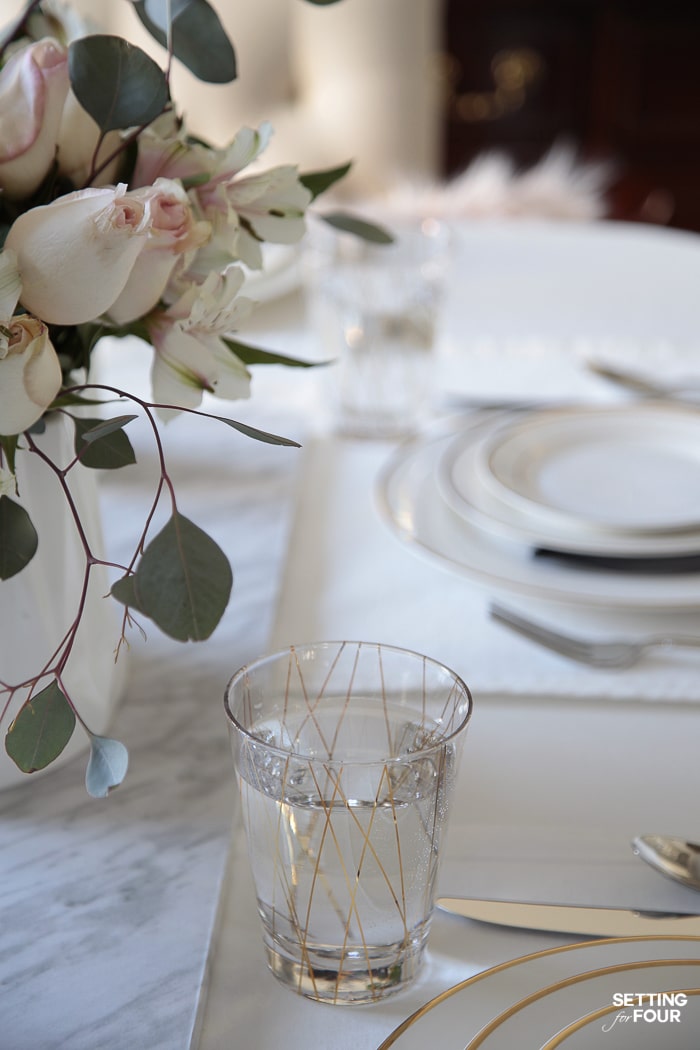
The soft gray and white marble pattern adds a casual, sophisticated style.

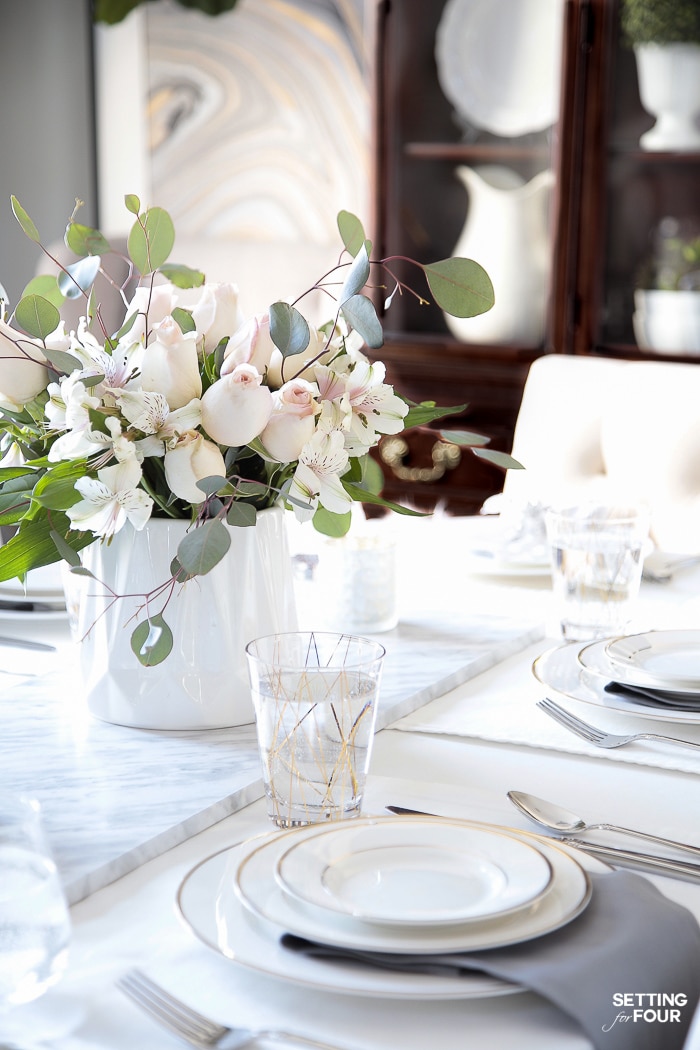
This DIY runner is a great way to add a bit of height to any centerpiece, raise candle votives and a vase of flowers a bit to add interest and style to place settings.

This would make an amazing, inexpensive DIY wedding table decor idea too!

This marble runner is also a great way to update a dining table and give it an instant refresh without breaking the bank!

It’s so easy to clean too – just wipe off with a damp cloth!

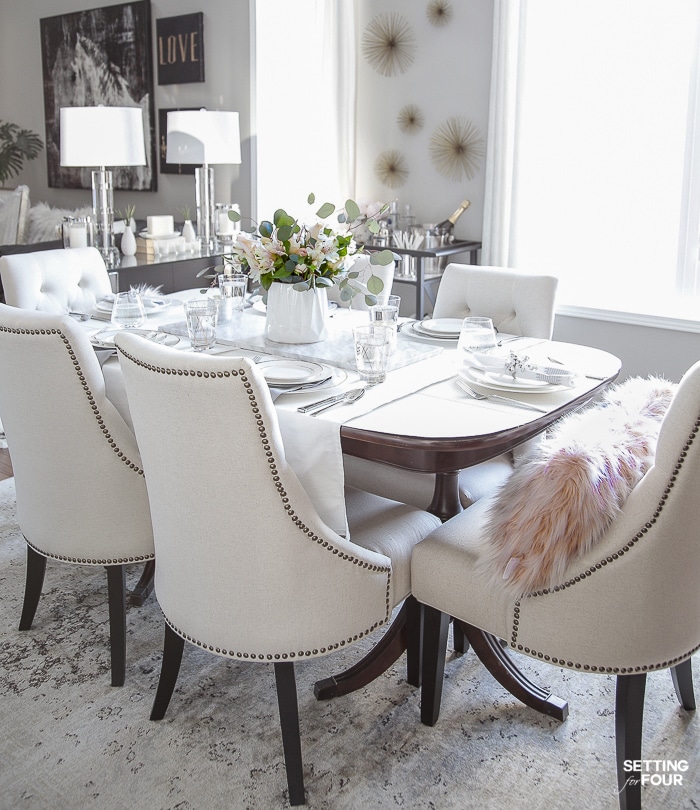
Design Tip: I love using this chic marble piece with two white cotton/linen table runners . Lay the fabric table runners widthwise between opposite chairs in the middle of the table! 

It looks so stunning with candles, votives and a vase of flowers displayed on it!

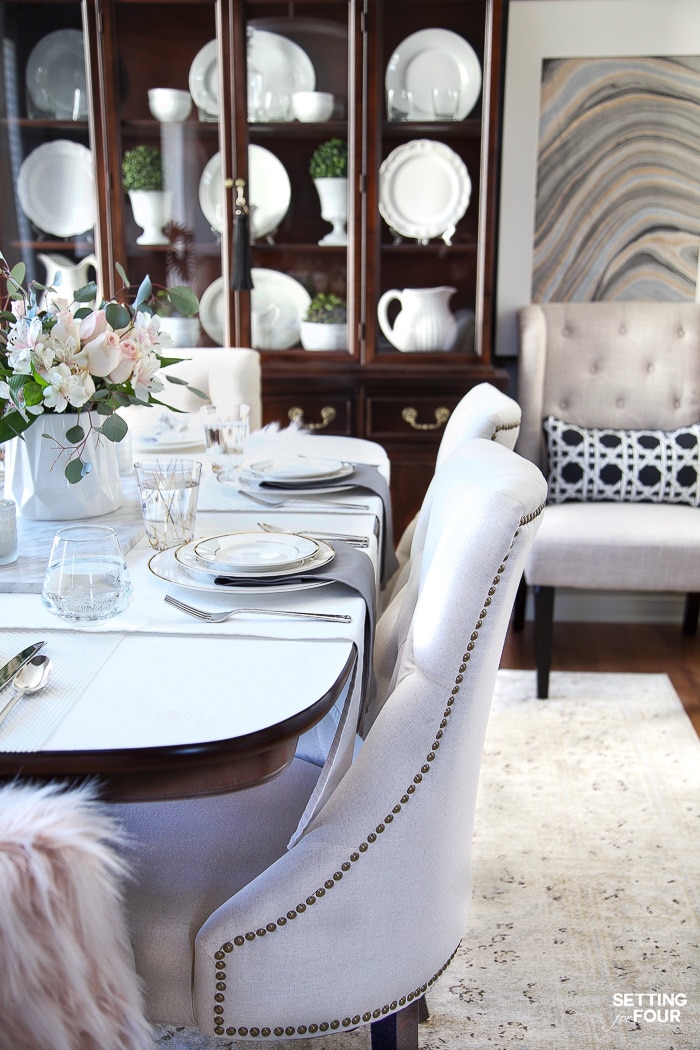
I’ve had sooooo many questions about the marble runner that I have on our dining table in our dining room!

Everyone wants to know where I bought it – and guess what? I actually made it!

So today ‘m sharing with you how I made it! It’s so simple and quick to make.

Below are the directions and supply list.

Quick and easy DIY marble table runner centerpiece! Great wedding table decor idea! Add wow to your place settings and floral centerpiece!

How to make an inexpensive white marble table runner - beautiful neutral dining table decor idea to update your centerpieces and tablescapes!

How To Decorate a Dining Room and Update Traditional Dining Room Furniture

How to make a gray and white marble table runner. Easy decor idea to update your dining room

Click on the images below to shop my dining room decor!

DIY tutorial to make a marble table runner to display vase of flowers and votive candle holders.

DIY Marble Table Runner for your dining table.


Do you need help with your furniture layout, picking out the perfect furniture or paint colors?

See my online design & paint color services!  Plus my client reviews! 

Email me at [email protected] for more info!

online Interior Decor Services, examples of my client designs and client reviews.


Supplies:

  • MDF or melamine board cut to size – I used one that is 11.5″ wide x 30″ long x 1/2″ thick.
  • 1 roll of Peel and Stick Self-Adhesive Marble Film
  • Scissors

Directions:

  1. Cut the MDF to size.
  2. Cut off a piece of the peel and stick marble adhesive paper from the roll, that’s big enough so it will wrap around the length and width, plus edges of the MDF board.
  3. Unroll one end of the peel and stick marble film from the backing about 1 inch.
  4. Place sticky side of marble film down on top of one long edge of melamine shelf and run finger or credit card along top to smooth.
  5. Slowly unroll marble film along top of shelf smoothing out bubbles as you go.
  6. Flip board and film over.
  7. Wrap the board like a present: press the two short sides of the marble film onto the board, creating two wings, one wing on the top and one at the bottom.
  8. Finish by pressing the bottom wing of film, then the top wing onto the board so that the board is completely wrapped.
  9. Smooth out all bubbles using fingers or a credit card.

I hope you enjoyed these tips and lesson on How To Make A Marble Table Runner!

PLEASE PIN THIS TO SAVE IT FOR LATER!

How To Make A Marble Table Runner for your dining table!

More Design and Decor Ideas:

  • How To Arrange Furniture With An Open Concept Floor Plan
  • My Neutral Transitional Living Room
  • How to Mix Design Styles So They Don’t Clash!
  • How To Identify Paint Color Undertones – To Choose The Right Color
  • Top 50 Bestselling Paint Colors At Sherwin Williams
  • 5 Design Tricks To Brighten A Dark Room
  • 7 Ways To Make A Small Room Feel Larger Instantly!

Follow me on Instagram for design inspiration and decorating tips!


GET THE FREE BEGINNER'S GUIDE TO INTERIOR DESIGN & DECORATING!

Design secrets to create spaces you'll love!
By signing up, you agree to receive Setting for Four e-mails. Please see our privacy policy for more information. Although I'd hate to see you go, you may unsubscribe at any time. Your information will never be shared or sold to a 3rd party.
640 shares
  • 90

Filed Under: Crafts, Decor, Dining Room, DIY, home decor, Tutorials Tagged With: centerpiece, Decor, dining room, DIY, marble, tutorial

heatherHeather is a Designer, True Color Expert® and proud military wife at Setting For Four Interiors. Heather offers online Interior Design and Paint Color Services. See all of our design tips & tricks on the blog and follow us on Instagram for more design and decor inspiration!

Comments

  1. Mary says

    October 28, 2020 at 10:23 am

    I am a little confused about how you manage to get neat corners. Can you provide a little more detail and/or pictures that show the actual corners. Thank you.

    Reply
    • heather says

      October 30, 2020 at 9:11 am

      I rewrote the instructions, hopefully it makes it clearer! It’s just like wrapping a gift! 🙂

      Reply
      • Lois says

        December 8, 2020 at 3:17 pm

        I am a bit confused also. The film you suggested on amazon doesn’t fit the 30” board length wise. I ended up having to wrap the short sides as well as one long side of the board. Do you cut the film in two pieces ,wrapping the top and all four sides then the bottom.

        Reply
        • heather says

          December 9, 2020 at 9:29 am

          Hello Lois – No I didn’t cut the film in 2 pieces because this adhesive film fits a 30″ board! The film is 78″ long. Hope that helps!

          Reply
  2. Brigid Clevenger says

    May 24, 2021 at 11:40 pm

    Hello! I’m wondering what the tabletop covering is? A custom made white mat? Also, are the flowers in the vase artificial? If so, where are they from? Room is so beautiful!!! Thank you!

    Reply
  3. Barbara says

    November 22, 2022 at 5:55 am

    please can you tell me how much the dinner set is it’s white with a Greek key edge

    Reply

Leave a Reply Cancel reply

Your email address will not be published. Required fields are marked *

Recipe Rating


Hello! I'm Heather - Designer and True Color Expert at Setting For Four Interiors!
  • Email
  • Facebook
  • Instagram
  • LinkedIn
  • Pinterest
  • Twitter
  • YouTube

HIRE ME FOR ONLINE DESIGN!

True Color Expert®

True Colour Expert - online color design services. eDesign.

Furniture Layout Solutions!

Get your FREE Beginner’s Guide To Interior Design!

Get Your FREE Design Guide Here!

Copyright and Usage Policy

© Heather Luckhurst and Setting for Four Interiors, 2011-2023.
See my Photo Usage Policy here. All images photographed by me and all articles on this website are my copyrighted material and intellectual property. Unauthorized use and/or duplication of this material without express and written permission from this website’s author and owner is strictly prohibited. Absolutely no text or tutorials can be replicated. To request authorization for use of my copyright material, photos, media (video or audio files), tutorials, or ideas contact me via email: settingforfour (@) gmail (dot) com

© 2011-2023 · Heather Luckhurst and Setting for Four · Log in
See my Photo Usage Policy here. ALL images and tutorials on this blog are my copyrighted material and intellectual property. Unauthorized use and/or duplication of this material without express and written permission from this blog’s author and owner is strictly prohibited. Absolutely no text or tutorials can be replicated. Copying my recipes is not allowed. To request authorization for use of my copyright material, photos, media (video or audio files), tutorials, or ideas contact me via email: settingforfour (@) gmail (dot) com | Privacy Policy
GET THE FREE BEGINNER'S GUIDE TO INTERIOR DESIGN & DECORATING!

Design secrets to create spaces you'll love!
By signing up, you agree to receive Setting for Four e-mails. Please see our privacy policy for more information. Although I'd hate to see you go, you may unsubscribe at any time. Your information will never be shared or sold to a 3rd party.
640 shares
  • 90Facebook
  • Twitter
  • Pinterest