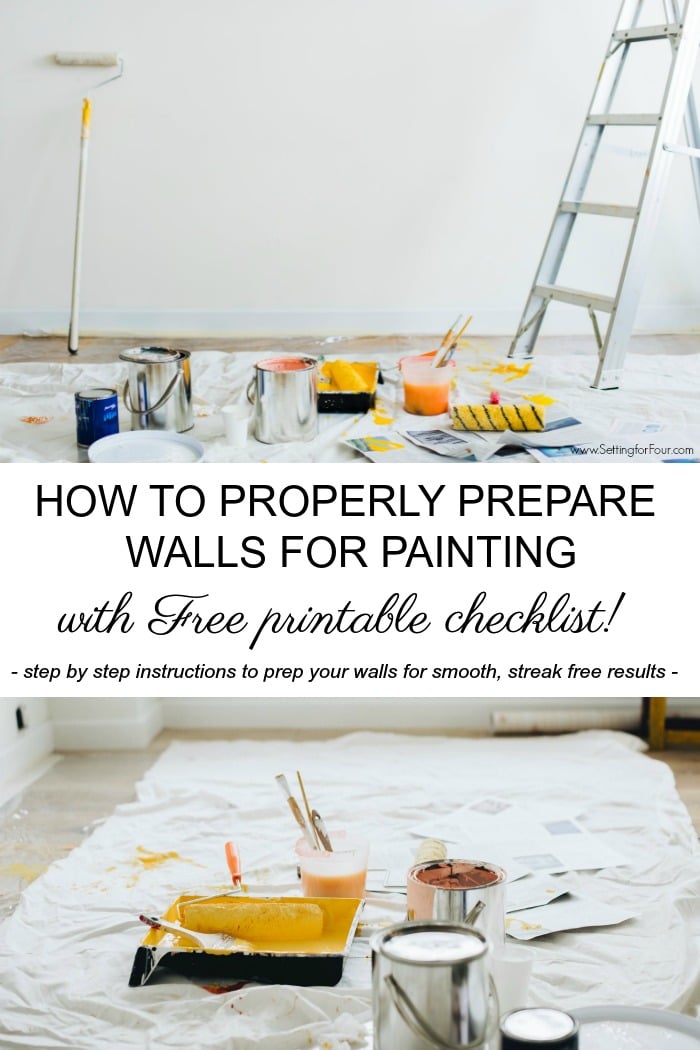
How to prepare a room for painting – for gorgeous results! As with most things preparation is a definitely a key step when it comes to painting a room! See 12 essential tips on how to prepare a room for painting – save time, ensure proper paint adhesion and fast forward to the actual painting so you can enjoy your newly painted room as quickly as possible! Get your FREE Printable Painting Checklist. Print it off and keep with your paint supplies!
We have painted a LOT of rooms as a military family during our 8 postings! Plus we’ve painted 8 rooms in our current home. We just finished painting our kitchen- did you see Our Dark to White Kitchen Remodel Before and After?
Needless to say we have acquired a lot of experience in the whole painting process and now we can paint a room super quickly with gorgeous results!
Painting your rooms yourself rather than hiring a painter saves you money that you can spend on decorating and furnishing it!
These paint prep tips always save us time and we end up with walls that look smooth and beautiful.
I’m sharing these prep ideas with you so that you can paint your rooms quickly and enjoy them!
This post may contain affiliate links.
I hope these painting ideas are a help to you next time you paint!
How to Prepare a Room For Painting – Tips and Tricks
Step 1: Remove any furniture and decor that won’t be staying in the room. Move the items to other rooms, donate or throw out if it’s in bad shape.
Step 2: Move furniture away from the walls towards the center of the room.
Step 3: Cover furniture with old sheets, blankets, drop cloths or painter’s plastic sheeting that comes on a roll ( I LOVE this stuff for painting and for DIY craft projects to protect my craft table surface!).
Step 4: Remove wall light switch plates, cable plates and wall grates. Use painter’s tape to tape on the screws to it’s respective grate and light switch so they don’t get lost. Throw out and replace any light switch plates and grates that are cracked or bent.
Step 5: Tie up any loose wall cables into a plastic bag so they don’t get paint drips on them and so they don’t get caught on the legs of your step ladder.
Step 6: Remove wall art and nails.
Step 7: Caulk any nail holes and wall cracks with latex caulk and a putty knife. Let dry.
Step 8: Sand walls including caulked nail holes with a sanding sponge to remove excess caulking, any dust and pet hair that are on the walls. Just give the wall surface an all-over light scuff. This step goes very quickly!
Step 9: Wipe sanding dust off walls with a Swiffer duster.
Step 10: Vacuum floors, tops of door and window trim and baseboards to remove any sanding debris.
Step 11: Tape off the room’s baseboard, door and window trim with painters tape.
Step 12: Gather painting supplies such as paint rollers, roller trays, paint brushes, cloths for wiping up drips, step ladder and drop cloths for the floor.
Now you’ve completely prepped the room for an A1 result and you are ready to paint!
FREE CHECKLIST HOW TO PREPARE A ROOM FOR PAINTING!
As a military wife who has moved a lot and painted MANY rooms I’ve figured out the QUICKEST way to paint a room with the most gorgeous results!
I also figured out how to get my painted walls smooth and streak free!
As with most things preparation is a definitely a key step when it comes to painting a room!
Get your FREE ‘How to Prepare a Room for Painting Checklist’ to print off and keep in your home binder or with your paint supplies!
It lists the best supplies you need for your paint job and keeps you on track as you check each step off as you go – so you save time, get the best paint adhesion and blitz through the painting process.
Now you can enjoy your newly painted room as quickly as possible.
Get your FREE Painting Prep Checklist now!
The link to the FREE painting checklist will be emailed to you after you add your info to this form!
I hope you enjoyed this painting tips post!
You may also like:
Choosing Our Bedroom Paint Color – Sherwin Williams Pure White
Blueprint Paint Color By Behr – Color Of The Year 2019


 Heather is a Designer, True Color Expert® and proud military wife at
I liked your tip of moving your furniture away from walls to prepare for painting. My wife and I are wanting to remodel our bedroom and we were wondering how we can prepare for the professional painters to come to our house. I’ll be sure to tell her that we should move our furniture away from the walls before our room is painted!