Setting for Four

  • Online Interior Design & Paint Color Services
  • Interior Design Tips
  • Paint Colors
  • Home Decor Ideas ↓
    • Seasonal ↓
      • Spring
      • Fall
      • Summer
      • Winter
    • Holidays ↓
      • New Year’s Eve
      • Valentine’s Day
      • St. Patrick’s Day
      • Easter
      • Mother’s Day
      • Father’s Day
      • Halloween
      • Thanksgiving
  • Furniture & Decor Sales
  • Shop My LIKEtoKNOW.it
  • Christmas Decor Ideas
  • Gift Guides
  • The Holiday Shop – Festive Christmas Decor
  • About ↓
    • Welcome to Setting for Four Interiors
    • Contact
    • Privacy, Disclosure & Photo Usage Policy
  • Collaborate

Easy DIY Address Plaque Makeover

by heather 4 Comments

32 shares
Home Improvement and curb appeal tip: Easy DIY address plaque makeover tutorial with complete supply list and step by step instructions that you can follow along to make one for your home! It’s SUPER IMPORTANT for your house number to be visible from the street for emergency responders!
 
Home Improvement and curb appeal tip: Easy DIY addressplaque makeover tutorial with complete supply list and step by step instructions that you can follow along to make one for your home! It's SUPER IMPORTANT for your house number to be visible from the street for emergency responders!

Easy DIY Address Plaque Makeover

Here is a before picture of my original house address sign: 

Easy DIY Address Plaque Makeover from Setting for Four #DIY # House address #Spray paint
 
Here is the after!
 
Home Improvement and curb appeal tip: Easy DIY House Number Address Plaque Makeover tutorial with complete supply list and step by step instructions that you can follow along to make one for your home! It's SUPER IMPORTANT for your house number to be visible from the street for emergency responders!
This post contains some affiliate links for your convenience. Click here to read my full disclosure policy.

The original address plaque doesn’t suit the style of our home and makes our house number really difficult to read from the street.

This is a safety concern because if we need emergency responders (police, ambulance) to come to our home they would have difficulty finding it!)

So I thought I would just cover it up with this beautiful DIY address plaque.

This is a VERY easy quick home improvement and curb appeal project.

The easy factor comes from using black peel and stick numbers for outdoor use! 

DIY Address Plaque Supplies:

Wood address plaque (It is important to buy a wooden plaque that is bigger than the one you are trying to cover  – so that the old one is hidden behind the new plaque)

Self Adhesive address number kit 

Drop cloth to protect areas from overspray of paint

Spray Paint Primer for all surfaces

Rustoleum Satin smooth protective enamel spray paint, indoor/outdoor – Satin White

3M Command strips 

 
Easy DIY Address Plaque Makeover from Setting for Four #DIY # House address #Spray paint
 
Easy DIY Address Plaque Makeover from Setting for Four #DIY # House address #Spray paint
 
 
Easy DIY Address Plaque Makeover from Setting for Four #DIY # House address #Spray paint

Tutorial:

1. Sand the wooden plaque if there are rough areas. Mine needed some light sanding in two spots along the edge. Wipe off dust using a tack cloth or paper towel.

2. Prepare area where spray painting will be done: Place drop cloth on ground to protect from overspray.

3. In a well-ventilated area, using goggles and a spray painting mask (safety first!!): Spray paint one side of the plaque with one coat of primer. Let dry completely for 1 hour.

4. Flip over the plaque and spray paint this side as well with primer. Let dry completely.

5. Spray paint each side with one coat of Rustoleum Satin white. Following the spray paint can instructions let this coat dry before applying the second coat.

6. I waited 3 hours, and then I applied the second coat. Let second coat dry completely 24 hours.

7. Determine which is the front and back of the plaque: mine has a flat side and a routered side. I used the flat side as the back and the routered side as the front, but you can use your plaque any way you wish!

8. Lay the plaque with the ‘front’ side facing up.

9. Remove your house numbers from the kit. Do not peel the backing off of the numbers just yet!! To get an idea of the spacing you will need for each number, preposition each number this way: lay down each number on the plaque in a position that makes everything fit vertically and horizontally. When you have all the numbers laid out, take the first number and peel off the backing. Stick it onto the plaque in its ‘position’. Press for a few seconds to ensure it has a good hold. Moving to the second number (and without moving any of the other numbers) repeat this step. Repeat until all the numbers are stuck onto the plaque.

10. Flip the plaque over so that the back side is facing up. Place the two command poster stickers onto the back of the plaque, one on each end. I placed my command stickers where they would attach onto the old plaque surface. Peel off the backing of the command stickers and press the new plaque onto the old one. The directions on the command poster sticker suggests pressing for 30 seconds.

That’s it!! You’re done! Now stand back and enjoy!

Easy DIY Address Plaque Makeover from Setting for Four #DIY # House address #Spray paint
 
I really love how it turned out! It’s so much easier to read from the street too.
 
Easy DIY Address Plaque Makeover from Setting for Four #DIY # House address #Spray paint
 
Easy DIY Address Plaque Makeover from Setting for Four #DIY # House address #Spray paint
 
 Home Improvement and curb appeal tip: Easy DIY House Number Address Plaque Makeover tutorial with complete supply list and step by step instructions that you can follow along to make one for your home!
 
 I am so happy with the result!
 
As you can see, my new plaque was not large enough to hide the top scrolled piece of the old one, but I think it all fits into the new look.
 
Knowing that the scroll work would still be visible after I attached my plaque, I painted my plaque white so that it would ‘match’ and look cohesive.

And when we move, all I have to do is pull the ends of the 3 M command stickers and my address plaque will come off!
 Easy DIY Address Plaque Makeover from Setting for Four #DIY # House address #Spray paint
 
Home Improvement and curb appeal tip: Easy DIY House Number Address Plaque Makeover tutorial with complete supply list and step by step instructions that you can follow along to make one for your home! It's SUPER IMPORTANT for your house number to be visible from the street for emergency responders!
 
What do you think?? Does this Address Plaque makeover look better to you? 
 
You may also like:
 
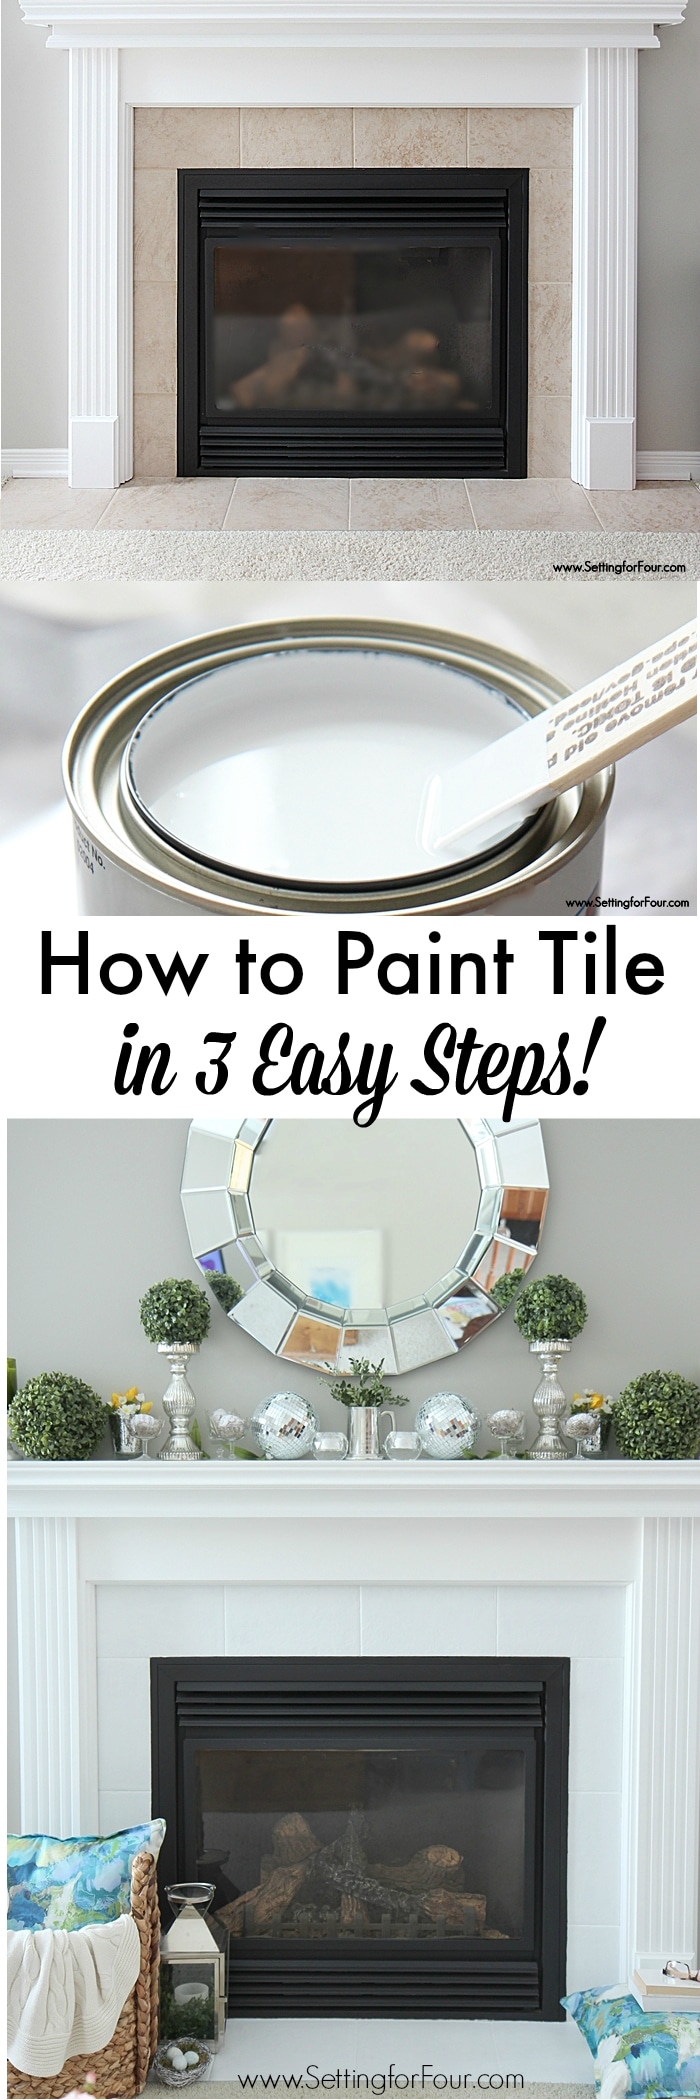
How to Paint Tile in 3 Easy Steps!
 
How to paint tile in 3 easy steps!! See how I turned my ugly beige fireplace tile into a fresh white look!
 
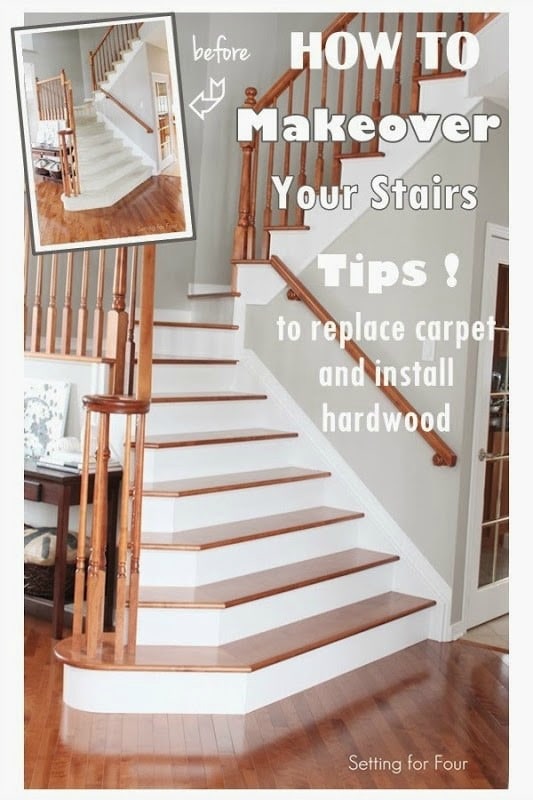
How to Replace Carpet on Stairs with Hardwood
 
How to Replace Carpet on Stairs with Hardwood. Stair makeover including pictures of the steps involved. This is a great home improvement project to increase the value of your home!
 
How to Prepare a Room for Painting with Free Checklist: Tips and Tricks
 
How to Prepare a Room for Painting with Free Checklist: Tips and Tricks to get the best paint adhesion and save time!
GET THE FREE BEGINNER'S GUIDE TO INTERIOR DESIGN & DECORATING!

Design secrets to create spaces you'll love!
By signing up, you agree to receive Setting for Four e-mails. Please see our privacy policy for more information. Although I'd hate to see you go, you may unsubscribe at any time. Your information will never be shared or sold to a 3rd party.
32 shares

Filed Under: Curb Appeal, Decor, DIY, Entryway, Spray Paint, Tutorials Tagged With: Address plaque, Craft, curb appeal, Decor, DIY, entryway, front door, home improvement, house number, safety, tutorial

heatherHeather is a Designer, True Color Expert® and proud military wife at Setting For Four Interiors. Heather offers online Interior Design and Paint Color Services. See all of our design tips & tricks on the blog and follow us on Instagram for more design and decor inspiration!

Comments

  1. Shell says

    March 18, 2013 at 3:28 am

    Love the address plaque! It turned out super cute! Visiting from dirtroaddamsel.blogspot.com, feel free to stop by sometime!

    Reply
  2. My Eclectic Loft says

    July 18, 2013 at 3:05 am

    You gave me ideas! Thank you. I just love your blog.

    Reply
  3. Nadine says

    May 5, 2021 at 11:57 pm

    I have the same plaque. Is it removable?

    Reply
    • heather says

      May 10, 2021 at 9:43 am

      Yes! I used 3M command strips to attach it. So it can be removed.:)

      Reply

Leave a Reply Cancel reply

Your email address will not be published. Required fields are marked *

Recipe Rating


Hello! I'm Heather - Designer and True Color Expert at Setting For Four Interiors!
  • Email
  • Facebook
  • Instagram
  • LinkedIn
  • Pinterest
  • Twitter
  • YouTube

HIRE ME FOR ONLINE DESIGN!

True Color Expert®

True Colour Expert - online color design services. eDesign.

Furniture Layout Solutions!

Get your FREE Beginner’s Guide To Interior Design!

Get Your FREE Design Guide Here!

Copyright and Usage Policy

© Heather Luckhurst and Setting for Four Interiors, 2011-2023.
See my Photo Usage Policy here. All images photographed by me and all articles on this website are my copyrighted material and intellectual property. Unauthorized use and/or duplication of this material without express and written permission from this website’s author and owner is strictly prohibited. Absolutely no text or tutorials can be replicated. To request authorization for use of my copyright material, photos, media (video or audio files), tutorials, or ideas contact me via email: settingforfour (@) gmail (dot) com

© 2011-2023 · Heather Luckhurst and Setting for Four · Log in
See my Photo Usage Policy here. ALL images and tutorials on this blog are my copyrighted material and intellectual property. Unauthorized use and/or duplication of this material without express and written permission from this blog’s author and owner is strictly prohibited. Absolutely no text or tutorials can be replicated. Copying my recipes is not allowed. To request authorization for use of my copyright material, photos, media (video or audio files), tutorials, or ideas contact me via email: settingforfour (@) gmail (dot) com | Privacy Policy
GET THE FREE BEGINNER'S GUIDE TO INTERIOR DESIGN & DECORATING!

Design secrets to create spaces you'll love!
By signing up, you agree to receive Setting for Four e-mails. Please see our privacy policy for more information. Although I'd hate to see you go, you may unsubscribe at any time. Your information will never be shared or sold to a 3rd party.
32 shares
  • Facebook
  • Twitter
  • Pinterest