DIY Potting Bench Materials List
This post contains some affiliate links for your convenience. Click here to read my full disclosure policy.
Pallets/Wood – as many as you need to complete your project
Screws – 2 1/2” for bench-top and trim
Faucet – we bought ours at a local buy and sell but this Faucet is similar to the one we used.
Plumbing adapter 3 way (brass 5/8-to-3/4)
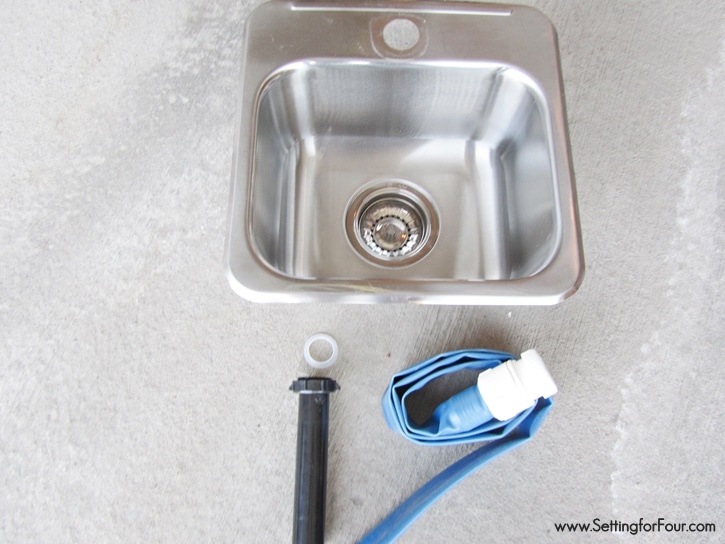
Sink Drain Extension
Drain Adapter (plastic 1.5”)
Recycle Bucket or plastic container
Metal Hose Reel – we bought ours at a local hardware store but this one is similar – metal hose reel
Cabot semi-solid deck and siding oil-based stain in slate-grey color
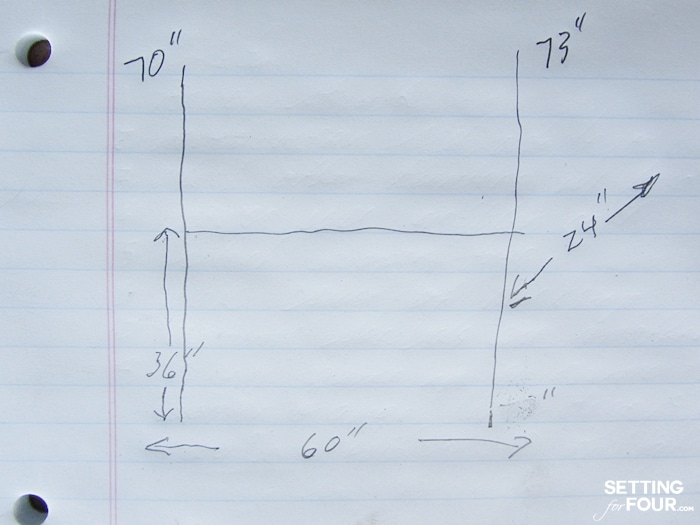
The measurements:
Yep this was his starting plan!
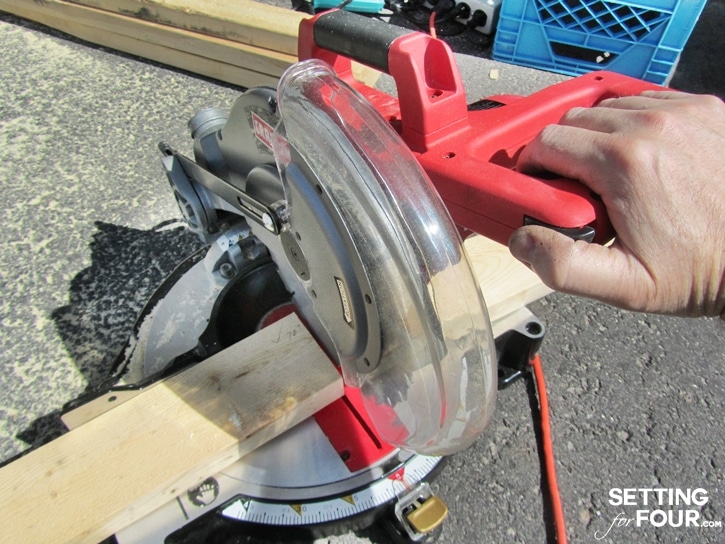
To keep things easy and simple, this potting bench design uses only 90 degree cross-cuts, no mitered or angled cuts. Also there is no cutting the wood length-wise as part of this build, which made things so much easier. And we LOVE easy, right?!
SAFETY BULLETIN!! Be extremely careful when working with pallet wood – be aware that the wood will contain old nails and wood screws as well as oils/chemicals that may be on them. Inspect your pallets carefully and ONLY cut where you are 100% certain that there are no old nails or screws hidden. Your safety and preventing damage to your tools are the reasons why you should NEVER joint, plane, or rip pallet wood. Always wear safety glasses and ear protection for all DIY building projects.
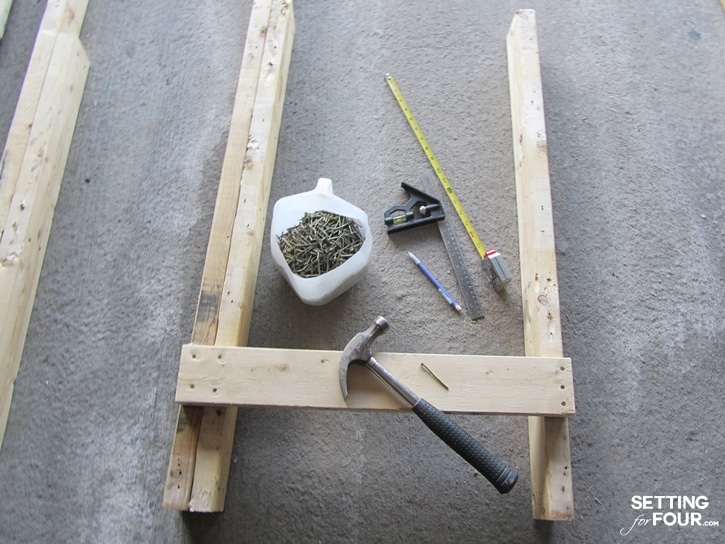
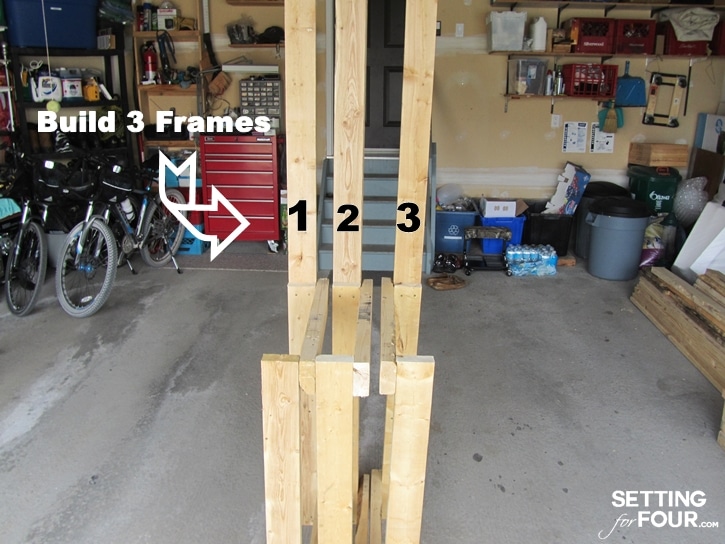
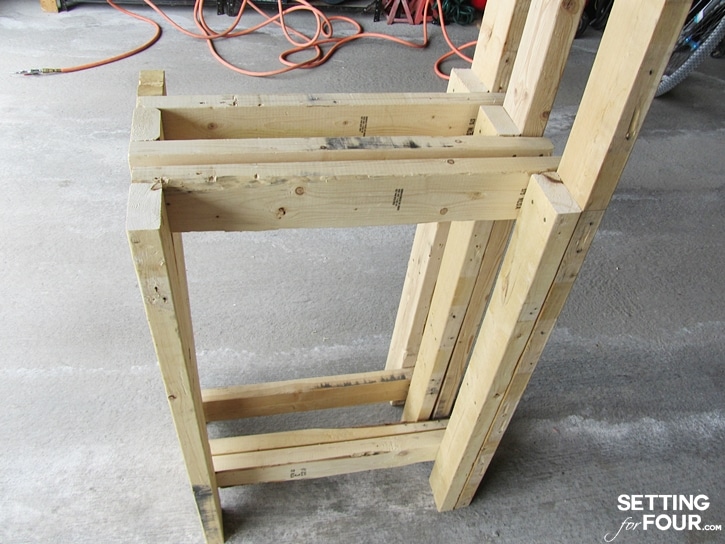
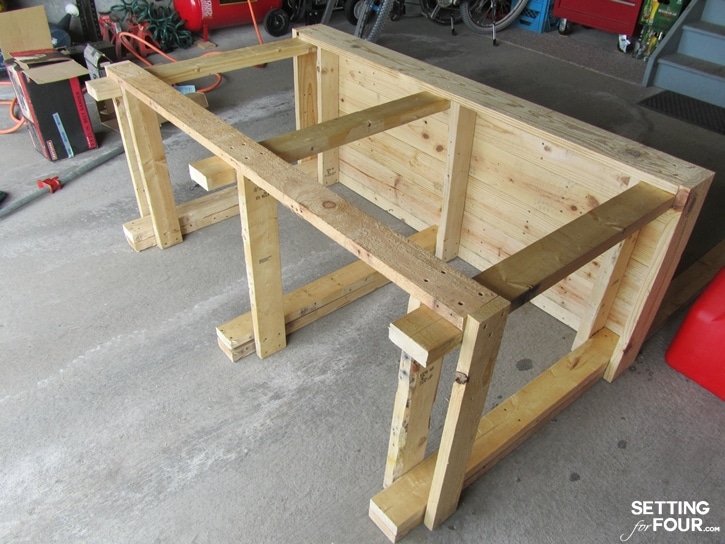
We started by building three 2”x 4” frames. The frames are 36” high at the front and back (which was double-braced with a 70” tall back support) and 24” depth.
The bottom braces were raised 6” to allow ample air flow underneath the bench (which makes blowing leaves and spider webs out easy). And remember, we LOVE easy!
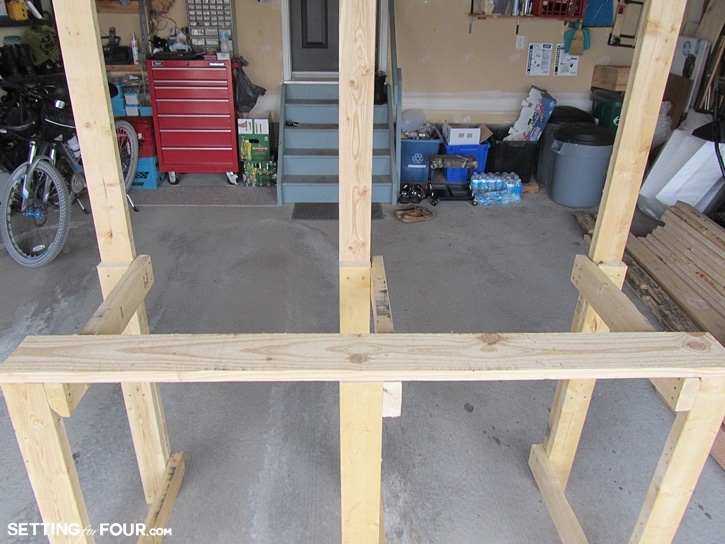
We built three frames because of the 60” length of our bench. The middle frame also gave us flexibility for making shelves underneath the bench-top and a center brace for our pegboard back and shelves above the work-top. The bottom brace on the left and right frames were alternated to the inside so that it “wouldn’t show” and protrude from underneath. (We even straightened the recycled nails and pounded them in!)
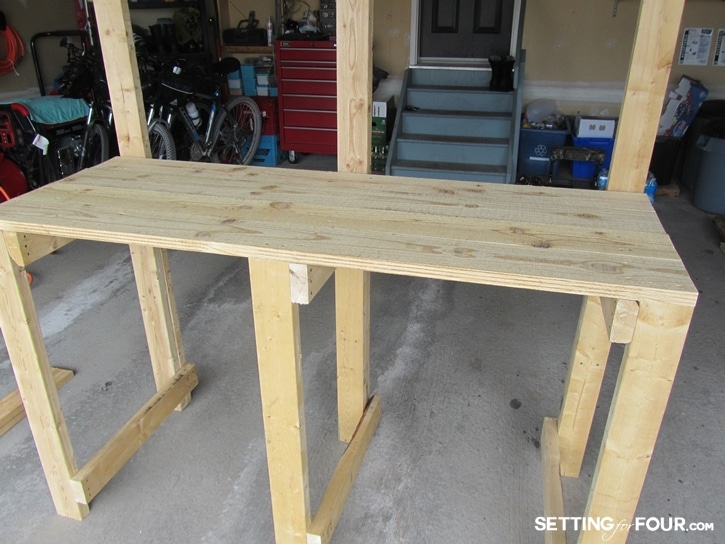
We then started to mount the countertop with the best of our pallet boards. We wanted to use our best for two reasons: to reduce the sanding required (because you never plane pallet wood, right!) and reduce the risk of getting a sliver from the bench-top.
These boards were cross-cut at 60” long.
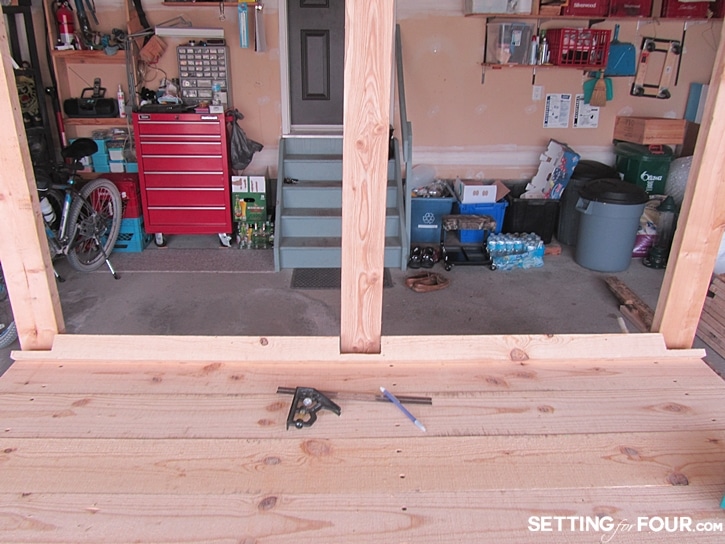
To finish off the last piece of the bench top we needed to make a few cuts to be able to fit in the three back supports. A carpentry square and pencil came in handy!
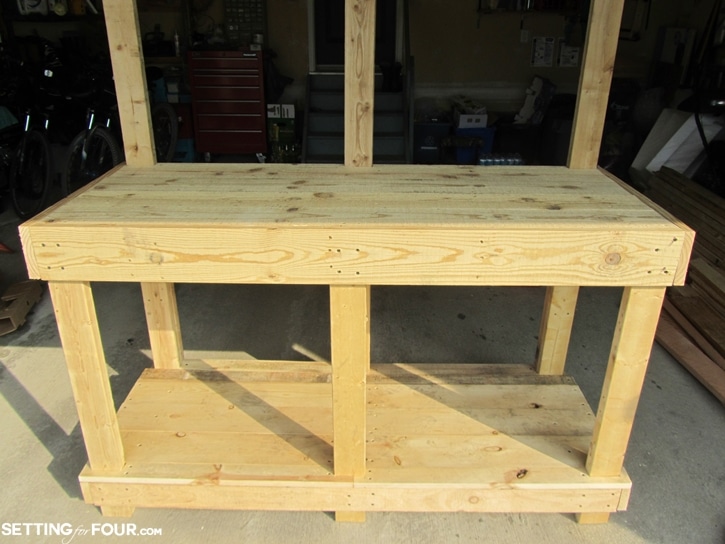
The next step was to “trim-out” the work top which provided extra support and brace the bottom.
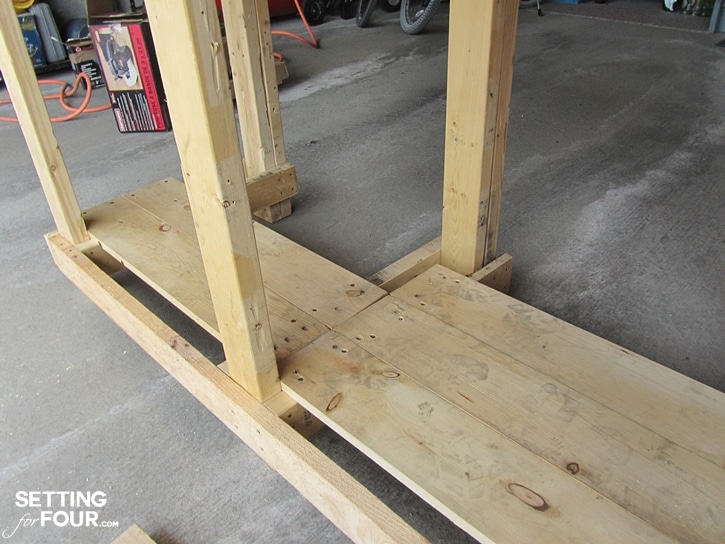
We could now put the bottom shelf in. We used our next best planks, but we were short on suitable 60” lengths. So we added a second bottom brace (on the opposite side) on the center frame so that we could use several shorter pieces (30”).
With a couple more custom cuts, we were able to finish the bottom shelf off. We could see the bench taking shape now.
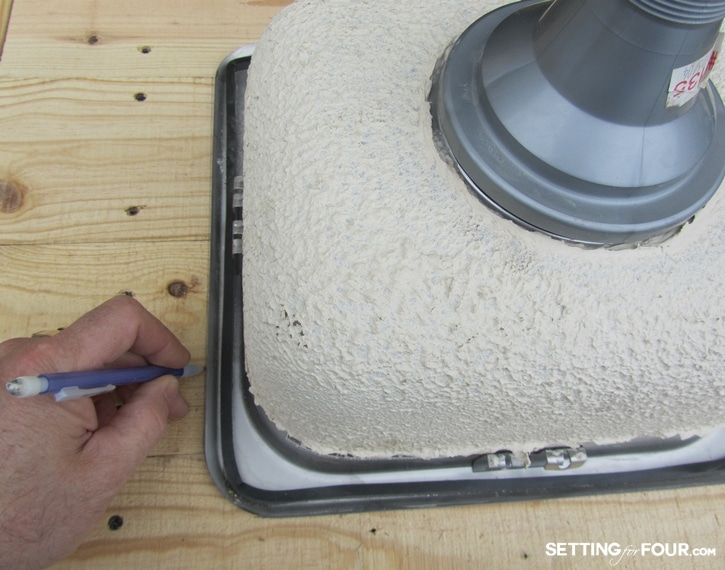
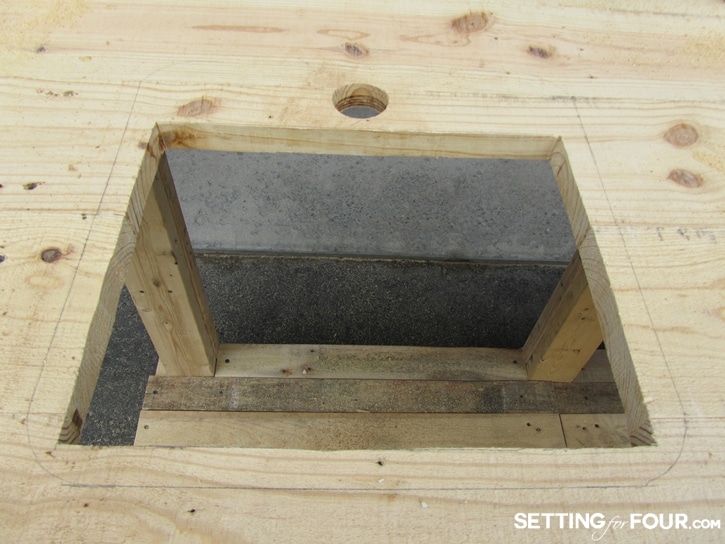
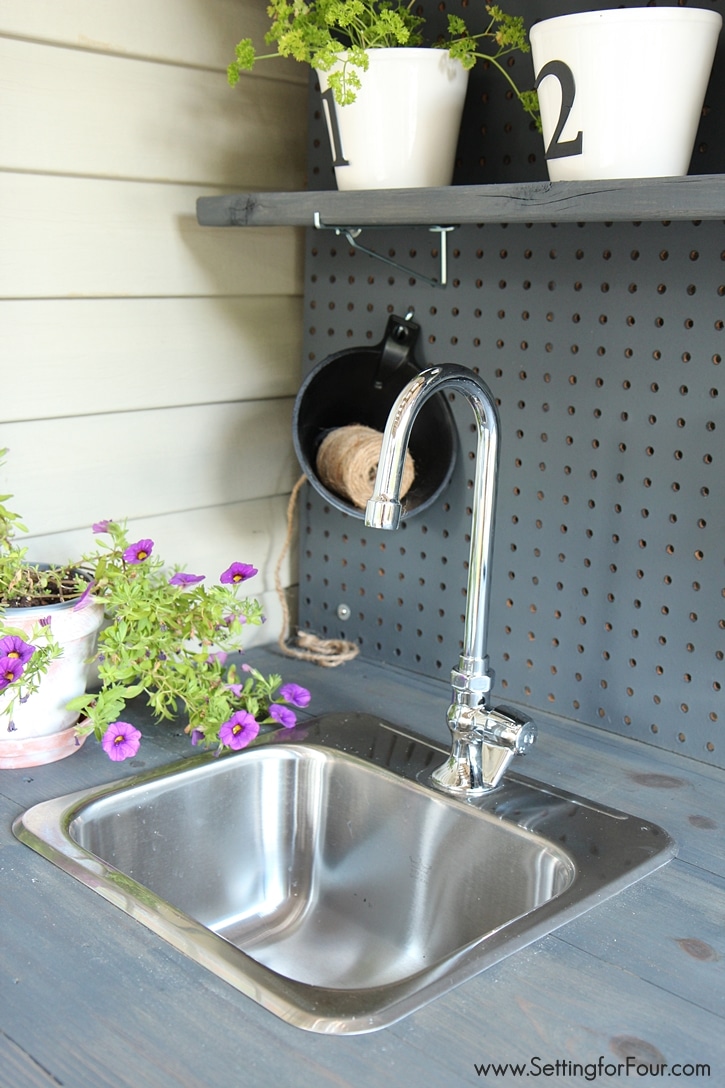
It was now time to install the stainless steel bar sink we found on the local buy & sell site. The size was perfect, because we wanted to maximize workspace and still have a wash station to clean our tools and hands. Because the used sink didn’t come with a template, we turned the sink upside down and traced the outside dimensions. Measuring 1” in to account for the “sink lip” we cut the hole in the bench-top.
We used a 1” hole drill bit to allow the faucet to drop through the bench.
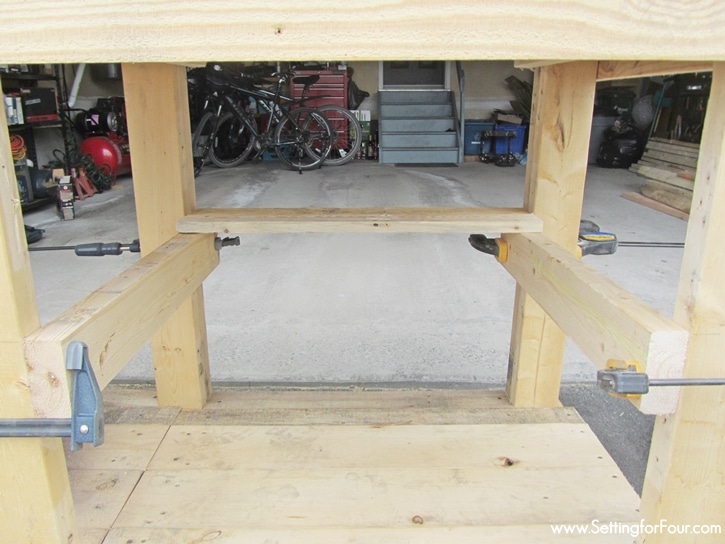
We also knew we would need some storage space so decided to put a shelf on the right side underneath the bench-top. The left side would have the drain and faucet hose underneath, so we decided to leave it open.
We used four clamps to level the shelf supports and installed pallet boards side-by-side to construct the shelf.
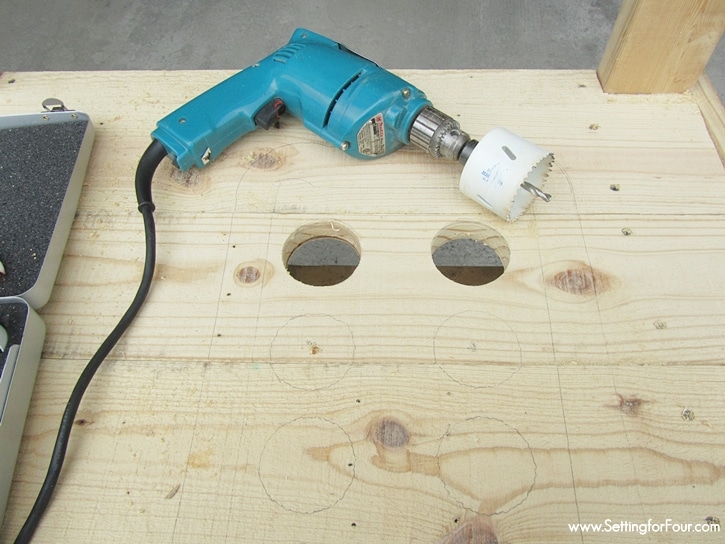
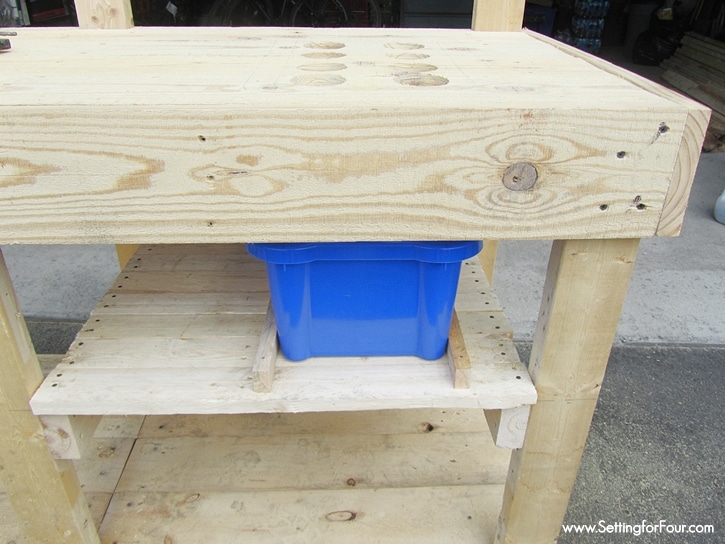
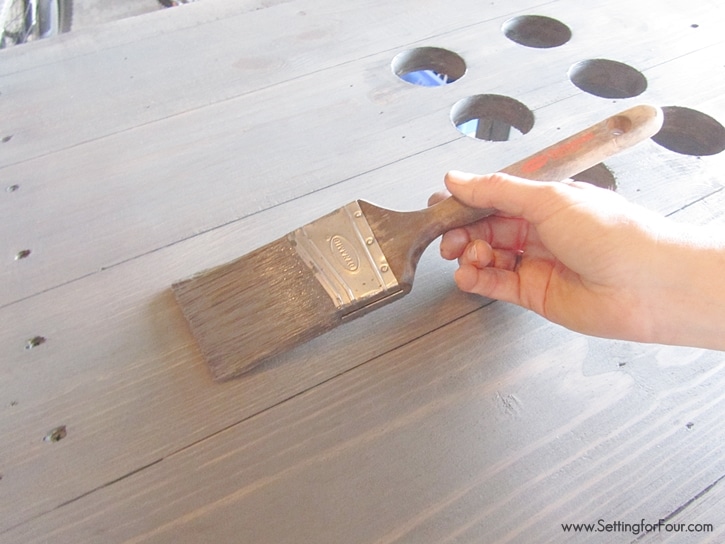
Because we didn’t want potting soil to mess up our stone patio underneath we drilled 1.5″ holes in our bench top for the ‘potting’ area. This will allow us to sweep loose off of the potting bench and collect it the recycle bin on the shelf underneath. We took the recycle container and drew it’s outline on the bench to give us a template area for our holes:
This template pattern fits perfectly with the small recycle bin that will fit underneath the holes on the shelf. With a quick sweep of the hand or whisk brush, excess soil can be cleaned up and be re-used in another pot. What a great idea to keep things neat and tidy!
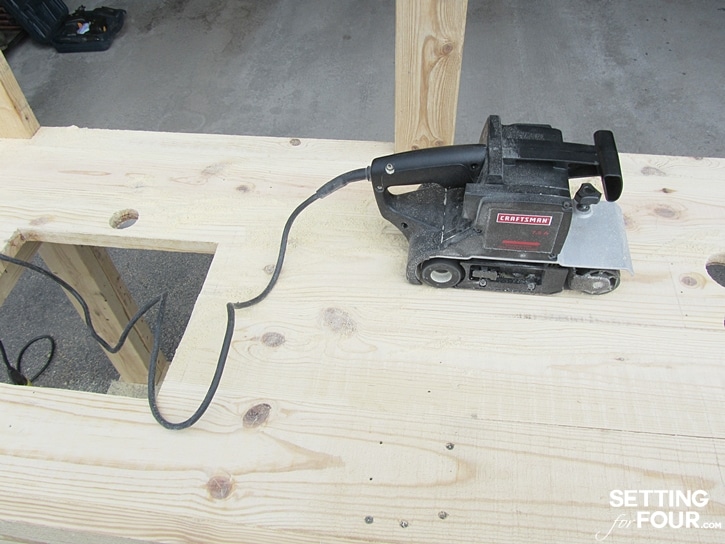
Once the bench-top was complete, we sanded it smooth using a 50 grit belt sander.
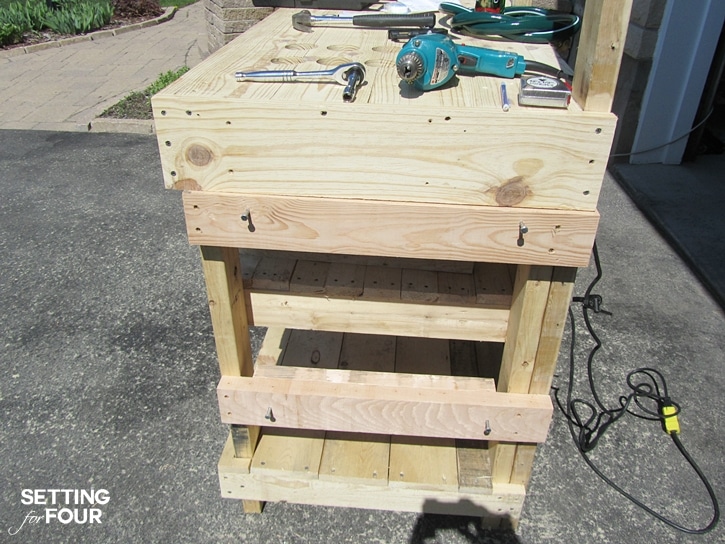
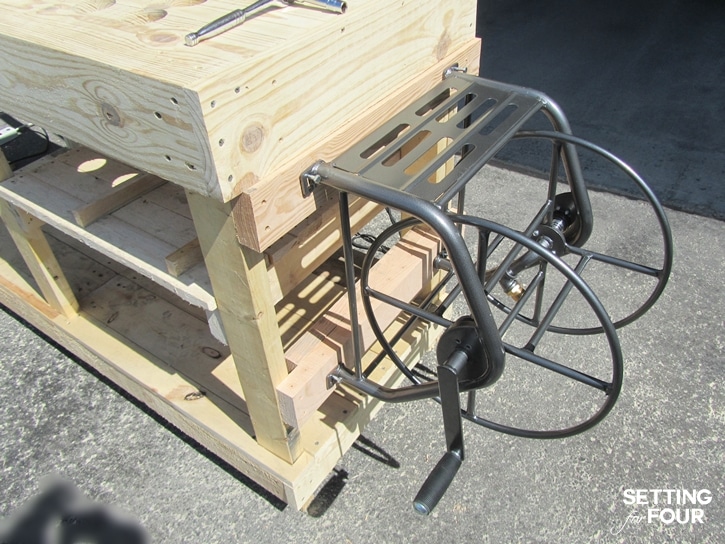
With the potting bench against the house wall we knew access to the frequently used hose would be a challenge, so we decided to mount a new hose reel on the exposed end of the bench. Because of the weight of the steel reel and 100’ of rubber hose, we reinforced the bench with two cross-members.
Once the handle was swapped to the left side of the reel, we could mount it. Doesn’t it fit perfectly?!
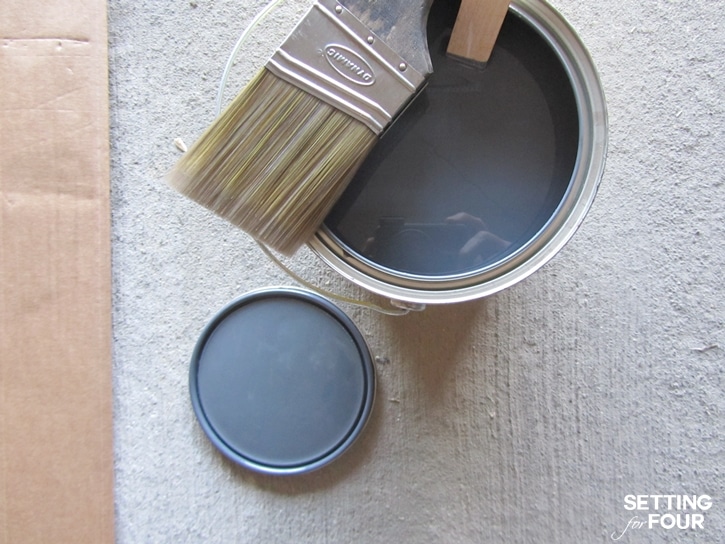
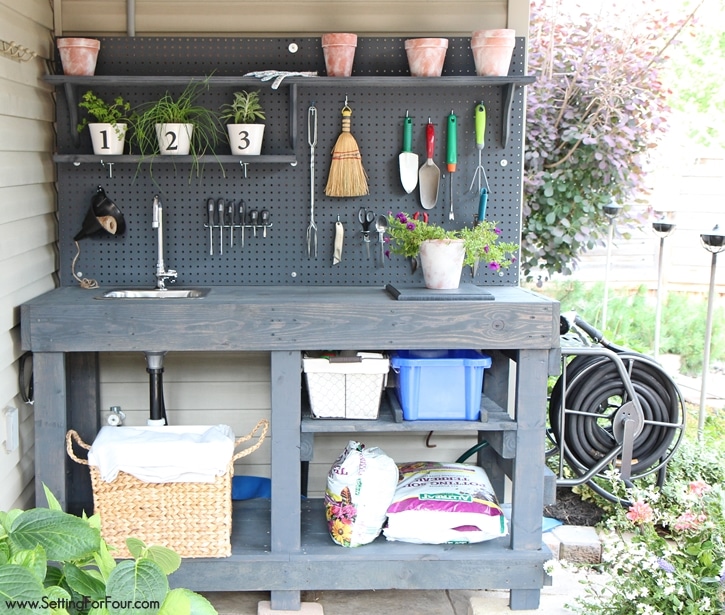
Now we stain the wood. We chose Cabot deck and siding stain in slate-grey color. It’s a perfect color to blend with our neutral siding and grey patio stone and looks super with vibrant flower colors and garden greenery.
With the trimmed-out width now at 62’ wide, we added a sheet of 62” x 34” pegboard onto the three back frame supports with wood screws and washers. We added three decorative wood shelf brackets and a left-over piece (62”x8”) of 5/8” plywood as an upper shelf. Then we added another piece of pallet wood for a smaller shelf above the sink.
To finish up the plumbing connections, we bought a new cold water faucet that worked perfect with the bar sink. With a brass adapter we were able to step an indoor faucet to an outdoor hose size.
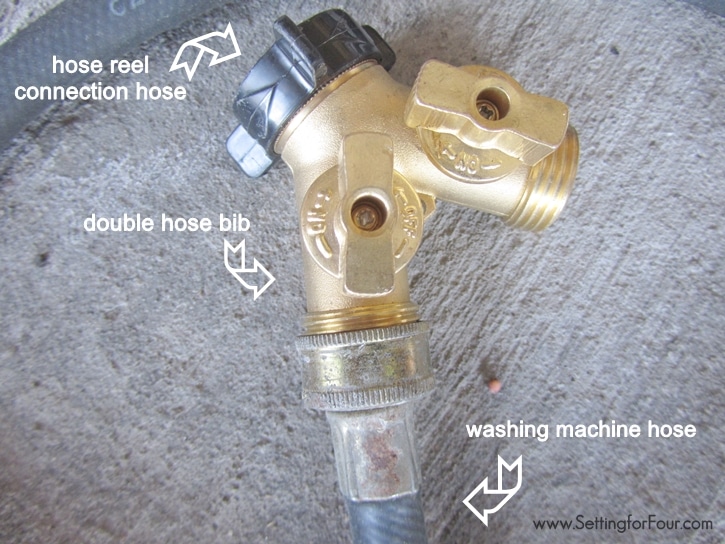
We used an extra washing machine hose (we had from one of many military moves, who knows which one?) to connect to a double hose bib. The other side of the bib was connected to the hose reel (connection hose supplied with the reel).
And finally for the drain, we added a 10” drain extension off of the sink basket, a plastic 1” adapter and some simple pool backwash hose (12’ length) which we ran it into the garden beside the potting bench. This is simply rinse water and contains no harmful elements. It’s a perfect combination – clean gardening tools while watering the garden!
Once the bench was stained and assembled, we placed the center and right legs on bricks to compensate for the slope in the patio. Our patio is sloped here for proper drainage due to building code.
Our potting bench is solid and very functional. We love it and it’s been put to lots of use this summer’s planting season!
We also have used it as a buffet to store drinks when we are entertaining on our patio! It has lots of space to store a pitcher of cold drinks, cans, bottles, trays of food, glasses ect.
I hope that you enjoyed this DIY potting bench tutorial and that you’ll be inspired to make your own upcycled pallet potting bench!
A HUGE thank you to my handsome and super talented husband Shawn for creating this gorgeous potting bench design with all the bells and whistles… and the thorough step-by-step tutorial! We hope you’ll create one for your backyard too!
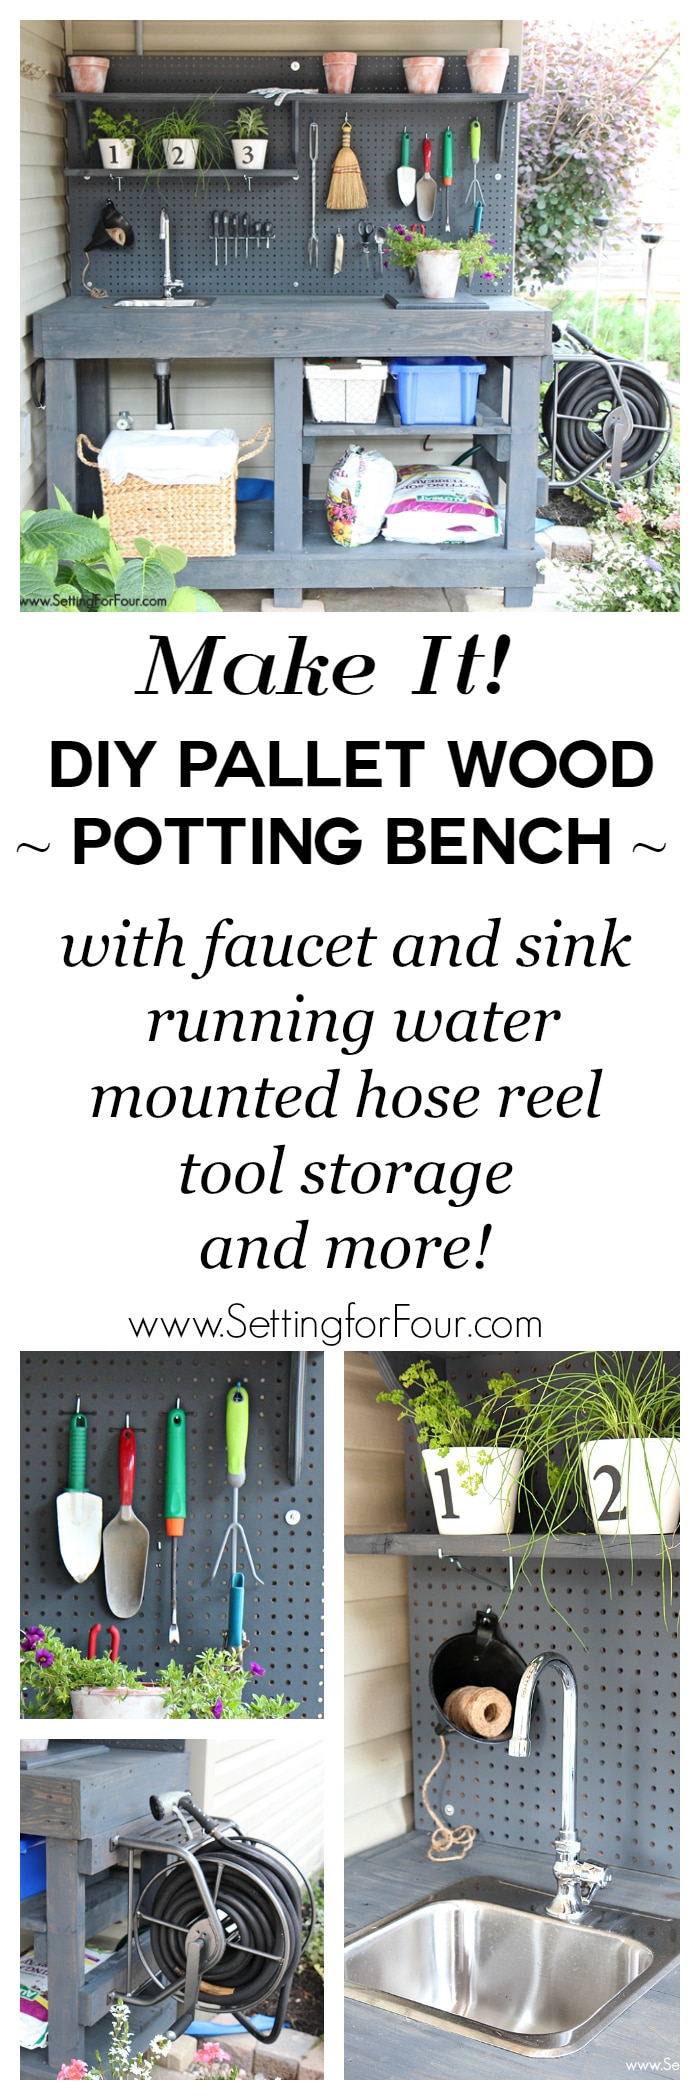
Don’t forget to pin this DIY Potting Bench to your DIY or Gardening Board and follow me on Pinterest to see the fun things I’m pinning!
You may also like:
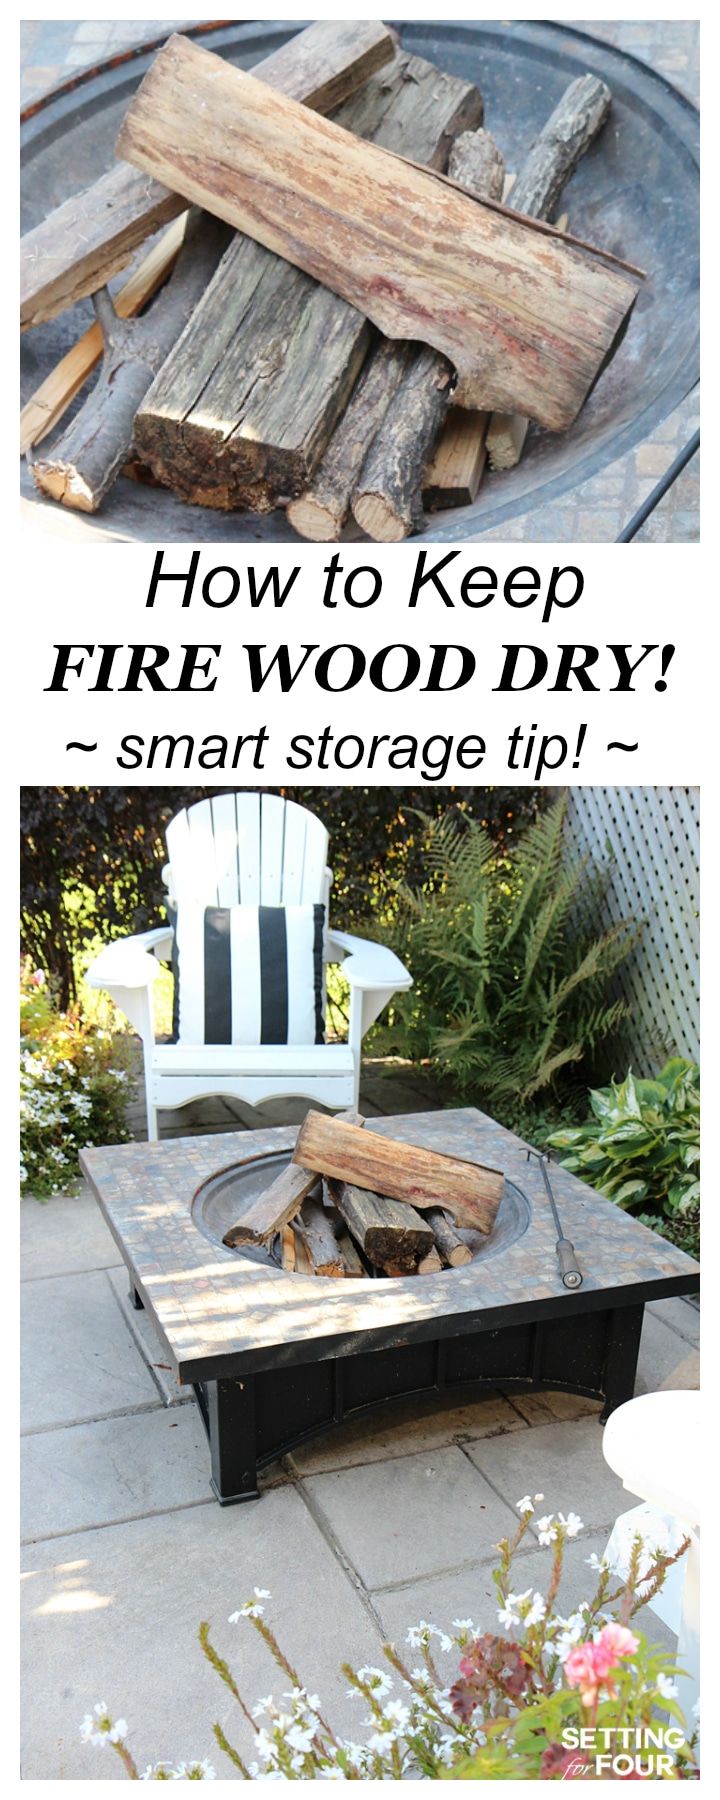
Clever Firewood Storage Idea – How to keep Firewood Dry
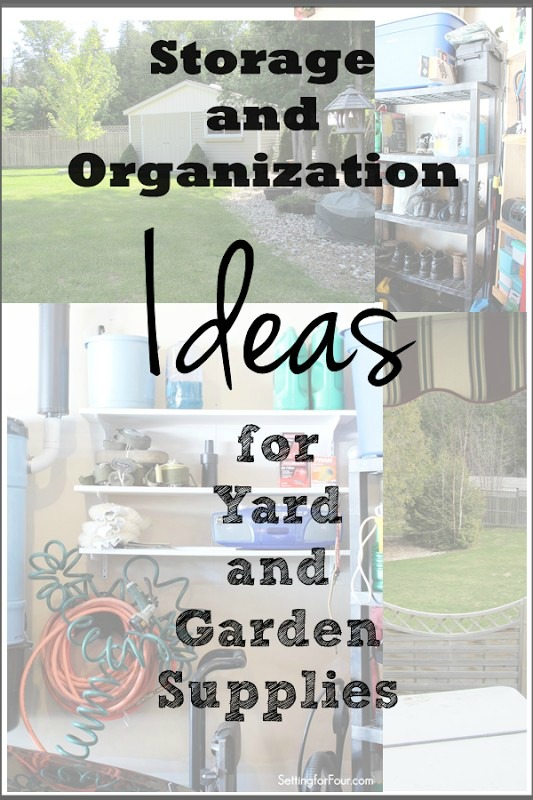
Storage and Organization ideas for Yard and Garden Supplies
Tips on Curb Appeal with Plants



 Heather is a Designer, True Color Expert® and proud military wife at
Your potting bench is fabulous.
Thank you so much!!! We just LOVE it beyond words!! I’ll pass on your compliments to my hubby – he designed all the features himself! 🙂
I love this bench and I’m going to attempt to make something like this with my husband. I think it’s just lovely, thanks for sharing!
You’re welcome! I’m so glad you love it! We use it all the time and get lots of compliments on it! 🙂 Heather
Wow, your potting bench is amazing! There are so many smart features that make it so useful. I’ve never been so excited to try to find some old pallets!
Thanks Vineta – there sure are tons of fabulous features! Have fun making it – I know you’ll love it!
This looks like a really fun project! You did an amazing job Heather!
Thanks so much McKenzi! So glad you like our potting bench – we used it so much this summer! 🙂
Your husband is a genius! I’m so coveting it. Especially the sink with running water. Great job!
He sure is a genius Debbie!!! I agree! 🙂 I’ll pass that on to him – he’ll be thrilled to hear that! So glad you like our potting bench and his beautiful design!
Wow! Your hubby is amazing! He has thought of every brilliant feature you could ever want on a potting bench! Congratulations to you both on a fantastic project! I’m definitely going to give this a go. Thanks for sharing 🙂
Hi Vicky! You’re right – my hubby is really amazing!! I’ll pass on your comments – he’ll be tickled to hear that! We are so glad you like this project and have fun making it! 🙂
We’ve been trying to build this and having troubling finding a hose reel we like. Could you tell us where you got yours? Thanks!
We bought ours at a local hardware store but you can have a look at this affiliate link – it’s a similar style! http://amzn.to/2a8ZcaN
I’m in need of a good potting bench, and I’ve been considering making my own. Yours is beautiful! We’d love to have you share this at our weekly link party. http://www.thelifeofjenniferdawn.com/2016/06/farmers-market-meals-and-little-bird.html Hope to see you there!
how did you attach the top shelf with the decorative brackets to the pegboard? thank you!
My husband attached the brackets with wood screws and screwed them in from the back of the potting bench! Your welcome!
I am getting ready to build mine today! I am so ready to have this done, I have lots to do!
Thank you,
Kathy
Yay! I’m so thrilled to hear that!!! I hope you enjoy your potting bench – we just love ours! xo Heather
You say you “picked up a few pallets.” Where do you find them? Grocery stores or big box lumber yards or along the road? I don’t know where to find them. Please give me some ideas on how to connect with some. I have a fabulous cast iron sink that I want to incorporate into an outdoor sink/potting bench. Thank you for your assistance.
Hi Debora – We found our pallets by the side of the road when companies were putting them out for garbage day. Hope that helps! 🙂
I checked on Facebook’s Marketplace and found lots of pallets there, just need to pick them up…hope to pick up a number of them for 1) that amazing garden potting bench and 2) for shelving above some windows to display collectables & antiques!
Great! Have fun building this potting bench! 🙂
Hi from Australia! I’m going to attempt this as a Christmas present for the hubby. Wish me luck!
Oh fun!! What a fabulous gift idea!