Make your own gorgeous designer fabric DIY throw pillow cover! See this DIY pillow cover tutorial including step by step photos, measuring instructions and supply list. Save time shopping for new pillows and save money by repurposing the pillows you already own – give them a whole new look and coordinate them to your existing decor!
This post contains affiliate links. Funds from affiliates help pay for web hosting, domain registration, email delivery, and other fees to keep settingforfour.com up and running. Thanks for your support! Click here to read my full disclosure policy.
Easy DIY Throw Pillow Cover
One thing I love to do as an Interior Decorator is to use what I have and repurpose decor to give them a new life. I love decorating this way for myself and my clients because it saves money and saves time!
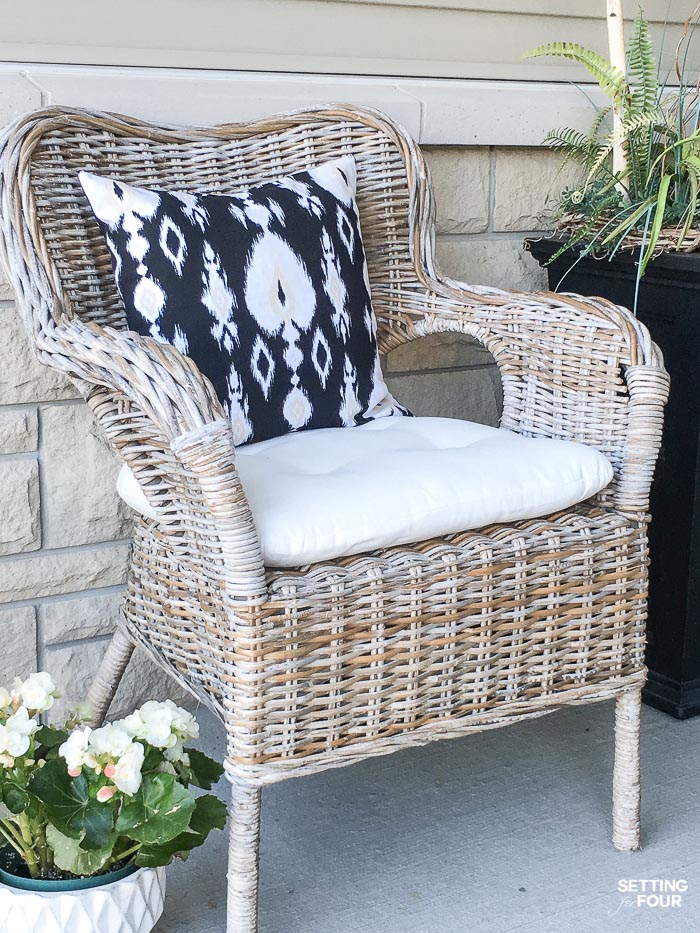
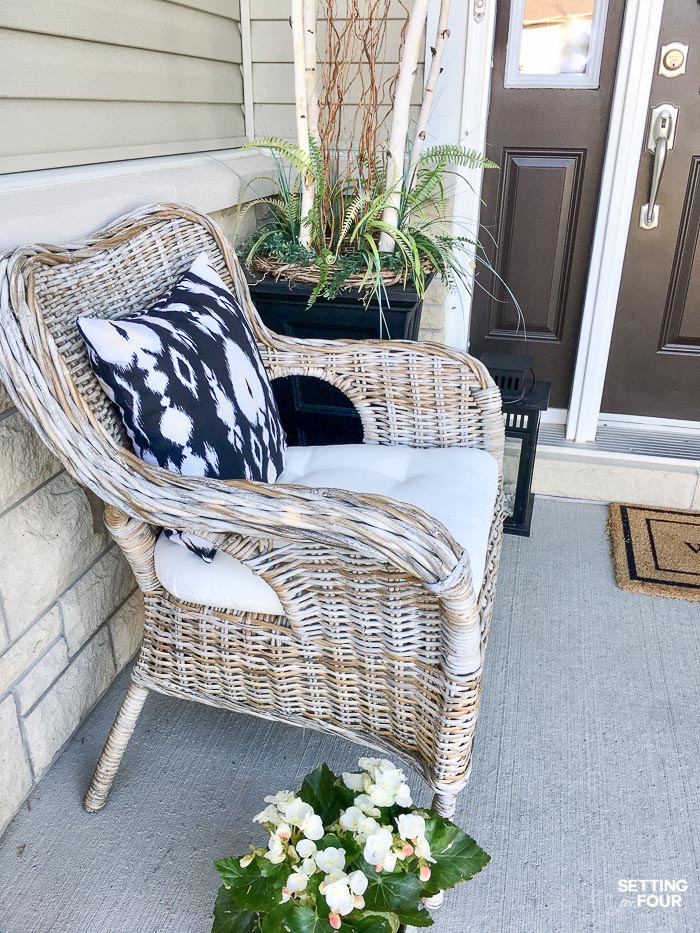
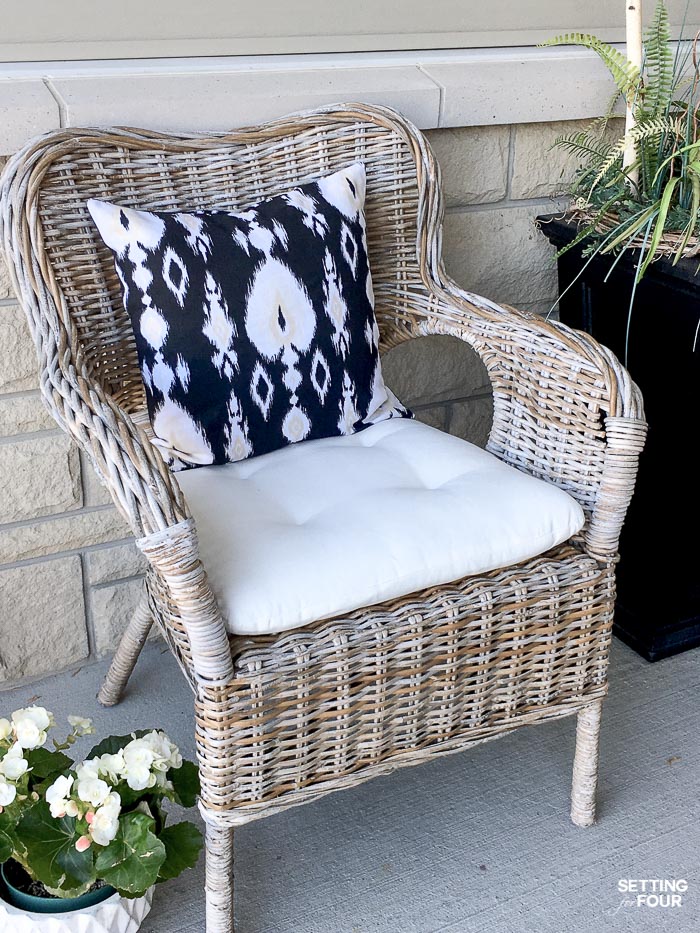
My front porch pillows were looking pretty faded this summer so I decided to recover them instead of buying new ones.
Instead of making a removable 5 minute envelope pillow cover I decided to recover the pillows an easier way!
I made a pillow cover that can’t be removed – it is much quicker to sew it this way, less seams and less measuring!
I’m not concerned about being able to remove it from the new pillow cover since the fabric is faded anyway – and if I need to wash it I’ll just toss it into the washer as is.
I whipped two of these pillow covers under an hour. It’s a quick and easy way to give a space a whole new beautiful look!
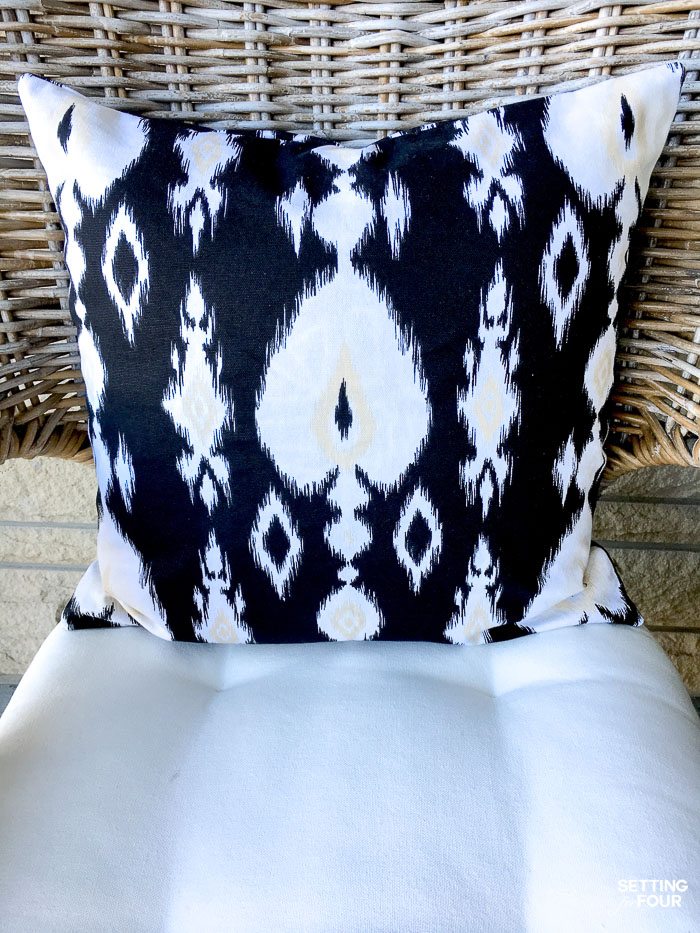
I just love how my pillow covers turned out!
 Supplies
Sewing Machine – (mine is a Husqvarna Viking like this one – I love it!)
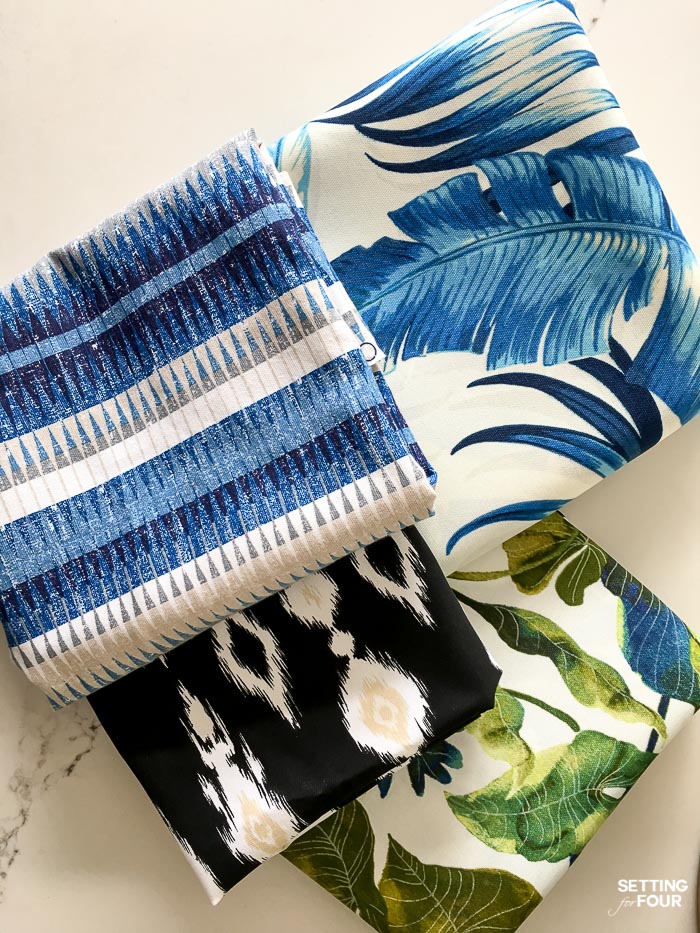
Fabric – I used 1 yard. This black and white Ikat print is from Joann’s (this one is similar), Blue and white palm leaf print (top right), Blue, green and white palm leaves print (on bottom), Blue,gray and white print (top left)
pen
Instructions:
1. Wash and dry your pillow that you are recovering.
2. Purchase your fabric.
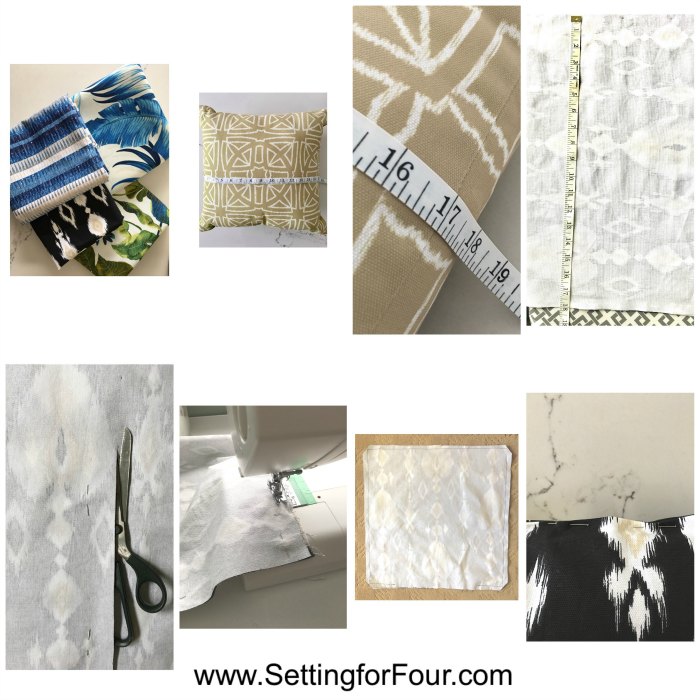
Measure the width of your pillow in the middle, from one seam to the opposite seam. Add 1 inch for hems (you will have a one-half inch hem on each side so you need to add 1 inch in total to the width). My pillow width is 17 inches so my fabric wide needs to be 18 inches in total.
Measure the length of your pillow in the middle from one seam to the opposite seam. Add 1 inch for hems (you will have a one-half inch hem on each side so you need to add 1 inch in total to the length).My pillow length is 17 inches so my fabric wide needs to be 18 inches in total.
3. Wash and dry fabric according to manufacturer’s instructions.
4. Fold fabric in half with the right sides together.
5. Measure out the length and width and mark this on the fabric. I used a pen.
6. Add a few pins to pin the fabric together so that when you cut the fabric won’t shift.
7. Cut fabric according to the measurements you made.
8. Now you have two pieces of fabric.
Leaving them with the right sides, pin the two pieces together using straight pins and sew together.
9. Starting at 3 inches from one edge sew the two pieces together and continue sewing all 4 sides together leaving a 10 inch gap so you can put the pillow in. Remove all straight pins. With scissors clip the corners at an angle as shown in photo above.
10. Turn the pillow cover right side out and form corners by sticking your pinkie into the corner to push out the fabric.
11. Insert pillow.
12. Using a thread and needle hand sew the gap closed.
13. Fluff your pillow and enjoy!
PLEASE PIN THIS AND SHARE IT WITH YOUR FRIENDS!
I hope you enjoyed this Easy DIY Throw Pillow Cover tutorial!
You may also like:
DIY Pillow Cover 5 Minutes to Make!
How to Make Outdoor Waterproof Cushions – DIY Hack
How to Make Your Small Outdoor Space Look Bigger
 Supplies

 Heather is a Designer, True Color Expert® and proud military wife at
Leave a Reply