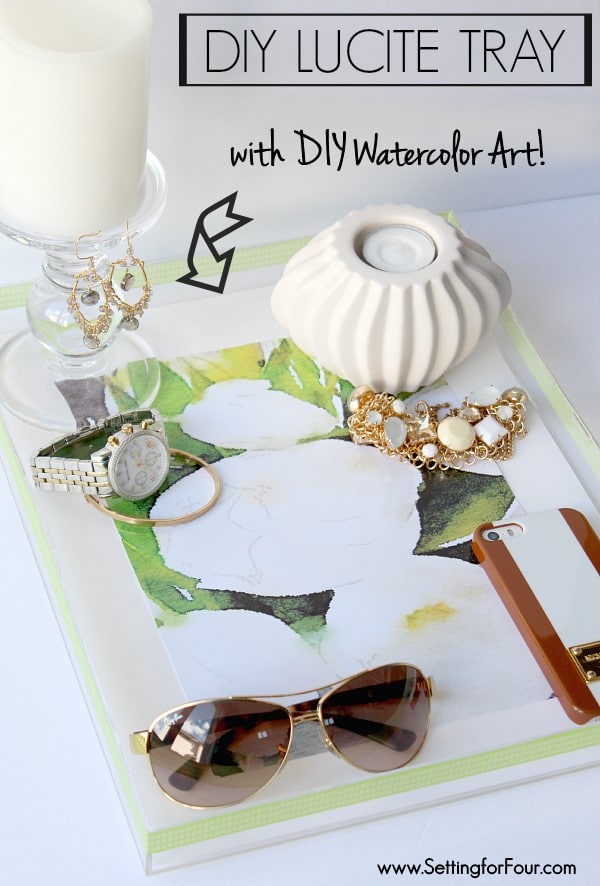
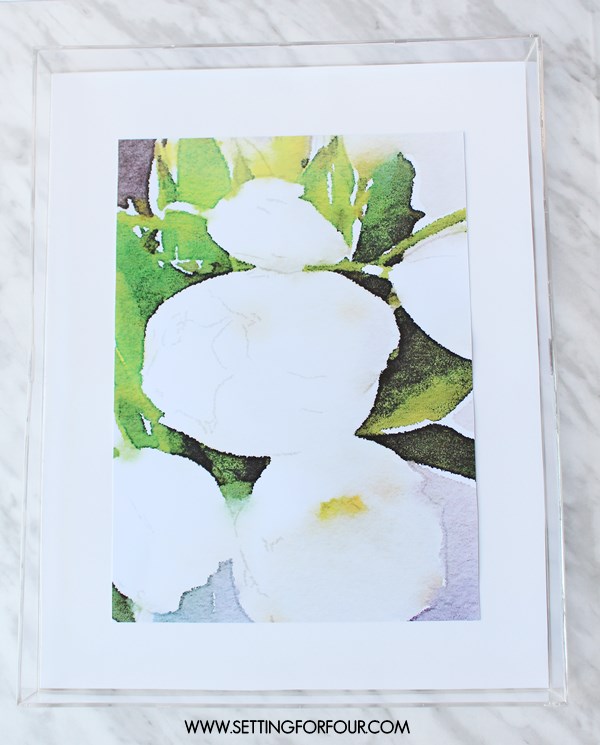
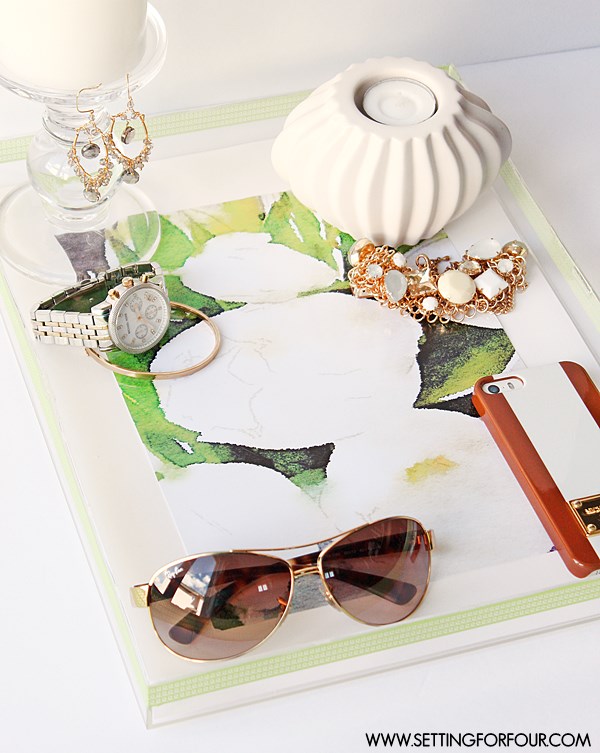
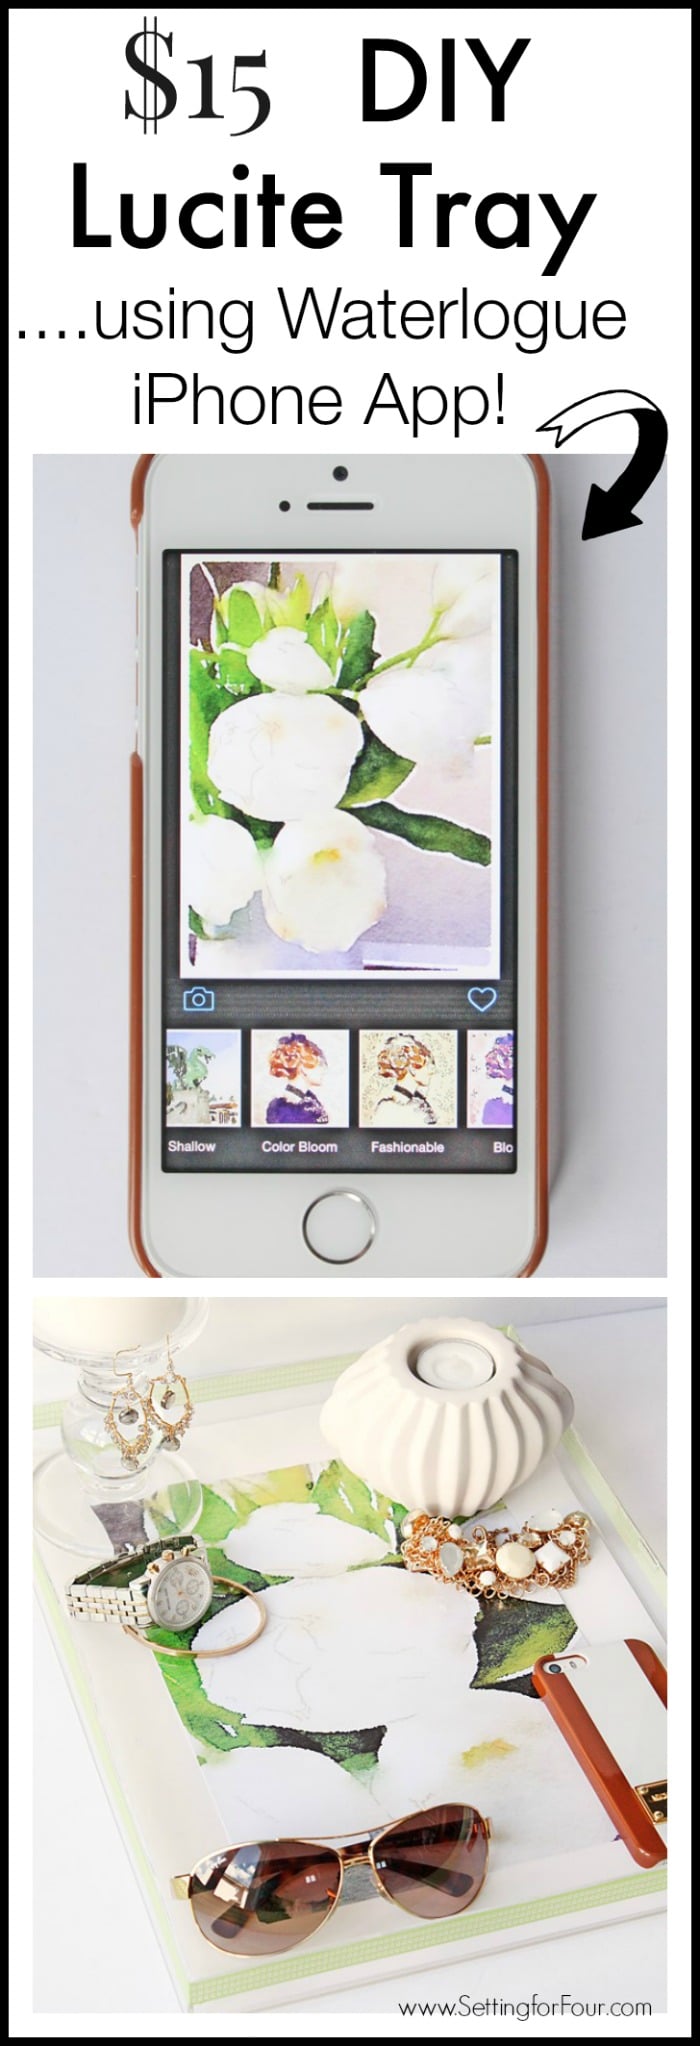
Beautiful DIY Home Decor Idea: See this fun tutorial to make this $15 EASY DIY Lucite Tray lined with Watercolor Art using the fun Waterlogue iPhone App! Perfect for your desk or coffee table.
This is such an budget-friendly and stylish storage tray that you can customize for your home for under $15.00! A fabulous gift idea for the holidays!
Make up a few to organize and store your stuff in your bedroom, office or foyer!
Click on each image below to shop the supply list! Scroll using the arrows to see all of the items.
Lucite home decor accessories are super trendy but can also be very pricey! Here’s how you can add style to your home without breaking the bank by making a Lucite tray lined with a watercolor print. The combination of Lucite and watercolor makes me swoon!
This post contains some affiliate links for your convenience. Click here to read my full disclosure policy.
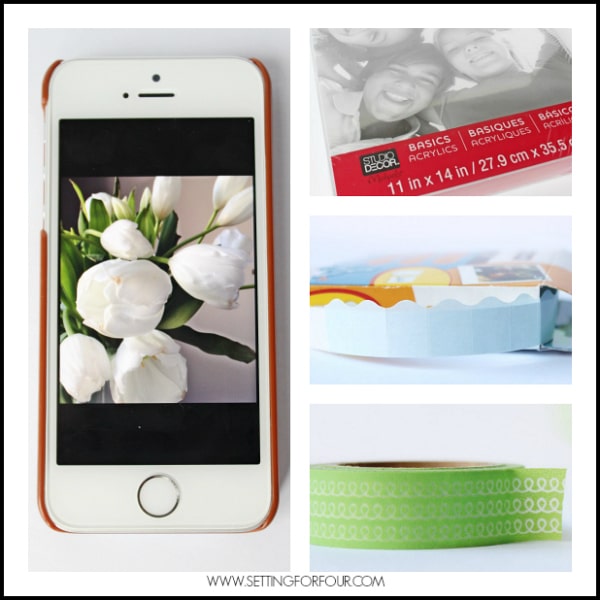
Supplies to Make a DIY Lucite Tray:
Acrylic Frame – 11 x 14″
White Poster board or other paper you wish to line your tray with (scrapbook paper, wrapping paper)
Pencil
Scissors
Photo to use in the Waterlogue iPhone app
Acid Free Photo Sticker Squares ( 2 sided adhesive stickers used to attach photos in photo albums and used in scrapbooking)
Click on each image below to shop the supply list! Scroll using the arrows to see all of the items.
Directions:
Remove cardboard insert from Acrylic Frame.
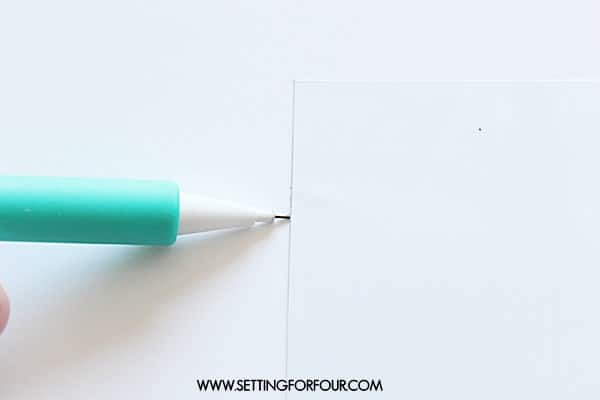
Using a pencil trace the paper insert that comes inside the acrylic frame onto the poster board and cut out. This will be the liner for your tray.
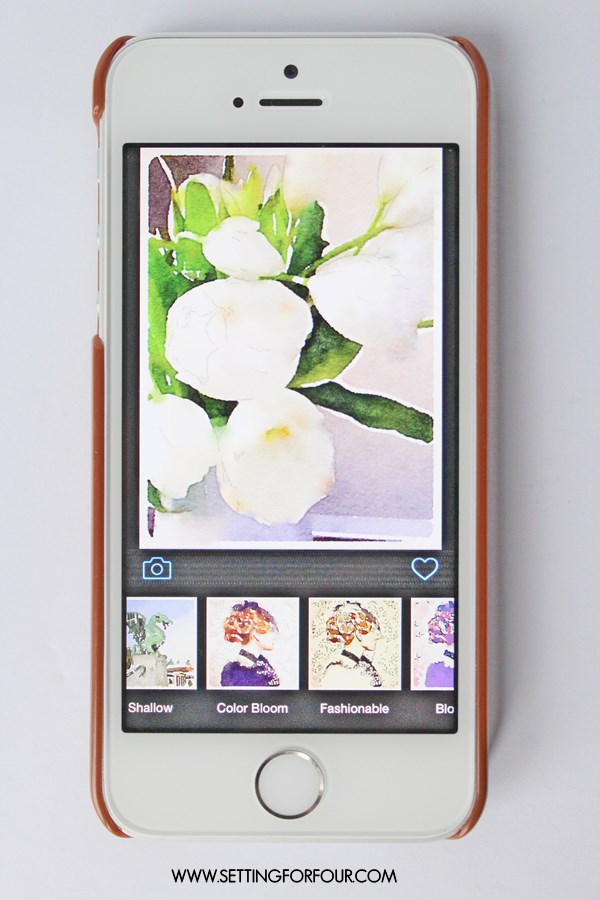
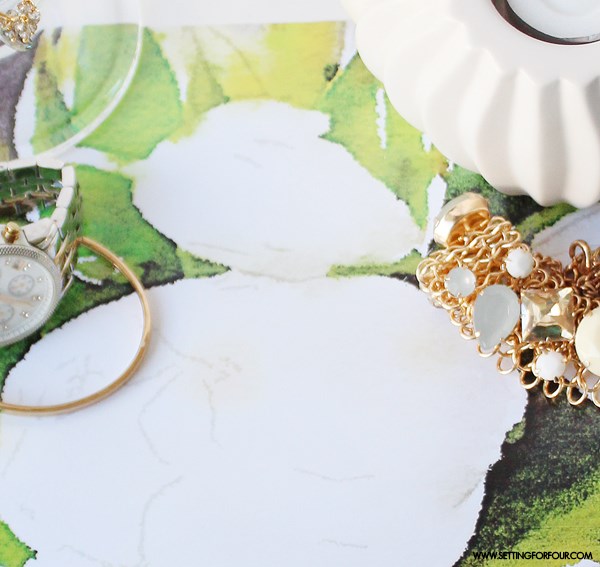
Upload an iPhone photo to the Waterlogue app, choose a filter to create a watercolor image (I used Color Bloom) and save it to camera roll.
Upload the photo to your computer and print out onto Photo Paper using your home printer.
Add one adhesive photo sticker to each corner of the underside of the print and fasten it onto the middle of the poster board.
Place the picture/poster board liner inside of tray. (I didn’t glue it onto the tray in case I wanted to change it later!).
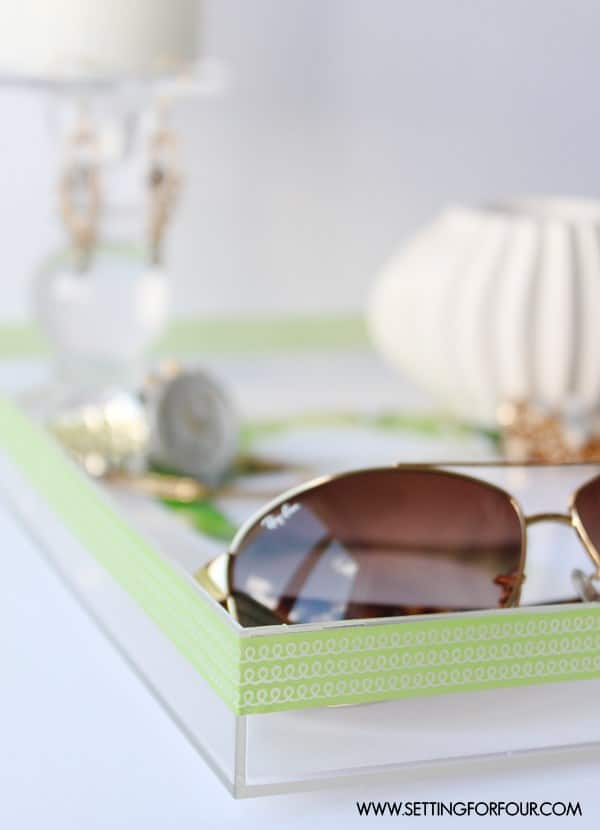
Add a strip of washi tape to the top edge of the tray. I used a washi tape I had in my craft supplies – it’s a gorgeous grass-green color to coordinate with the green leaves in my photo and has a pretty white loop pattern too!
That’s it!
Isn’t this such a stylish look for under $15.00?
I love using it as a place to organize my RayBan sunglasses, iPhone, Michael Kors watch and my jewelry but this tray would be a fabulous addition to a desk to hold office supplies or a coffee table to coral all of those TV remotes!
The beauty of this project is that you can completely customize your tray to display your interests and the seasons…..a watercolor picture from your vacations, holiday and outdoor photos…..the looks you can create are limitless. So make one (or two!) to add some on-trend style and personality to your space!
PIN THIS AND SHARE WITH YOUR FRIENDS!
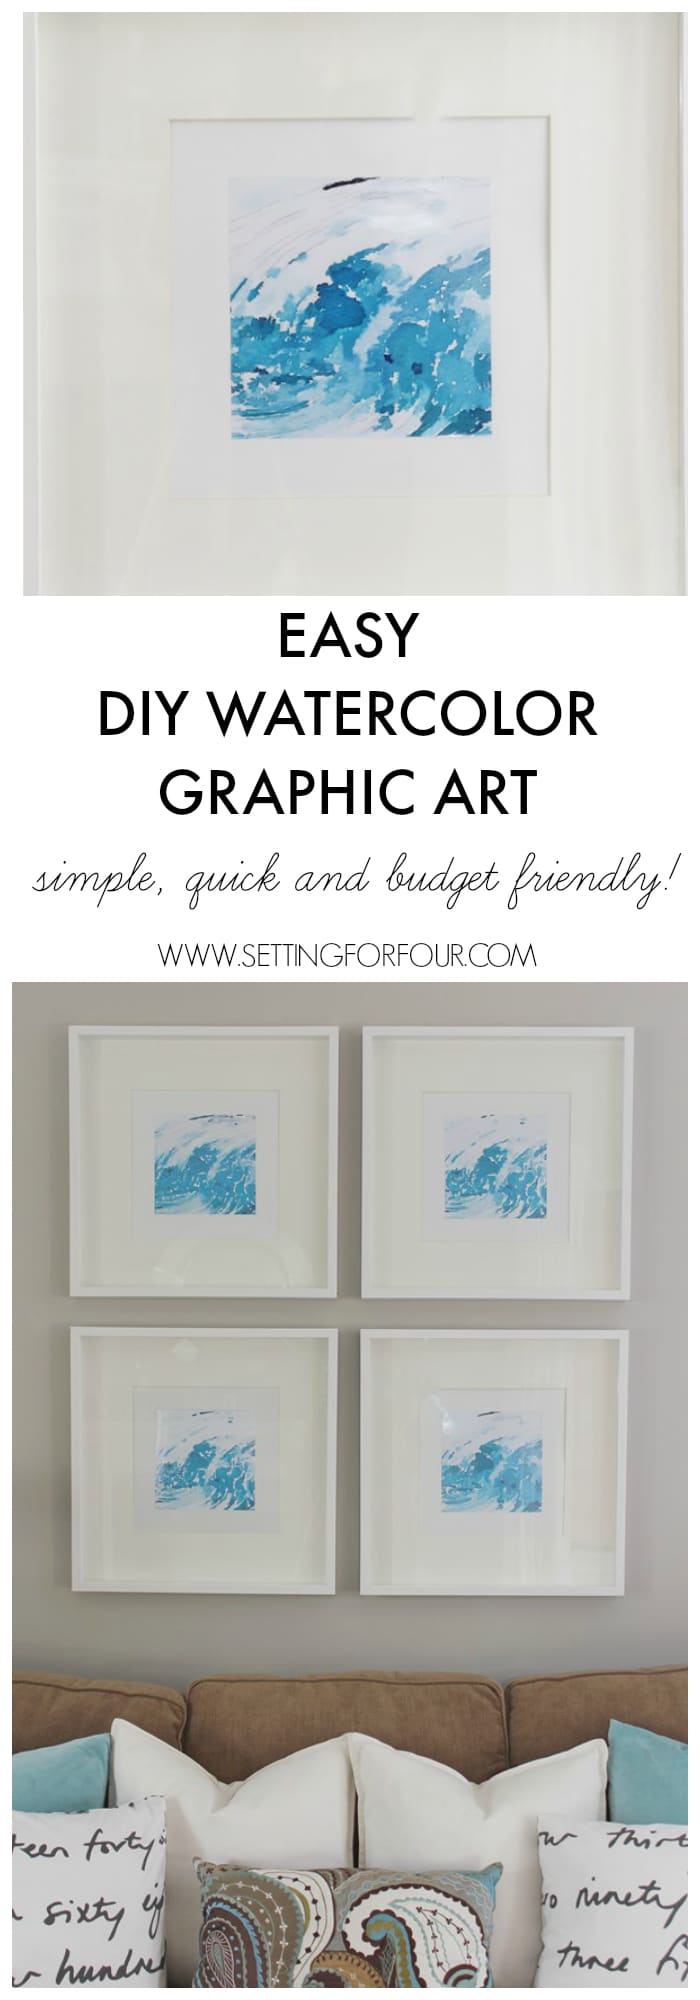
To see the gorgeous DIY art I made for our living room see : DIY Graphic Watercolor Art


 Heather is a Designer, True Color Expert® and proud military wife at
Is there a tutorial here for your throwpillows with the writing on them?
Here’s the tutorial I used to make my 5 minute pillow cover Polly! https://www.settingforfour.com/2012/02/diy-pillow.html I used fabric from IKEA.
am I missing the link for the acrylic tray or is there not one?
Hi Betsy! I added the link in the post! 🙂