A while back I had the honor and pleasure of attending a painting workshop with Andrew Downward, the paint expert and colour coordinator on HGTV Divine Design with Candice Olson!
Andrew’s knowledge and experience on the TV show has made him one of North America’s most recognizable and trusted paint and colour experts!
What a once in a lifetime opportunity!
At the workshop ‘The Power of Paint’ Andrew shared how he began his famous career as the painting expert on the HGTV show Divine Design and also showed us his best painting tips and tricks:
Andrew began his career as a teacher in Washington DC!
At one point he answered an ad he saw in the paper that was looking for ‘painterly hands’!! At that time he didn’t know what the connection painterly hands had with a major Home and Design show or to Candice Olson, but he answered the ad and was hired!
Andrew shared with us that his first impression of Candice is that she is very tall! At 6’1”, yes, she is tall! (As you can see Andrew is pretty tall himself!!) He was also impressed right away with her confidence, tons of energy and charisma!
source
Andrew had a very successful career as the Color Coordinator on Divine Design!
Lucky for us’, he is now sharing his tried and true painting tips that he learned on as a career painter and on the TV show!
This post contains some affiliate links for your convenience. Click here to read my full disclosure policy.
There are 3 steps to a perfect paint job:
1. Preparation
2. Preparation (yes – preparation again!)
and
3. Application!
Here we go:
Step 1. Preparation: Take pictures off of the wall, clear the room and safely put everything in a corner of the room or remove items entirely.
This really seems like an obvious tip – but removing as much as you can from the room saves you from accidentally breaking or dripping paint on something …. of course I’ve personally never done that! Wink 😉
Use drop cloths to cover and protect furniture.
Step 2. Preparation:
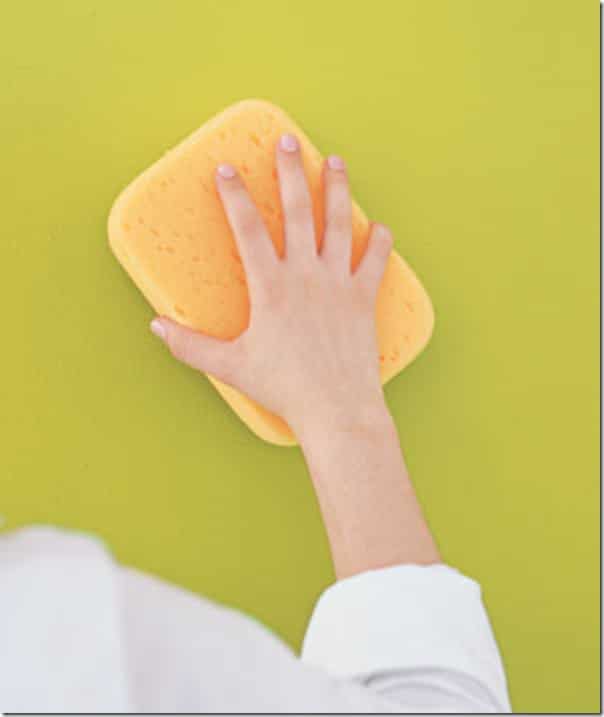
Clean the walls! Use diluted TSP to remove grease, and smoke with a dampened, not soaked cleaning sponge.
Fill holes and cracks in walls: Apply quickset plaster.
(The drying time can be decreased by using a hair dryer). Apply plaster by pushing it in the holes using the end of a putty knife so you don’t get a ‘mound’.
Use a sanding sponge and sand then spot prime with the the wall paint you are using . This will prevent ‘flashing’ where sunshine will show pockets.
Paint each hole and crack 3 times with wall paint then paint the entire wall.
Step 3. Application:
Using painter’s tape, tape off baseboards and around windows.
Cutting in tips: Use a high quality paint brush, that won’t shed bristles and will apply paint easily.
Do not start cutting in right at the ceiling! Instead, start a couple of inches below the ceiling on the wall and slowly move the brush up.
This will give you a feel for how your brush is moving the paint and will also prevent the paint from pouring up onto the ceiling.
Paint rollers: Use high quality paint roller cover and paint roller frame s that won’t shed fibers and will apply the paint evenly. Wrap the roller in painter’s tape and press lightly. Remove painter’s tape and any loose fibers will be removed.
How to choose a color palette:
1. Find your ‘Color voice’ – Look at colors in your closet, both your clothing colors and jewelry colors. This will reveal all the colors you love!
So looking in my closet – I love neutrals: black, gray and white mixed with pops of color such as light blue and aqua!
(wishing this was my closet!!)
2. Look for ‘color anchors’ in a room. Color anchors are the colors that won’t move from the room that you must work with.
For example, the ‘color anchor’s will be: the color of the furniture pieces in the room, wood and fabric colors in the furniture, leather furniture colors and floor colors.
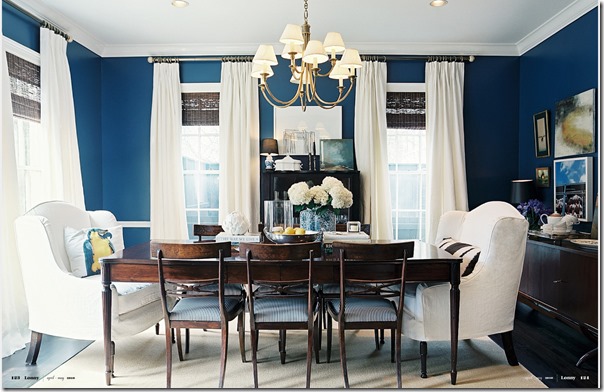
The color anchors in this dining room are:
a. Brown – table, chairs, blinds
and
b. White – molding, slipcovers and drapery
c. Blue – in artwork and chair seat fabric
d. Brass/gold color – from the brass metal color of the chandelier and drapery rods
3. Use a color wheel to look at color schemes, tints, tones and shades. What colors do you love on the color wheel? Keep these in mind when determining your final color.
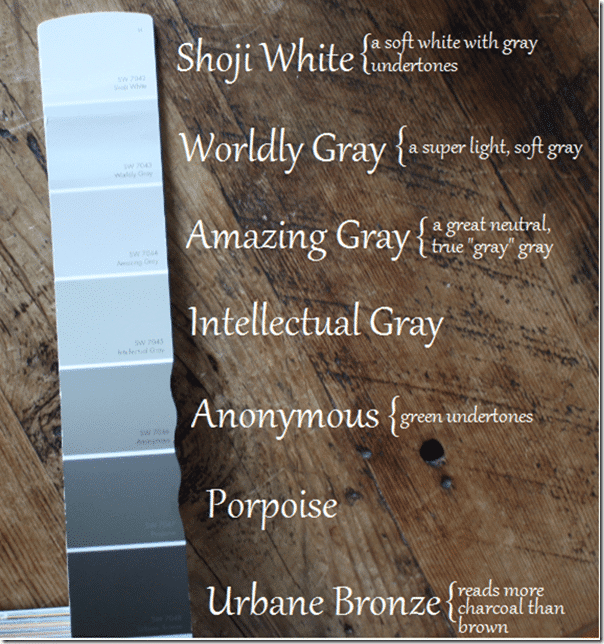
4. Visit a paint store and choose 1 strip of paint that has 4-6 color tones on it, ranging from lighter to darker, and use all the tones on that chip in your room.
Use one tone for walls, one for pillows, one for sheets, one for prints ect. This will make your room flow and create harmony and a ‘designer look’.
I love this tip!
I’m so glad I took this painting workshop to learn all of these fabulous, expert painting tips and tricks!
Do you think you’ll use some of these tips for your next painting job?
* * *
TOP TIPS ON HOW TO PREPARE A ROOM FOR PAINTING!
As a military wife who has painted A TON of rooms in her day I’ve figured out the QUICKEST way to paint a room with the most gorgeous results – because I’m picky and want my painted walls to look smooth and streak free! You do too right?
Get your FREE ‘How to Prepare a Room for Painting Checklist’ to print off and keep in your home binder or with your paint supplies!
It lists the best supplies you need for your paint job and keeps you on track as you check each step off as you go – so you save time, get the best paint adhesion and blitz through the painting process!
Now you can enjoy your newly painted room as quickly as possible!
Get your FREE Painting Prep Checklist now!
Fill in the form below and your checklist will be emailed to you instantly!
I hope you enjoyed this painting tips post!







 Heather is a Designer, True Color Expert® and proud military wife at
This is so cool, Heather! WOW! You are doing the most amazing things- way to go!!
xoxo Becca
Thanks Becca! The workshop was so educational and fun!
oooo great tips and i love the “anonymous” tips!
Love this post! So many great tips! You are such a rock star, Heather!
Happy day!
karianne
xo Kari for your sweet comments!! Glad you enjoyed the tips!
Great tips! And glad you pointed out there was a plaster that dried in 20 min! Perfect for impatient me!
Great post! I agree that a good brush is key to excellent cutting-in. I love my Purdy brushes!
They are superb Tara!!
Very informative! Some great tips…Thanks!
i would move into that closet!… very useful painting tips.
LOL – my exact thoughts too about the closet Maureen!
What a great post, thanks for the tips!!!
Thanks everyone for your wonderful comments!!
Great tips! You did a great simplification of the process.
Thanks for these tips. I’m sure they will save me some struggles next time I paint!
thanks for sharing this Heather. I don’t really know of Andrew but I am definitely impressed with the tips he offered.
Thank you jb for your wonderful comment – I’m so thrilled you enjoyed Andrew’s tips! It was quite an educational workshop and fun to learn what is done behind the scenes on an HGTV show!
Fantastic tips, Heather! I love the idea of tackling a painting project, but I do get intimidated by it. These tips make it seem very doable, and have quality results. Thanks so much for sharing. Enjoy your weekend!
Love the idea of using other colors on the paint strip to furnish the room. Thanks for some great tips! I’m visiting from the It’s Overflowing link party.
Christy
It’s the holy grail of paint tips! Pinned!
Thanks Malia – I love these painting tips too!