DIY Wall Art Idea using Marbled Paper
How to make this Clever DIY Wall Art Idea with a High End look and a bargain price of only $37! An Easy, Look for Less; Beautiful and Stylish DIY Decor that actually looks like real agate stone!

Hello everyone – I’m so excited to show you a decorating update today! I hung this AMAZING, gorgeous DIY art in my dining room and I’m completely smitten with it! Best part? It’s super inexpensive and easy to do! It’s so easy to make – you will laugh!
I’ll show you how to make this clever DIY wall art idea that has a high end look and a bargain price of only $37: Frame handmade marbled paper for a beautiful, stylish look!
Easy DIY Art idea! for just 37$ It actually looks like real agate stone!
DIY Wall Art Idea using Marbled Paper
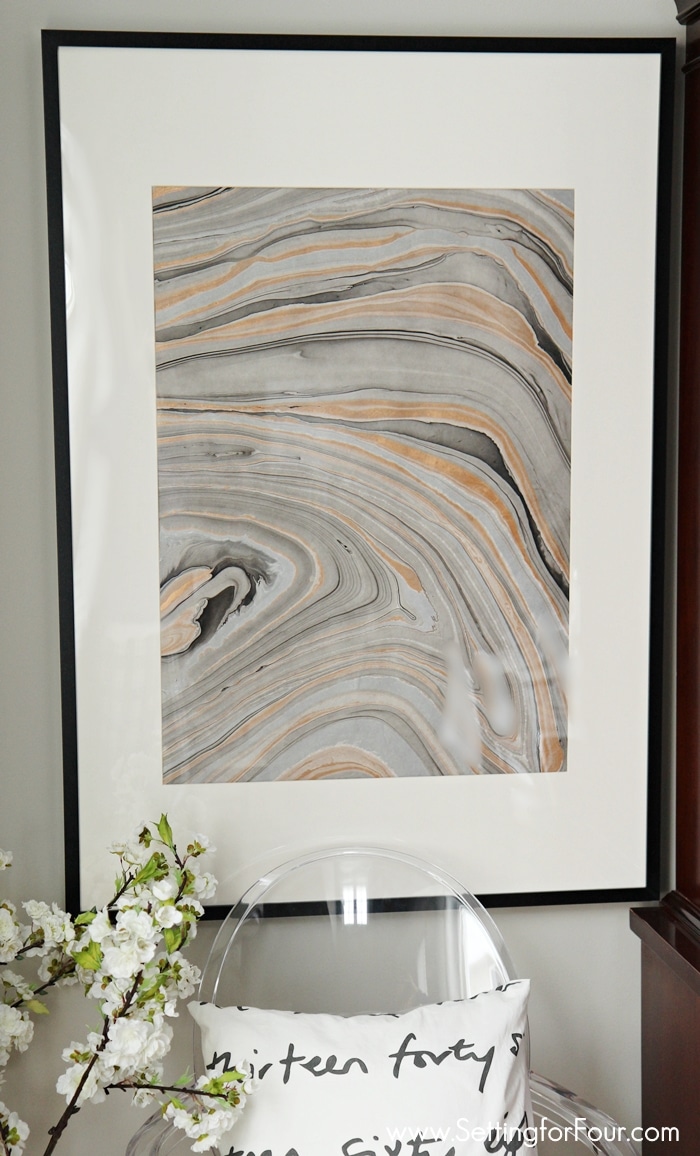
This DIY marbled art has exactly the right scale (large!) and impact (lots and lots!) that I was looking for. The metallic colors of black, grey, silver and gold have such a beautiful shimmer!
I’ve been searching quite a while for two large pieces of art to hang on either side of my dining room buffet that would balance the size of it (it’s big). Something that wouldn’t cost me an arm and a leg…..you know how expensive artwork can be! This post contains some affiliate links. Click here to read my full disclosure policy.
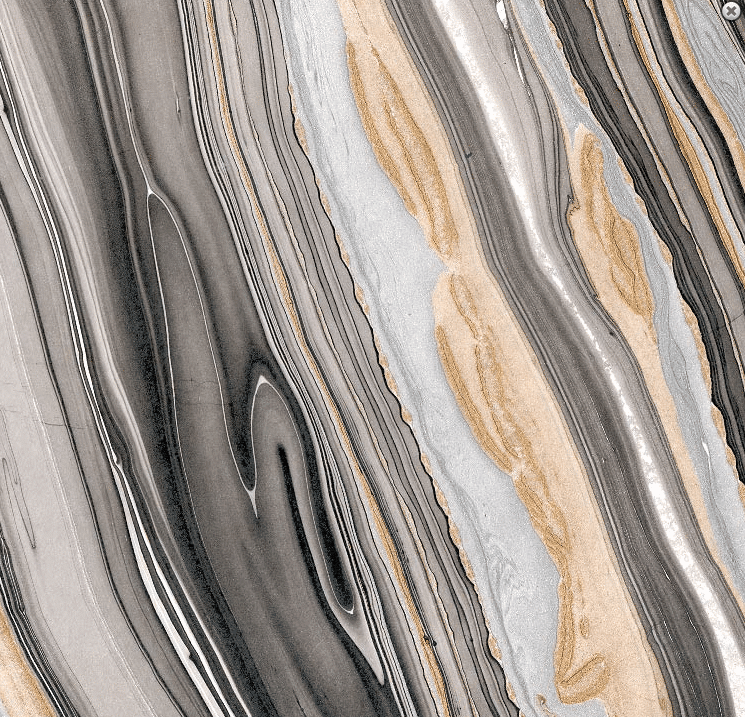
When I stumbled upon this stunning Black, Grey, Gold and Silver paper I knew it would make the perfect framed artwork for my walls.
Decor tip: Good design balance in a room allows the feeling of stability and wellness. Nothing in the room feels lopsided or unstable. The visual weight of items in the room is balanced.
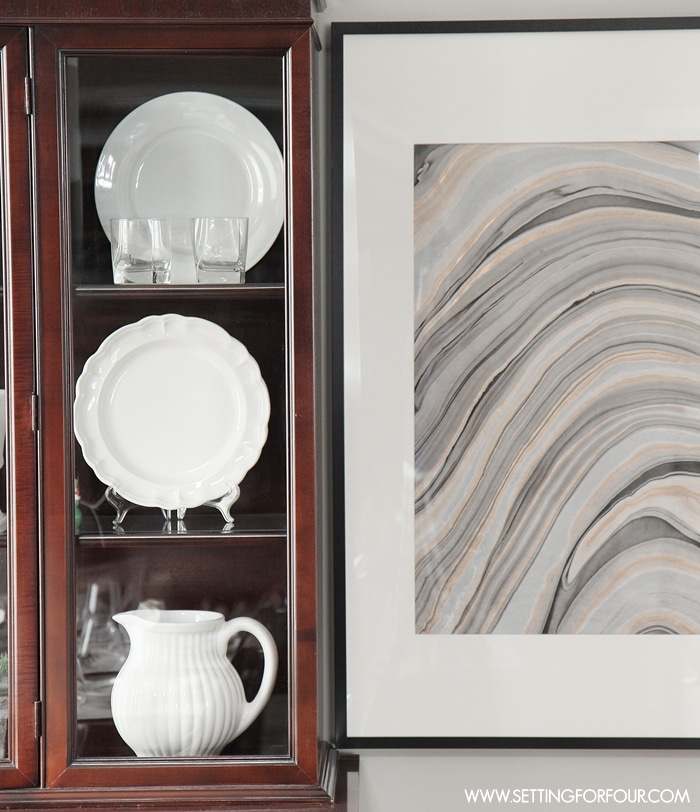
The marbled colors of black, grey, silver and gold look so beautiful with my gray walls and dining room furniture….and I just love the curves and patterns of the marbleizing effect!
I’m completely crushing on it!
This DIY Wall Art Idea using Marbled Paper is so easy to make!:
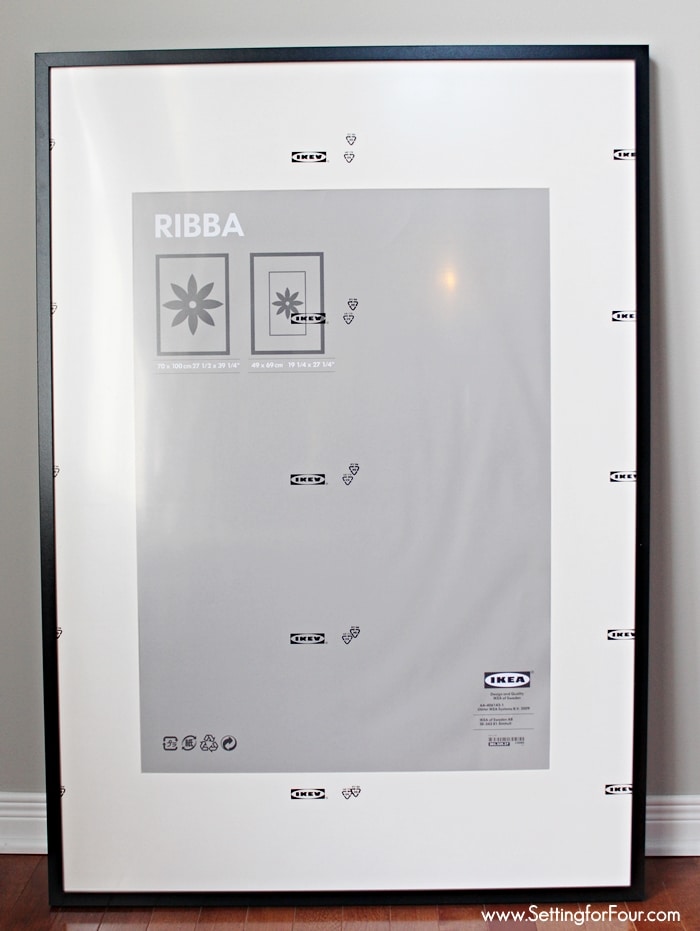
I bought two large Ikea Ribba Frames (29.5″ x 39 1/4″) and
two sheets of this gorgeous Black, Gold and Silver Marbled Paper pictured above.
I added one piece of marbled paper to each frame and secured the paper by taping it to the back of the frame’s mat with a bit of painter’s tape. I just placed a small piece of tape to the top of the paper to secure it. This will keep the marbled paper in place and it won’t shift around in the frame.
That’s it – so easy right?
My ghost chair and vase of tall stemmed flowers complete the look.
(This glossy white vase used to be just a plain clear vase – I painted it white! Check out the trick I used to give it a high gloss lacquered shine!)
Stunning isn’t it?
Total cost for each is 37$! You can’t beat that!
So if you want your own easy, stylish DIY Wall Art Idea using Marbled Paper without shelling out a lot of money, frame some beautiful handmade marbled paper!
Have you ever framed paper before?
For another beautiful marbled DIY project check out this!
DIY MARBLED MUGS WITH NAIL POLISH

Love it!!!! You’re so smart! And your tip about balance is spot on! I have lined one side of my fireplace wall with three gorgeous vintage botanical prints to fill a large space of nothing. But now the other side looks a bit lost. I’m on the hunt for more vintage prints to balance it out.
Thanks Heather!! Your vintage botanical prints sound gorgeous and I bet they look lovely by your fireplace! Have fun collecting more of them!!
That is such a pretty/easy diy!! I love your blog. 🙂
Sophia
Thank you Sophia – I love this DIY art so much…I’m thinking of other ways to use this gorgeous marbled paper!
Where might one find handmade papers??? Any ideas where to start my hunt?
Hi Lynn! You can find and buy the marbled paper that I used in the link in the post! Check it out – it’s stunning!! 🙂
Such a fantastic idea ! When you have several rooms to decorate, artwork can get expensive. I’ve ordered the paper, but wasn’t able to find the Ribba size frame you mention at IKEA online. Maybe our local IKEA has more options. Thank you !!
The colors in the marbled stone is just what I was looking for!