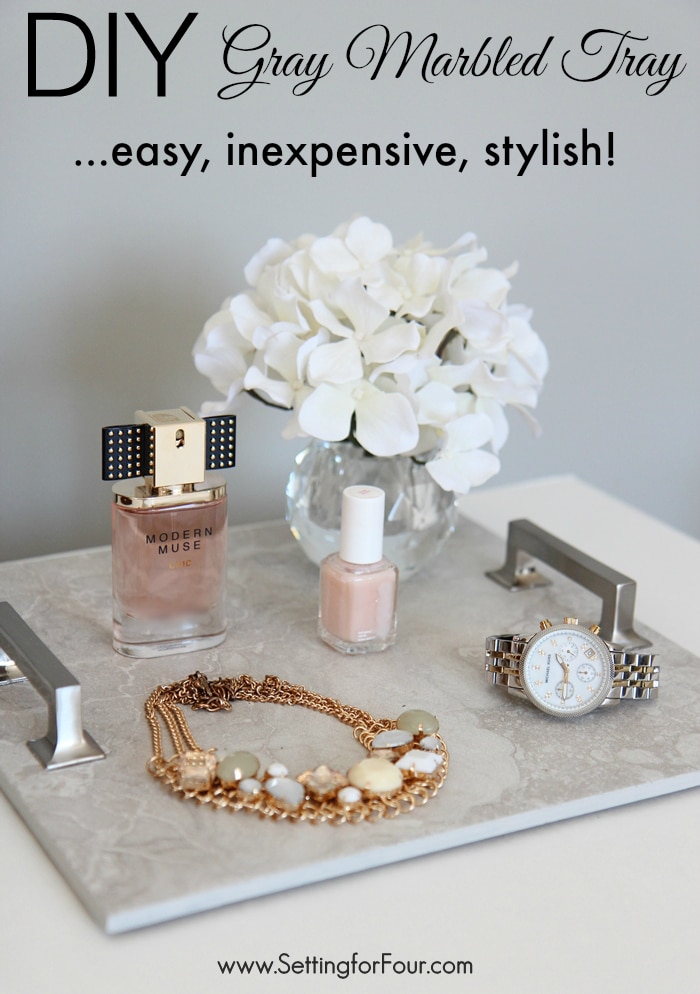
DIY Tray from Cabinet Hardware and Marbled Tile
This is such a clever OUT OF THE BOX DIY decor idea! See the instructions and supplies to make this easy, inexpensive and stylish DIY Tray made from cabinet hardware pulls and floor tile. Use in your kitchen (gorgeous cheese tray and tray for a dining table centerpiece), on a coffee table to display books and a candle or in your bedroom to display your jewelry and perfumes. Beautiful for storage and display. Great gift idea.
Today I’m part of a fun DIY ‘out of the box’ blogger challenge – 8 bloggers are using their creative noodles to design 8 clever DIY projects using cabinet hardware!
See how easy it is to make my repurposed cabinet hardware and gray marbled tile tray! … and you won’t believe how inexpensive and easy it is to make!

As a home decor and DIY blogger thinking “out of the box” is something I love to do! Repurposing items and creating my own home decor are my big passions… I love to create one of a kind items for my home; the kinds of things that give my home personality and unique style.
Most of all I love sharing my DIY adventures with all of you! Today I’m sharing my step-by-step DIY tutorial for this gorgeous marbled gray tray so you can make one too.
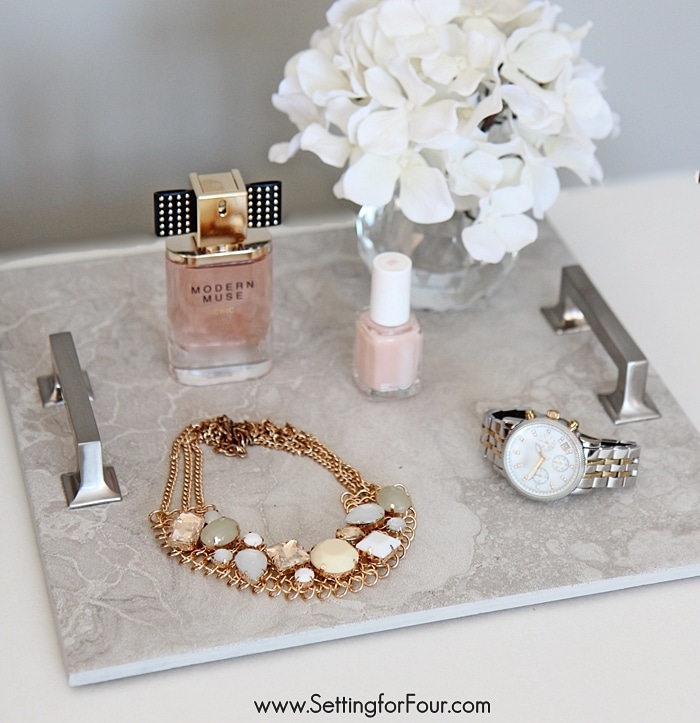
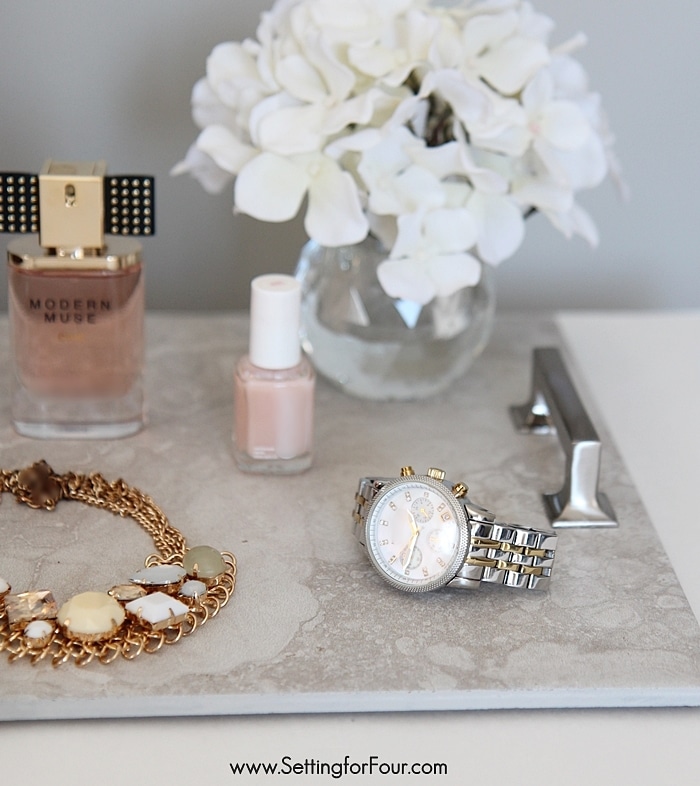
You can use this DIY tray to store and display your jewelry, nail polish and perfume….
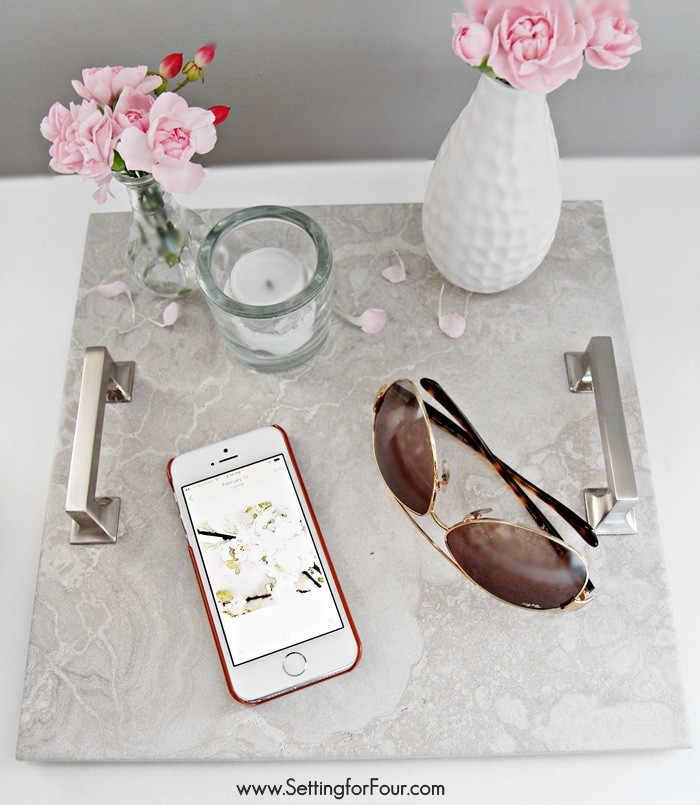
or in your foyer as a place to stash your iPhone and sunglasses

This post contains some affiliate links for your convenience (which means if you make a purchase after clicking a link I will earn a small commission which helps keep my blog up and running but it won’t cost you a penny more)! Click here to read my full disclosure policy.
Supplies:
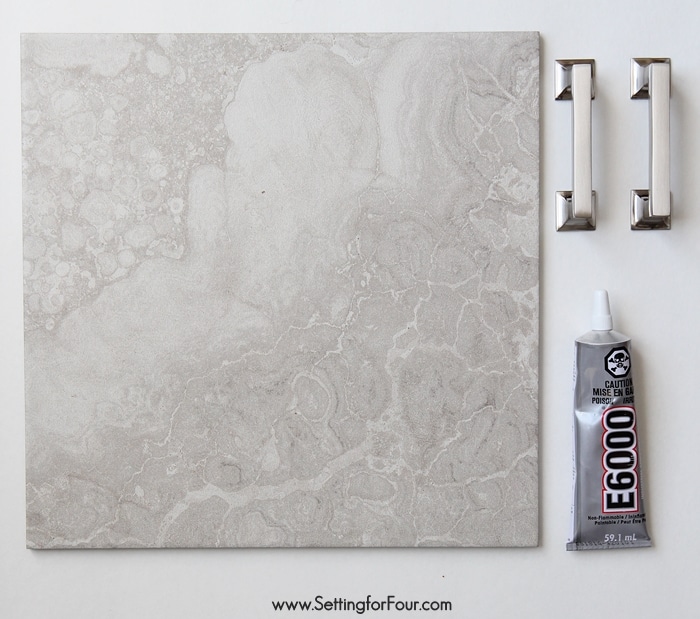
- 1 tile 12″ x 12 ” like this gray marbled style or this Carrara marble look – your choice of color and pattern. You can even use a rectangular sized tile.
- 2 of these 3 inch satin nickel cabinet handles
- Industrial Strength Adhesive – this is the BEST stuff I love it!
- Painter’s tape
- 4 felt pads
- Paint designed for tile
This is how I made my DIY marbled tray – it’s super quick and easy!
First use the painter’s tape to mark where you’d like the cabinet handles to sit on the tile in a centered position. These tape lines will act as a guide.

Attach each cabinet handle to the tile with adhesive following the adhesive instructions. Let adhesive dry.
Attach a felt pad to each bottom corner of the tile.
Paint the edge of the tile with a coat of gray paint to cover up the bare edge.
Note: Make sure you test that the handles are attached strongly because you won’t want them to pull off your tray and damage your floor or hurt your feet, if you will be carrying it around!
That’s it! Now enjoy your gorgeous new tray!

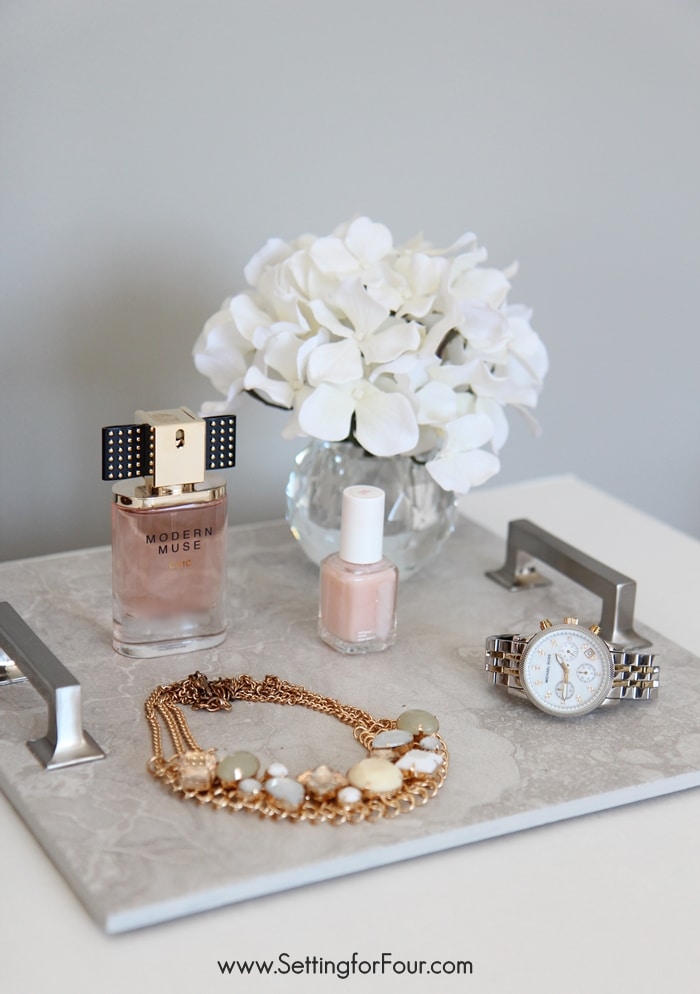
I love the gray and beige swirls and the marbled style of this tile. It looks and feels like real crosscut limestone! I’m a big gray lover so this really fits into my decor.
The satin nickel finish and shape of these cabinet handles are stunning too!
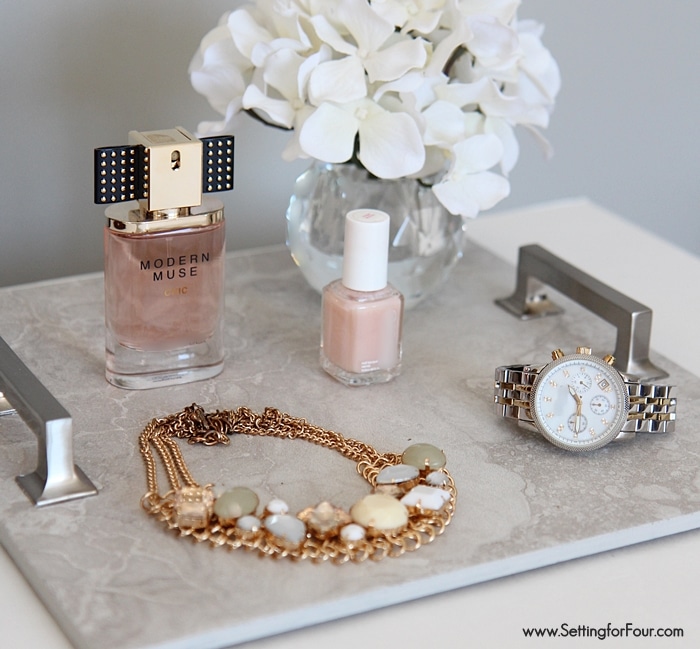
I’m using my tray on my vanity for storage and display – to hold my jewelry, perfume and a small crystal votive of flowers.
I love this tray so much I’m going to make a bigger version for our outdoor Restoration Hardware Knock Off Farmhouse table… for summer dining and entertaining!
I hope you like my DIY tray project and make one for yourself!
Here are some more project ideas using cabinet hardware, handles and knobs:
The Happy Housie – DIY Cabinet Hardware Jewelry Organizer
Setting for Four (that’s me!) – DIY Tray from Cabinet Hardware and Marbled Tile
Mug Hanger from Simply Grove
Repurposed Message Center from My Creative Days
DIY Dowel Curtain Rod from My Fabuless Life
DIY Rustic Chandelier from Meegan Makes
DIY Kid’s Art Center from Christina’s Adventures
Barn Doors for the Laundry Room from My Uncommon Slice of Suburbia
Have you created an out of the box DIY lately? Share!
Such a great use of the hardware and tile together. Your details are so beautiful.
Thanks for sharing the tutorial, as well.
Have a great day, Heather!
Thanks Meegan for your lovely compliments! You are so sweet!
Such a simple and great idea, plus it would be super easy to clean too!
Thank you Paola – you are so right! Super easy to clean!
It looks like it would be a lot more difficult to make but it really is pretty simple. I’ll have to make one myself to see. Thanks for posting!
I’m glad you like my DIY tray idea Drew – yes – it’s super simple!! I’d love to see your version when it’s done!! Thanks for visiting!
Love this version of a DIY tray. I saw another one featured on a different website that was way too difficult compared to this one. Please post the bigger version also. I’m currently thinking ahead to those warm, sunny days on the patio and I loved the outdoor table that you made!
Oh i’m so glad you love my DIY tray! I’ll post the bigger version too! 🙂 xo Heather