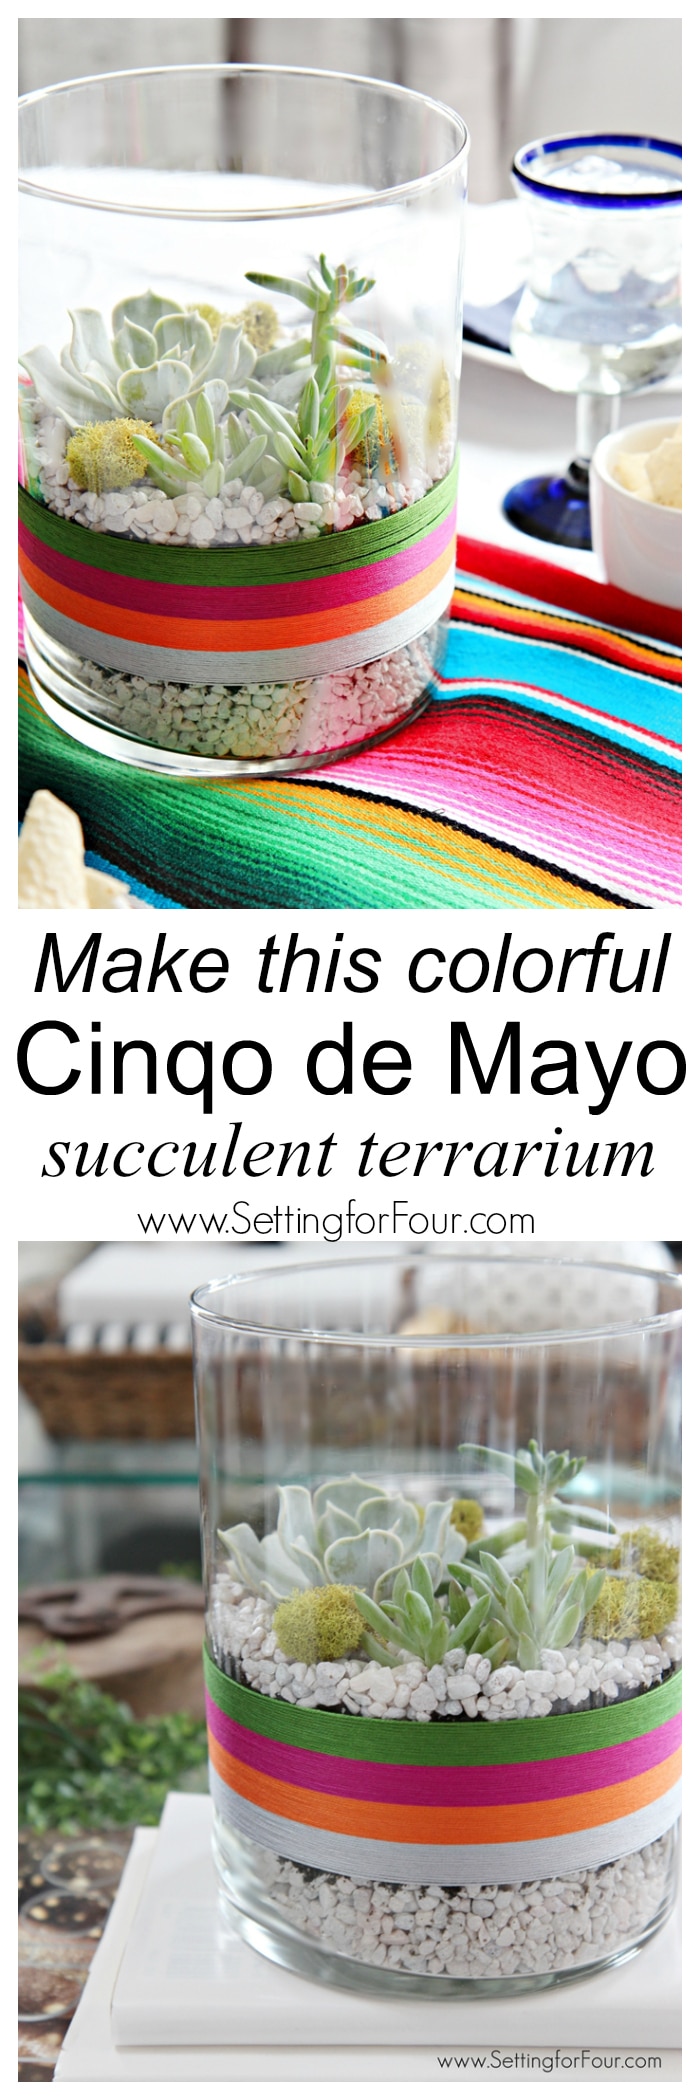
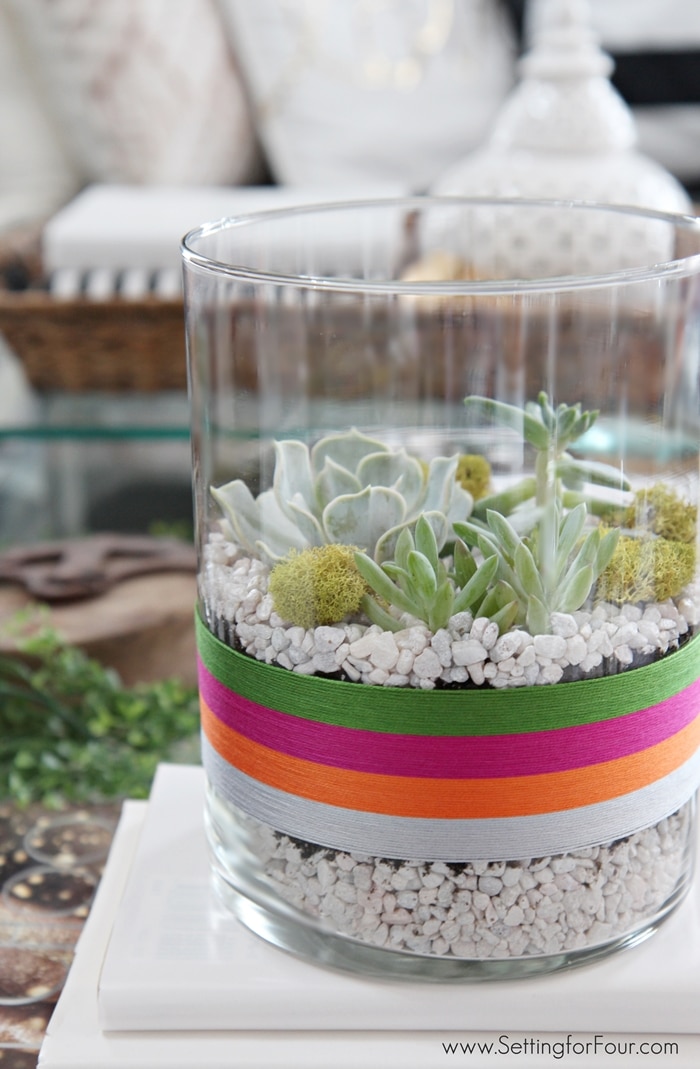
Do you love succulents and how easy they are to care for? Me too! I recently created this fun brightly colored, serape striped DIY Succulent Terrarium as an entertaining Cinqo de Mayo Party DIY decor/craft idea. It’s so easy to make and it’s perfect for all year round!
And when the party is over you can easily turn it into a terrarium that will fit into your home decor for the rest of the year!
Today I’m going to show you how to make this easy DIY Succulent Terrarium and how to add it to your home decor ….during Cinqo de Mayo and after!
I’ve wanted to make a terrarium forever! Here’s how to make one – it’s so simple to put together!
Supplies
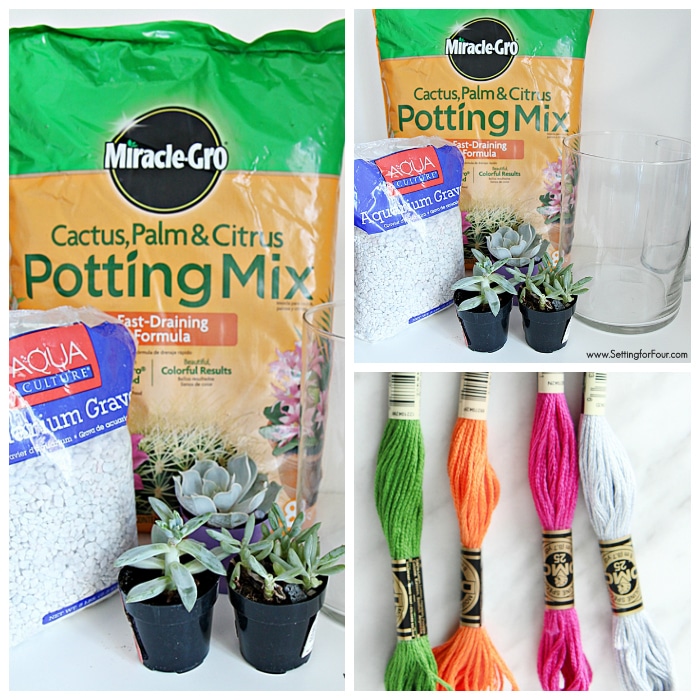
- 1 glass vase tall and wide enough to hold your succulents. My vase is 6 inches wide x 8 inches tall. Choose a vase in any size that will hold the amount of plants, soil and gravel you are using.
- DMC Embroidery floss: 1 of 905 Dark Parrot Green, 721 Medium Orange Spice, 1 of 718 Plum and 1 of 415 Pearl Gray .
- Aquarium gravel white (or whatever color you’d like)
- Green moss
- Cactus, Palm and Citrus Potting mix – works for succulents too.
- Clear double sided adhesive roller
DIY Succulent Terrarium Directions:
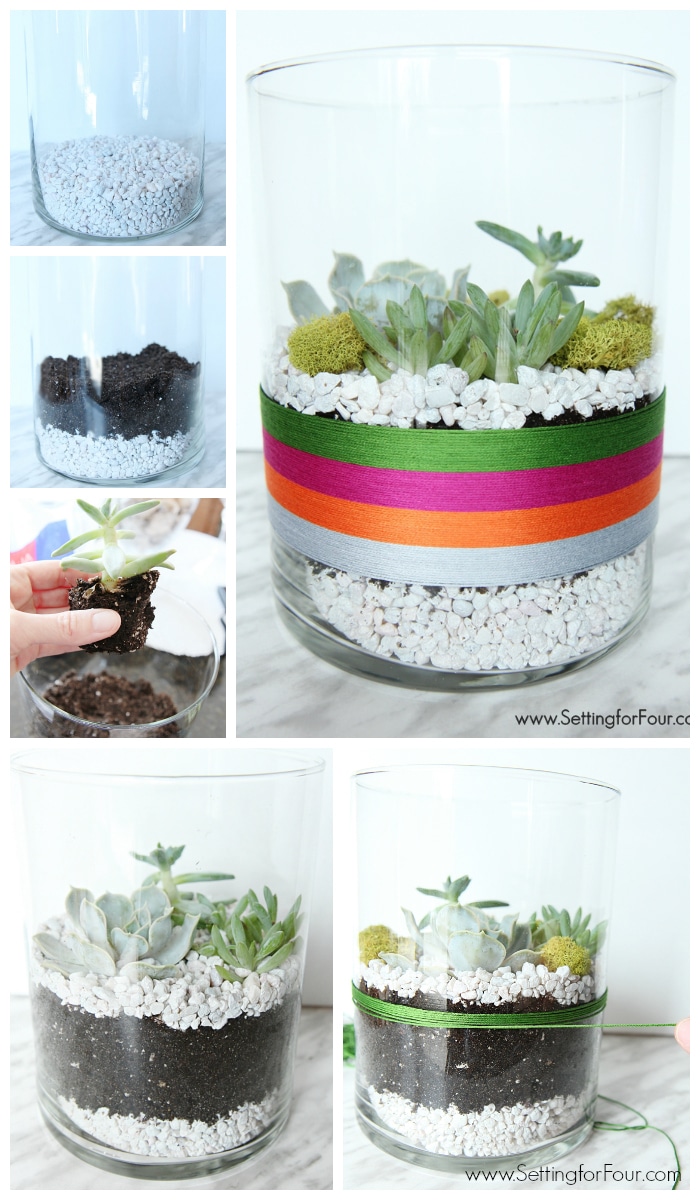
- Add 1.5 inches of aquarium gravel to the bottom of a clean glass vase.
- Add 1.5 inches of potting mix.
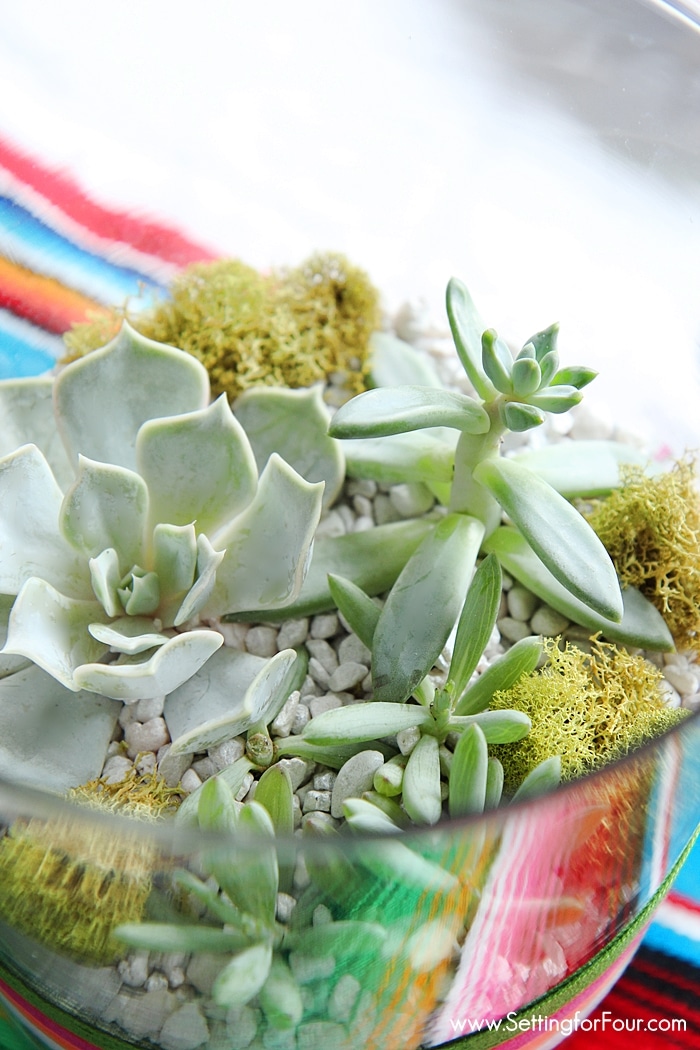
- Remove succulents from their containers and plant in the potting mix, digging a little hole in the potting mix to fit the plants. Add a bit more soil to cover all the plants.
- Top with 1/4 inch of gravel. Use the end of a pencil to gently move any pieces of gravel that get stuck on the succulents.
- Add bits of green moss if you’d like.
- Now you are going to create a Mexican serape blanket look using all of the colors of embroidery floss!
- Figure out what color pattern you’d like the embroidery floss to be. I chose Parrot green on top, Plum then Orange followed by Pearl Gray.
- Choose a side of your vase to be the ‘back’. Add a one inch strip of clear double sided adhesive glue down the ‘back’ of the vase starting at the top point you want your embroidery floss to begin. The glue will help hold the embroidery floss in place.
- Starting with your top color, attach the end to the embroidery floss to the glass. Push it on the glued area, the double sided adhesive will hold it onto the glass. Add a bit more adhesive glue onto the end of the thread to secure it if needed (the glue is clear so it won’t show).
- Wind the embroidery floss around the vase moving downward to form bands of color.
- As you wind the floss onto the vase use your fingers push the floss together to form tight bands of color, to remove any spaces between the strands.
- When you are at the end of one color tie it to the next color in a knot. Keep winding. (Later trim all the knotted ends of the embroidery floss – it gives a mini tasseled look – just like on a Mexican serape!)
- Continue until your last color of embroidery thread is wound onto the vase. Attach it to the vase with the double sided adhesive glue.
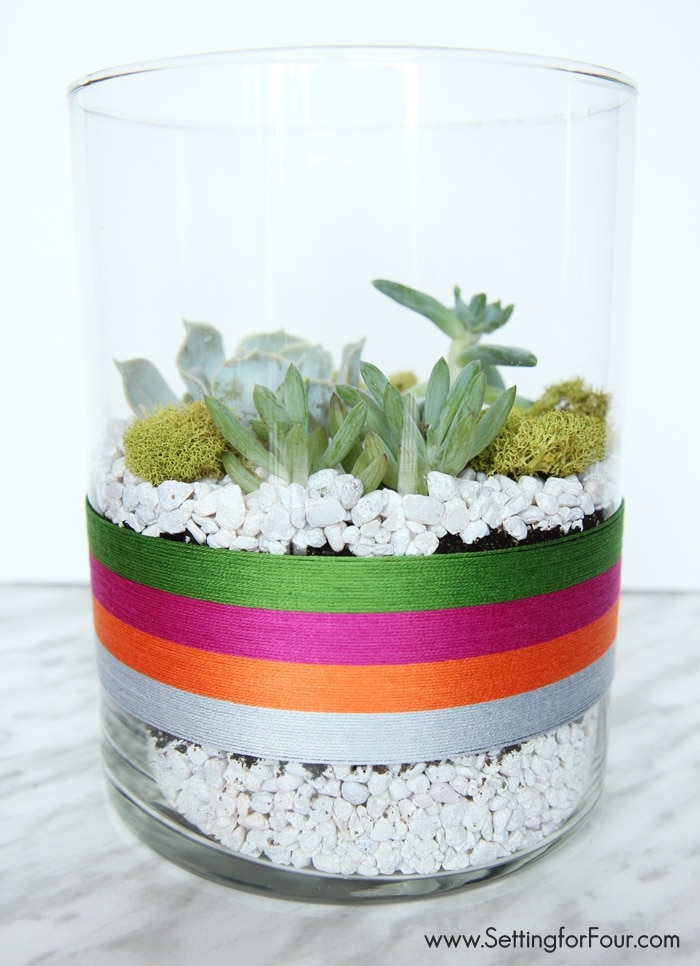
Then say “Olé”! You are done!
I love how it turned out! Don’t the bands of color look like a Mexican serape?
Here I’ve placed it on our living room coffee table – I love the shot of color it adds to the neutral colors of black and white in our living room:
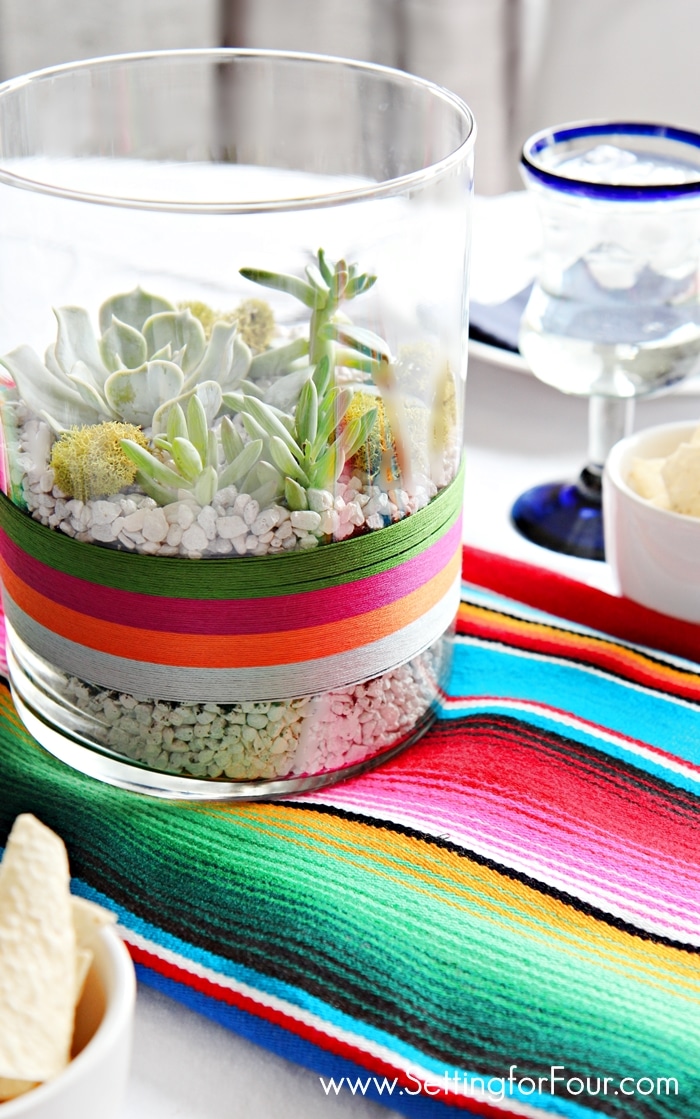
Here it is as a Cinqo de Mayo party centerpiece – it pops against the white tablecloth, mexican blanket runner, blue mexican glassware and white dishes!
(I already had a Mexican blanket I had bought on a trip to Mexico … I just folded it into a long rectangle to use as a runner!)
Here are some ideas on how to display this beautiful mini indoor garden:
As shown above, this DIY Succulent Terrarium makes the perfect centerpiece for a Cinqo de Mayo dinner party or buffet table. It also looks spectacular on a coffee table, end table or decorate a bookshelf on a stack of books!
This embroidery thread banding can be done in any color you’d like – it would look really pretty with varying shades of blue to create an ombre effect for a coastal tablescape or coastal living room coffee table accent! A classic black and white version would look sensational too!
When Cinqo de Mayo is over you can easily remove the embroidery thread from the glass vase if you’d like. Just slide it off the vase or cut it off.
Have fun celebrating Cinco de Mayo on May 5th!!
Need recipe ideas for your Cinqo de Mayo party? Check out:
Delicious Lime chicken Fajitas with Mango Cucumber Salsa
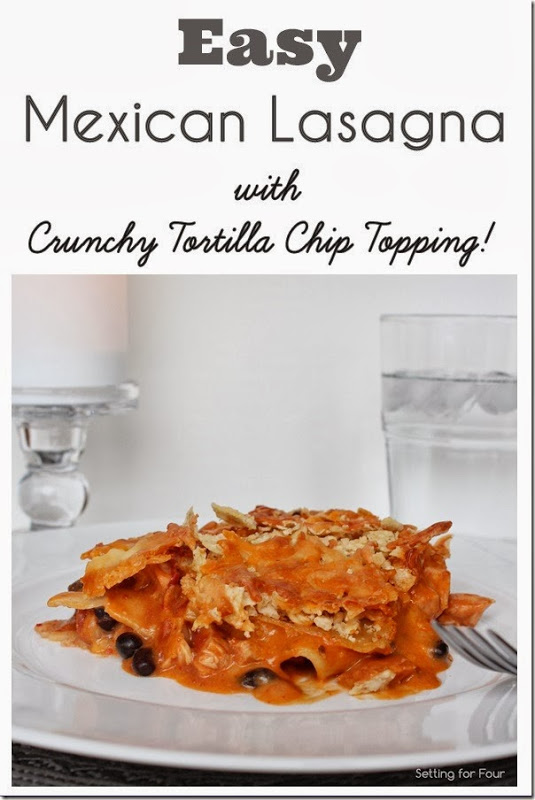
Easy Mexican Lasagna with crunchy tortilla chip topping
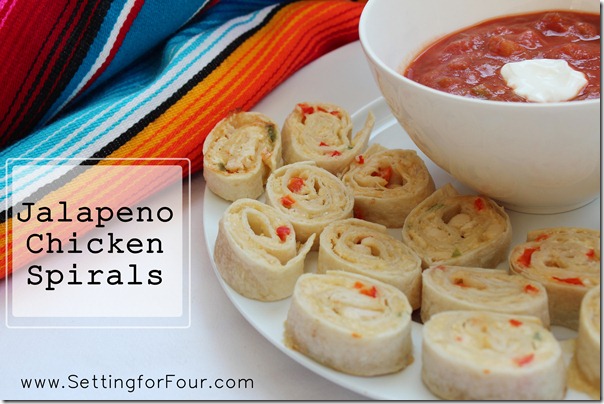
Jalapeno Chicken Spirals Appetizer
This post contains affiliate links which means if you make a purchase using the link I’ll make a small commission, at no extra cost to you! Thank you!!

 Heather is a Designer, True Color Expert® and proud military wife at
You are so creative!!! They’ll have you on The Chew showing this off before you know it!!
LOL – well wouldn’t that be fun? ‘Hey Clinton!! Can I please visit you on The Chew to show your audience how to make my terrarium”? There – I asked!!! 🙂 Thanks Heather for your compliments – I’m so glad you like my Cinqo de Mayo decor idea!! Have a wonderful day!!
LOVE everything about this cinco de mayo inspired succulent terrarium!
Thank you Katie!! I can’t believe how easy it was to make! I hope you have a fun Cinco de Mayo celebration this year!
Love this!! My kids would love this. In fact, everyone I know is now at risk for getting one of these as a gift. What a great idea.
Thanks Cynthia – I’m glad you like my terrarium project and yes your kids would love to make one! What a great family project!!
I was sharing just the other day about how to take succulent cuttings and one of my bits of advice was don’t put them in a terrarium as they will get too wet. I’ve now updated that after seeing your beautiful project. When I think terrarium I think enclosed, with a lid and tiny gap for air and moisture to get out. This is lovely and totally perfect for these cute little plants. I love the way you’ve put it all together, the colours are fab and cover the dirt just right. Thanks so much for sharing.
Thank you Julie!! You are so sweet to say that – I’m so glad you like my terrarium! It was fun to put together!