DIY Chalk Paint Table Makeover – DIY Home Decor
From drab to fab – update your decor easily! DIY chalk paint table with a gray stripe border – see how I gave a dreary, damaged fake-wood table a makeover!

Today I have another fun painted furniture project for you! Don’t you love the quick results and huge stylish impact that can breath life into a dated or damaged piece of furniture?
Furniture is expensive! Save your money where you can and paint those pieces that still function but may have a bit of a style identity crisis! Like my end table!
12 years ago I bought an end table from a big box store that has been desperate for a makeover! I love the shape and size but it’s survived many military moves, many homes and two boys!
Needless to say it’s acquired several noticeable scratches and dings. Because it’s a mass produced piece made from wood laminate, sanding and staining isn’t an option but painting is!
DIY Chalk Paint Table Makeover – DIY Home Decor
I decided to add a coat of white paint to lighten up the color from dark brown to creamy white and cover up those deep, nasty scratches. I am in love with the transformation!
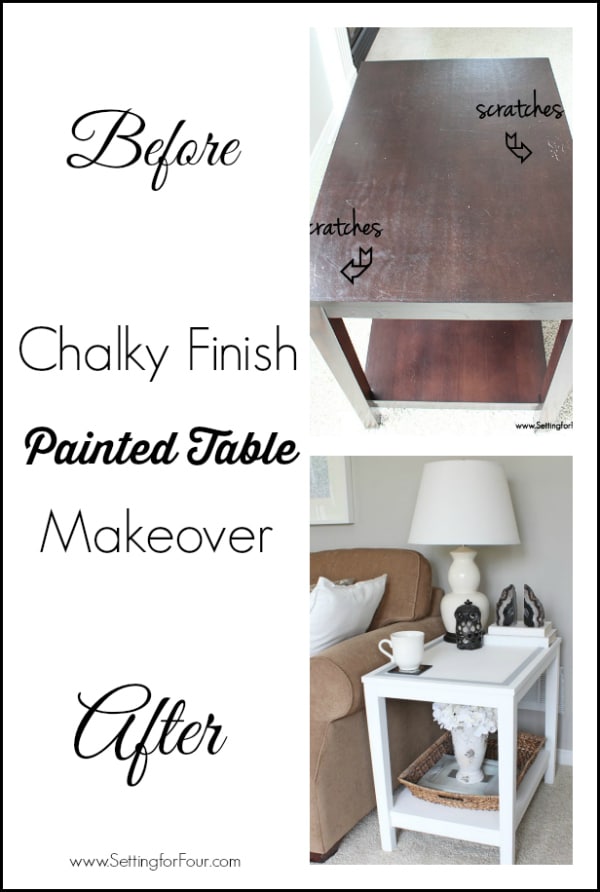
This is the before, see the scratches? Not pretty!

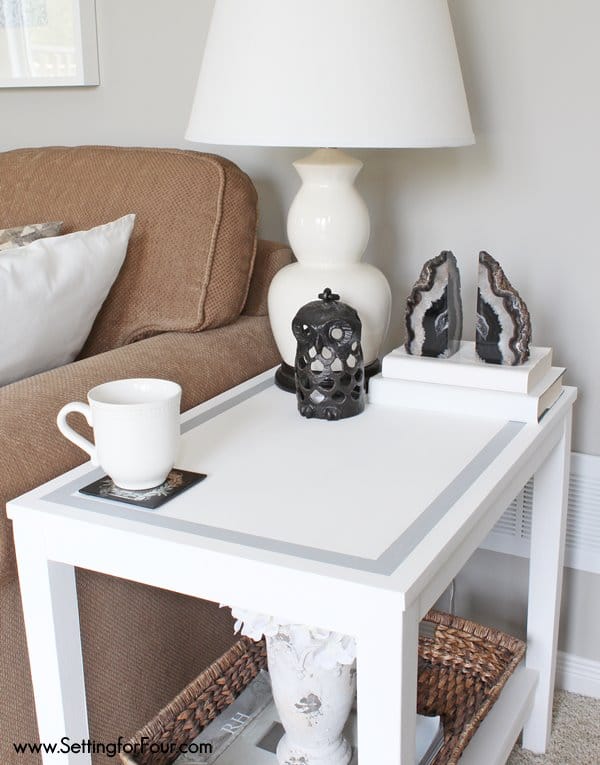
Tada! The after!:
DIY chalk paint table makeover
Supplies:
This post contains affliliate links
Chalky Finish Paint – Color is ‘Everlasting’
Acrylic Craft Paint – Snow White
Acrylic Craft Paint – Slate Grey
Unlike other paints, this chalky finish paint does not require any sanding or priming to prep your furniture for painting!
I love that this saves so much time and work! I was concerned however that it might not stick to the wood laminate’s slick surface – let’s see if it does!
First I wiped down the table with a damp cloth to remove any dust and crumbs.
Then with my paint brush I applied a coat of this gorgeous white ‘Everlasting’. (It’s a beautiful clean, pure white color…not a yellow toned white.)
This paint went on so easily! I was amazed at how well it stuck on to the slick surface too!
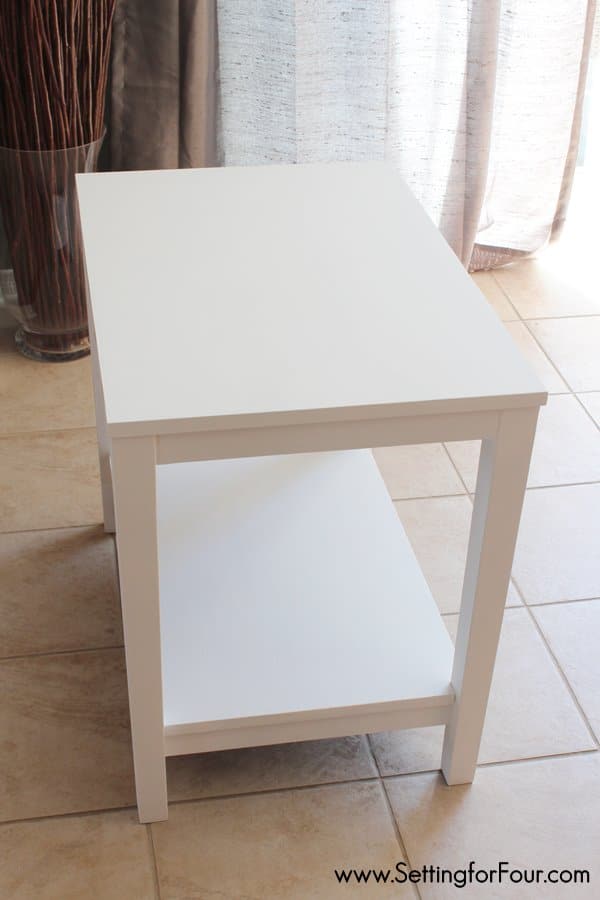
In no time I had the entire table painted. I painted the top first, then the apron then the legs and bottom shelf.
By the time I had painted the bottom, the top had dried so I continued on and painted a second coat.
Those scratches are completely covered up now too!
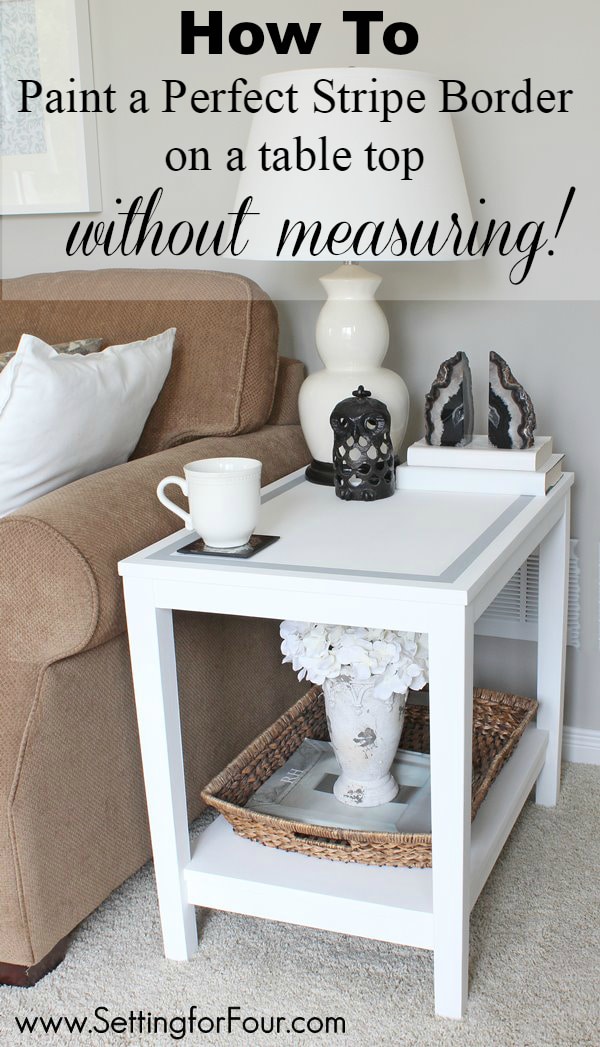
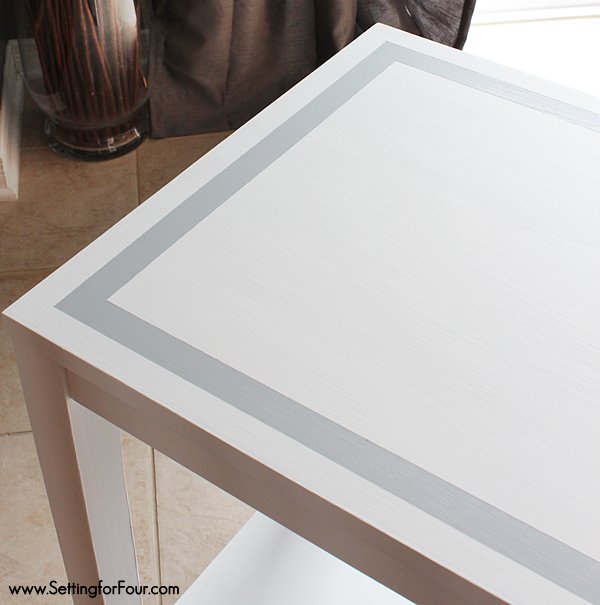
Next, to dress the table top a bit, I added a light grey border stripe.
I’m going to share a super easy painting trick to do this….no measuring required!
Hint…I used painters tape! (You may want to pin this tip for later!).
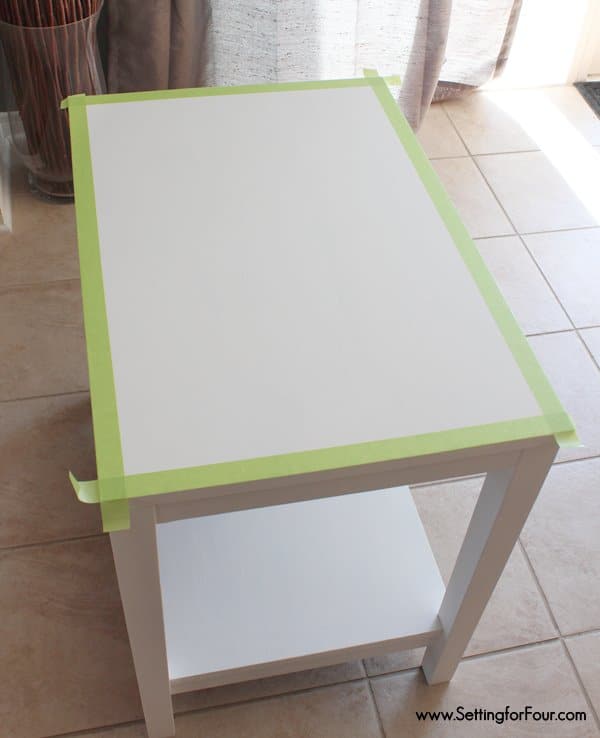
This is a simple easy stripe to paint – I just added a row of tape along the outside edge of the table top.
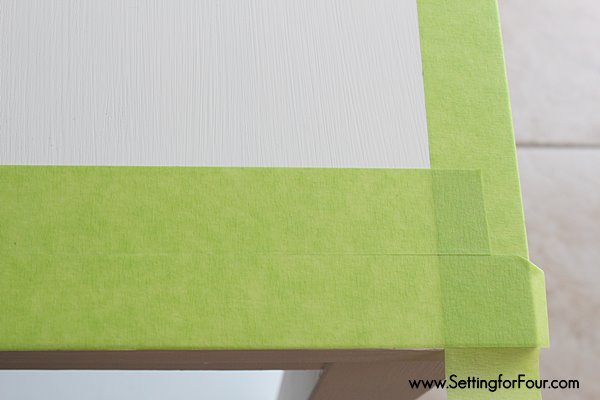
Then I added two more rows of tape next to each other, placing each row right next to the other one.
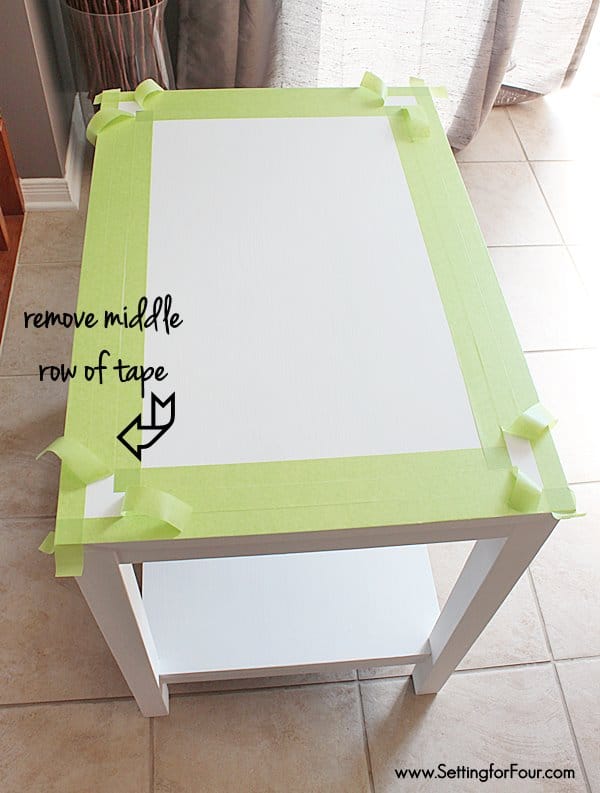
Remove the middle row of tape to expose the table surface that will be painted.
Make sure all the edges of the tape are pressed down firmly to prevent paint seeping underneath.
Next, I mixed the white and grey together to create a light grey color…I just eyeballed the color until it was the shade I liked.
With a foam brush I painted on 2 coats of grey paint…
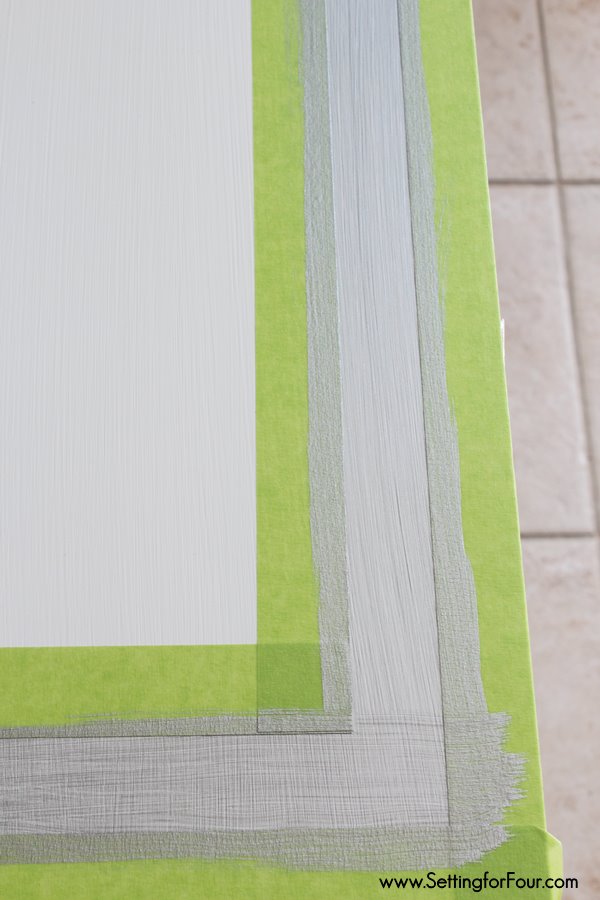
….and immediately removed the tape. I love the crisp row of grey!
When the grey paint was dry, I applied clear Wax with a Waxing brush. This wax also went on smooth as silk! This brush is fantastic too! It easily allowed me to get the wax on quickly and in all the corners of the table.
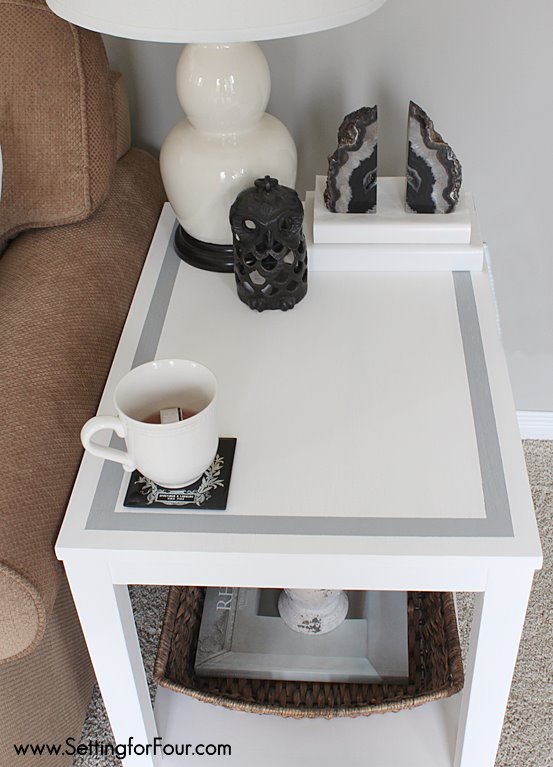
What a simple and quick makeover! I love the look of the pale grey border on the white table top!
I absolutely love the transformation!
I had fun decorating my refreshed table… I added a tray to hold magazines and vase of hydrangeas for the lower shelf. I topped it off with a white table lamp, geode book ends, a stack of books and an owl votive holder. All my accessories and decor look so much better on my Chalky Finish table!
I hope you enjoyed this DIY CHALK PAINT TABLE Tutorial!
For more painted and refinished furniture inspiration see:
12 weathered Wood Stain Finishes

Chalky Painted Greek Key stenciled table

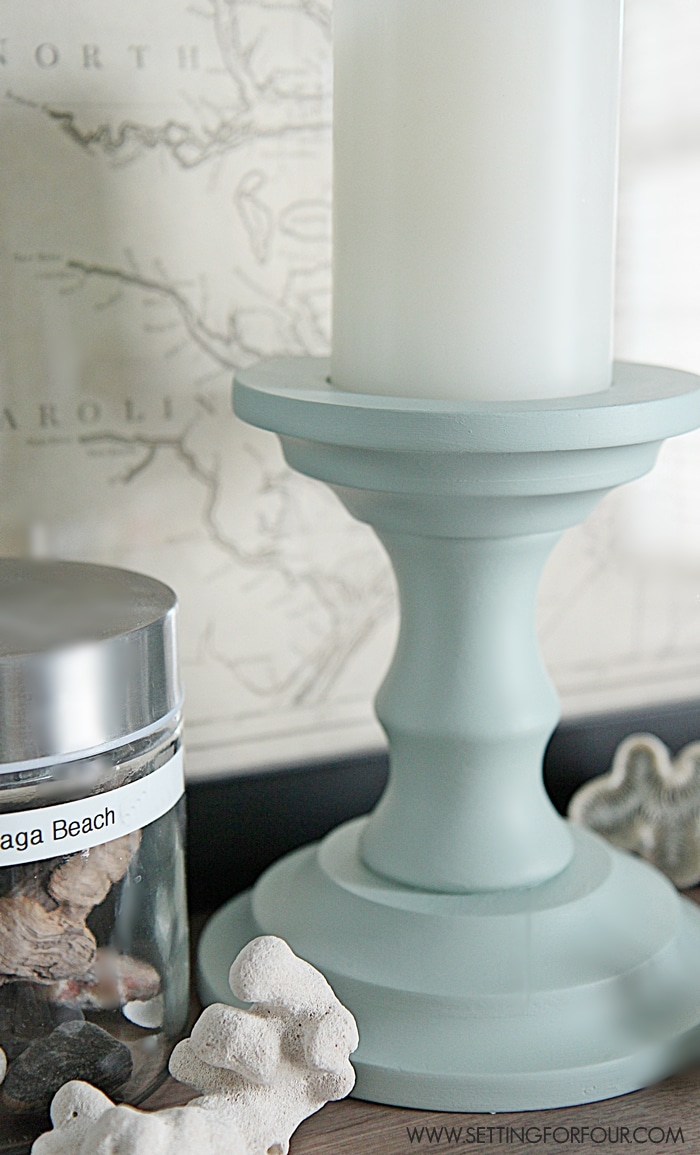
Thrift store candlestick makeover with mineral paint
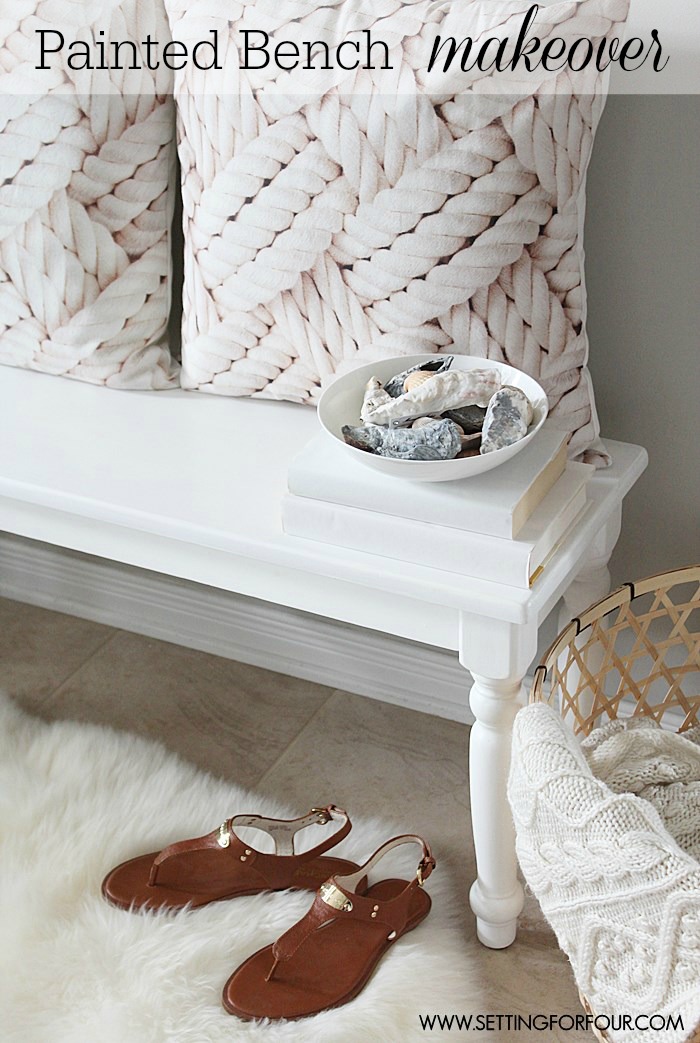
Chalky Painted Thrift Store Bench makeover
This is such an improvement. Looks fantastic. Thank you for the detailed steps.
Thanks Lisa!! I’m glad you like my tutorial! We really love our refreshed table!
Love Love your ideas., just ran into you recently. Can’t wait to read more for the 2023 year. Trying to update my lake home. Bits and pieces of your post have helped me out tremendously.
How long did you let the white paint dry before taping for the grey stripe? I’m afraid of the tape peeling the paint